Sign in to your gmail account. You can use a CCSF account or a personal Gmail account.
Open this page:
https://cloud.google.com/free/
Click "TRY IT FREE".
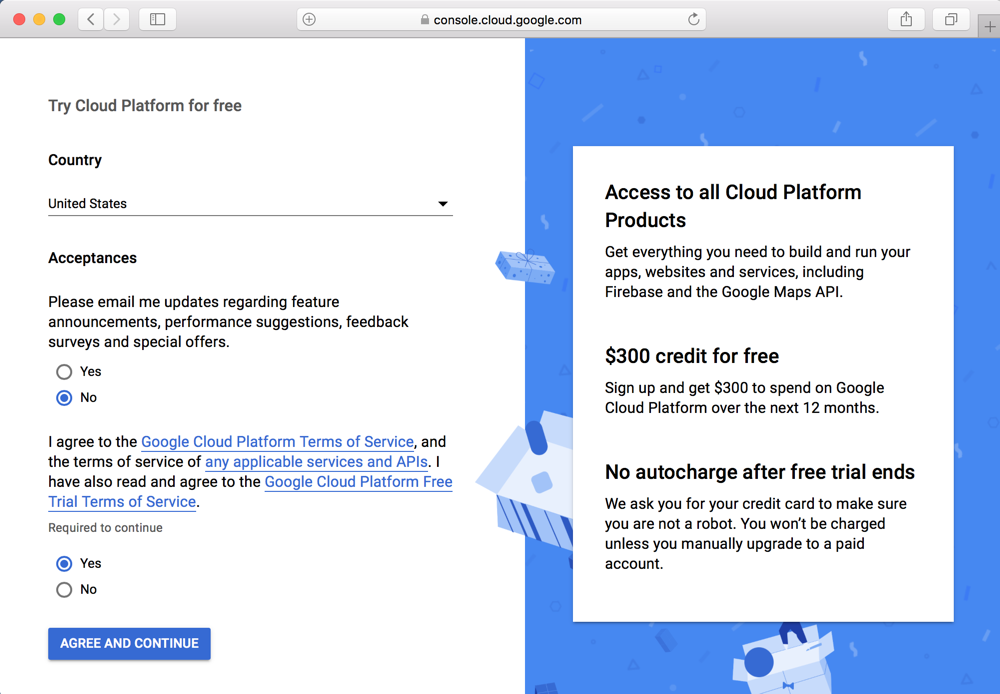
On the next page, fill out the form, as shown below, and click "AGREE AND CONTINUE".
Fill in the next page. You must enter a credit card number, but it says you won't be charged without agreeing to that later.
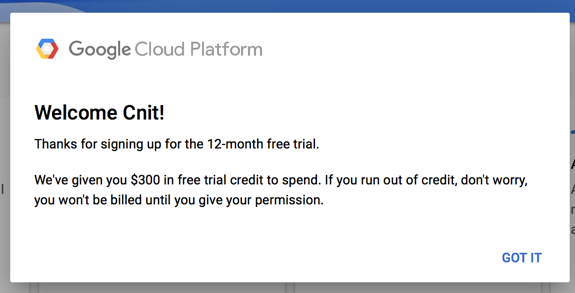
Click "START MY FREE TRIAL"
A box says you have $300 in free trial credit, as shown below.
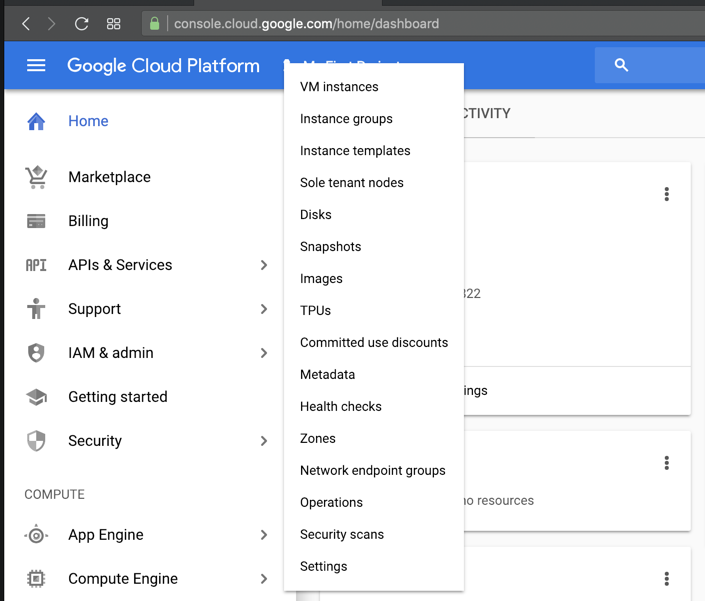
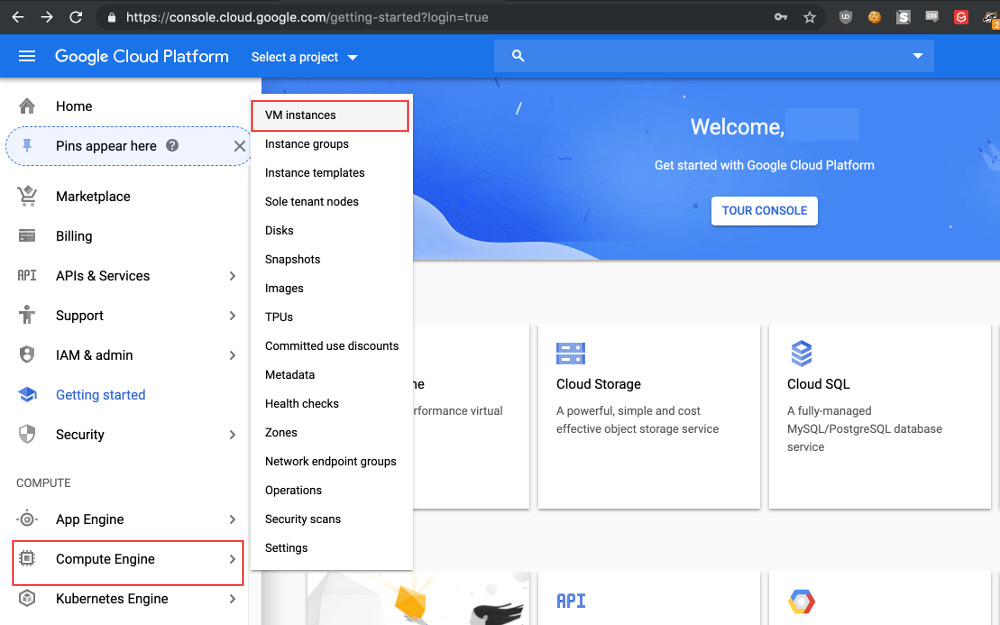
On the next page, click "Compute Engine", "VM instances", as shown below.
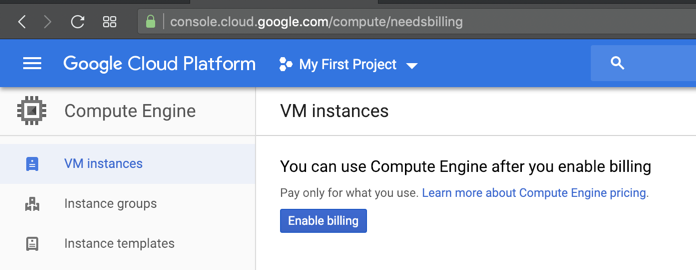
The "VM instances" page appears, as shown below. Click the "Enable Billing" button.
If the "Enable Billing" button is not visible, at the top left, click the three-bar icon. Then click Billing. You can enable billing on that page.
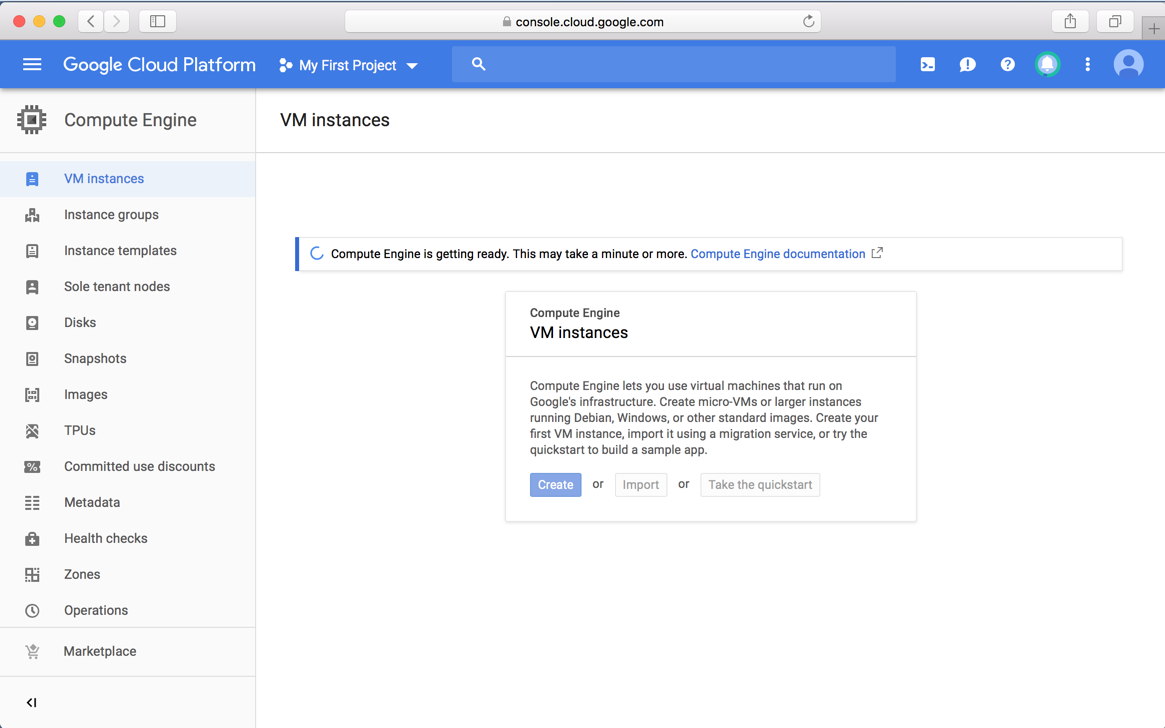
Wait while it gets ready.
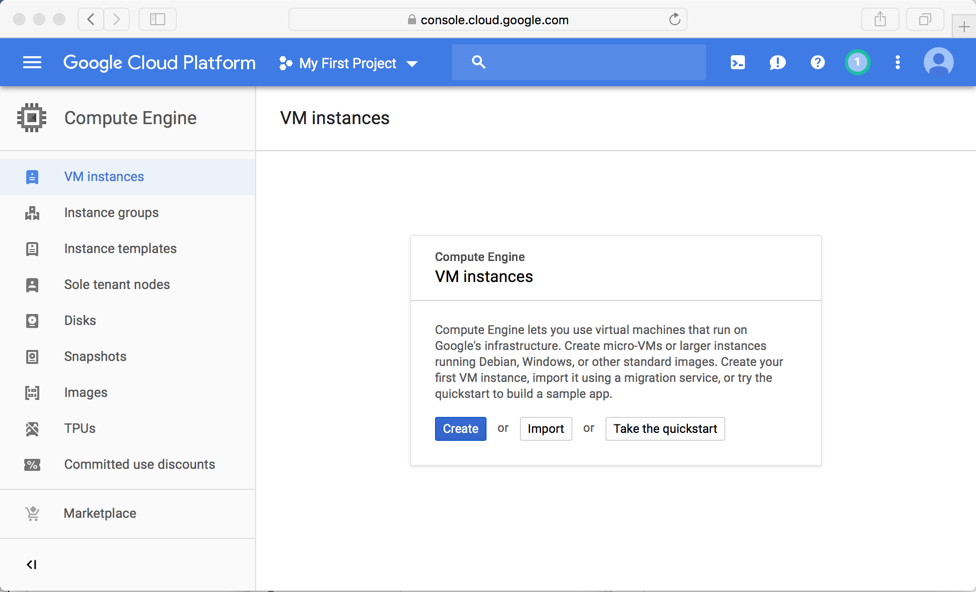
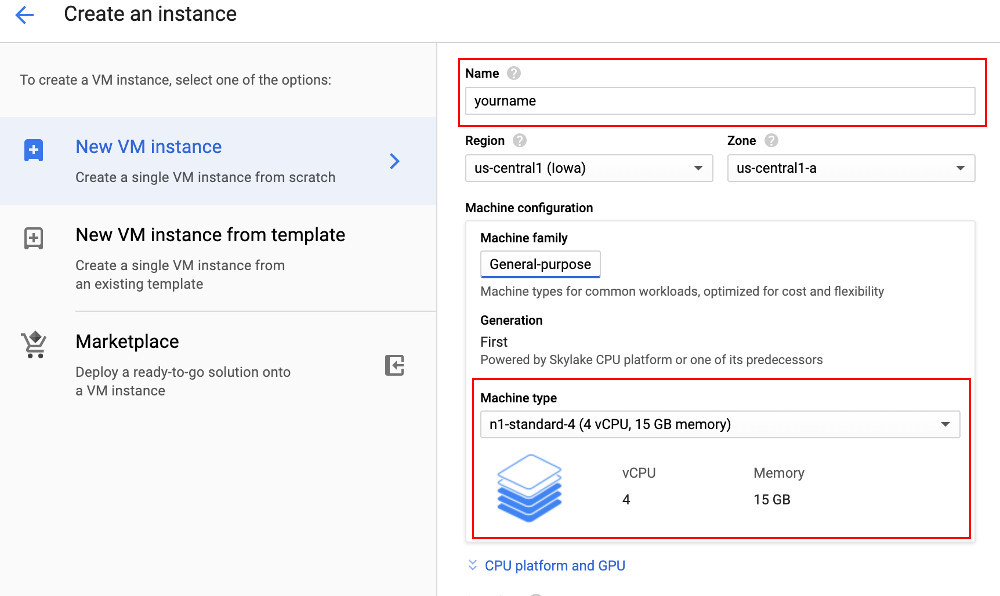
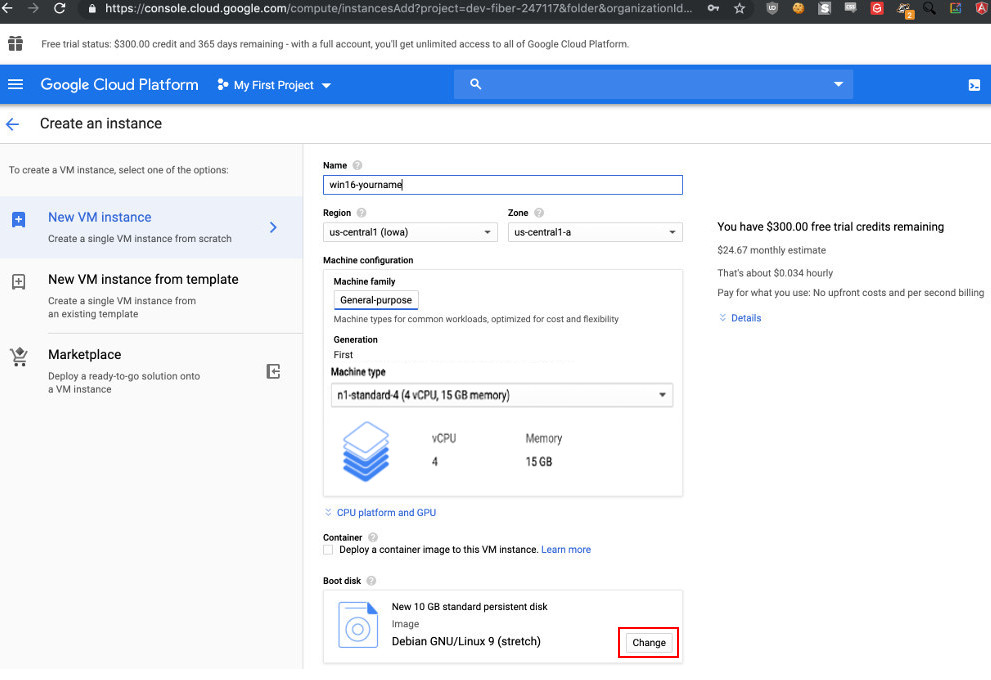
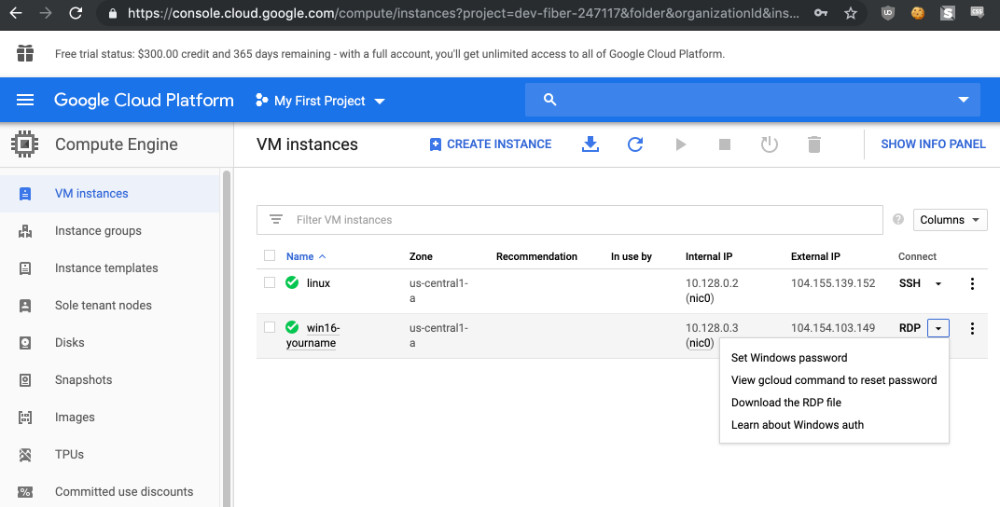
When it's ready, you see the screen shown below. Click Create.

Windows Server 2016 Datacenteras shown below.
Server with Desktop Experience
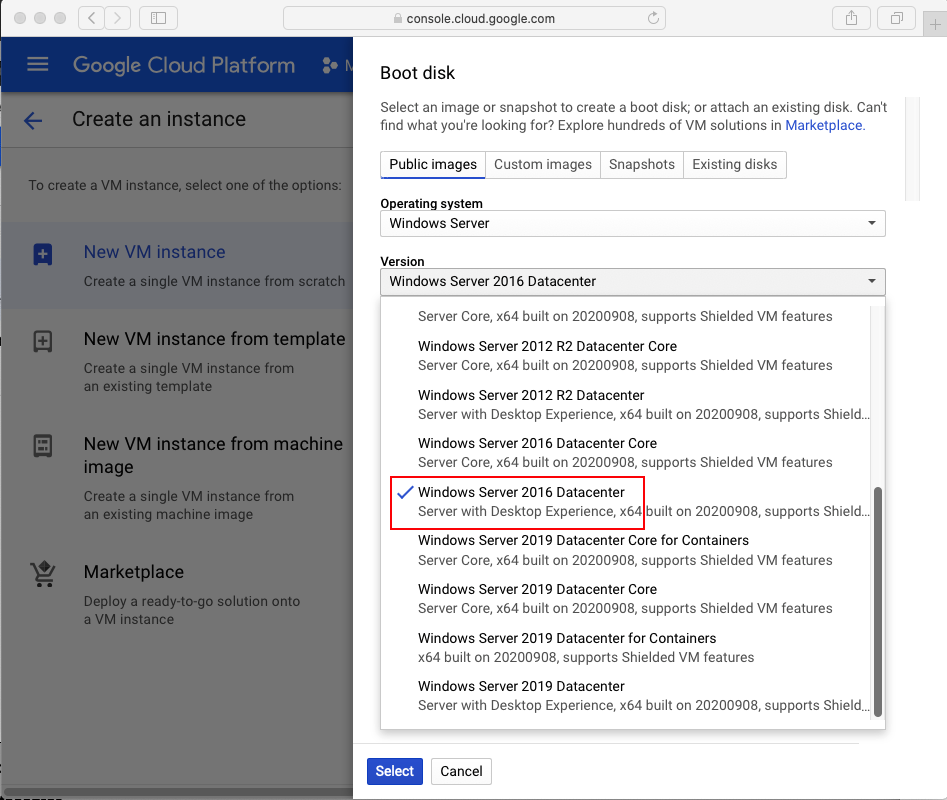
At the bottom of the page, click the blue Select button.
At the bottom of the "Create an instance" page, click the blue "Management, security, disks..." text, as shown below.

Set the Preemptibility to On as shown below. This makes your machine much cheaper and also makes it shut down every 24 hours, which will make your trial credit last longer.
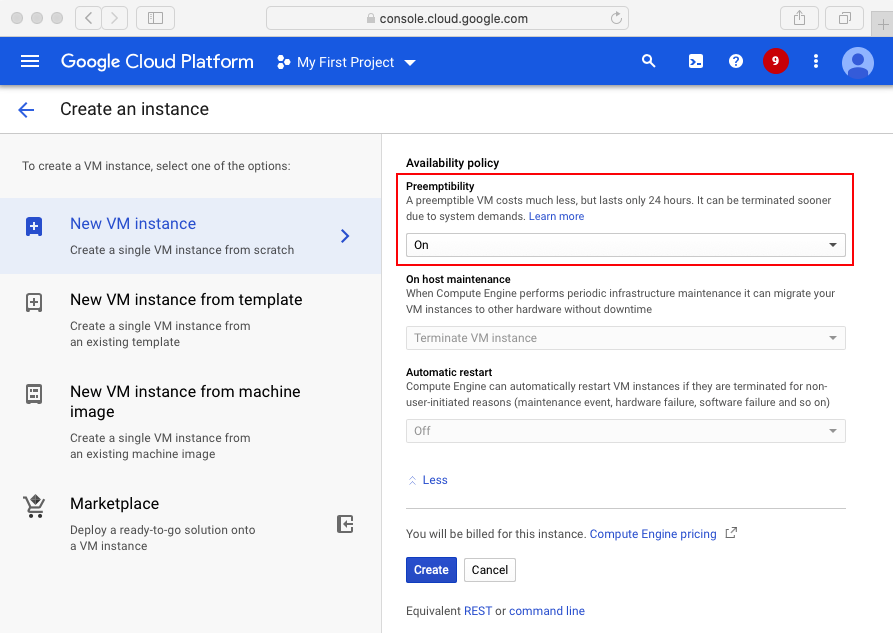
At the bottom of the page, click the blue Create button.
Wait a minute or two for the instance to be created.
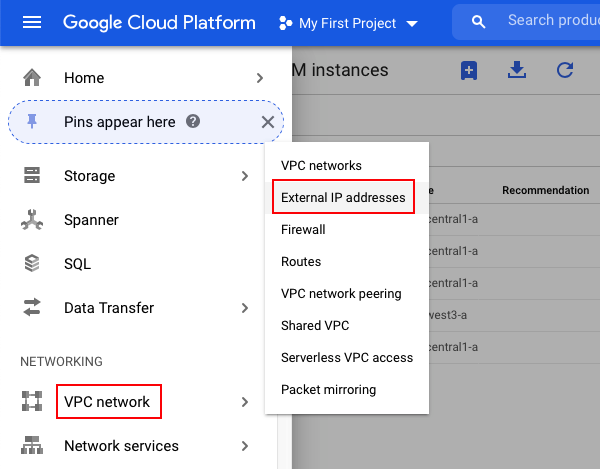
Scroll down to the Networking section. Point to "VPC network" and click "External IP addresses", as shown below.
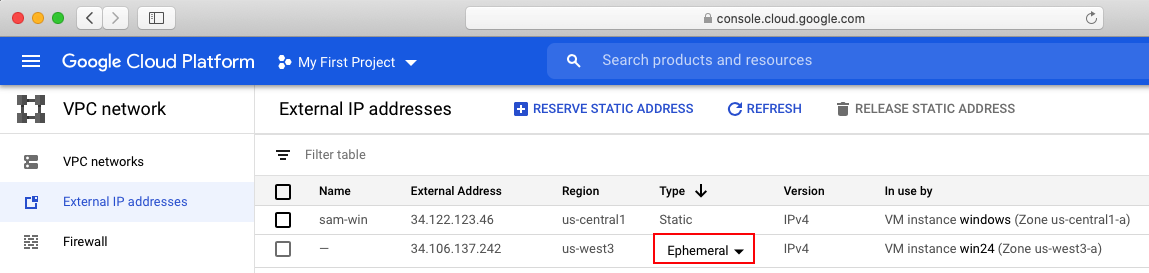
In the "External IP addresses" page, look in the "In use by" column to find your new Windows instance. In the Type column, click the down arrow next to Ephemeral, as shown below.
Change the Type to Static. Assign your IP address a name and click RESERVE.
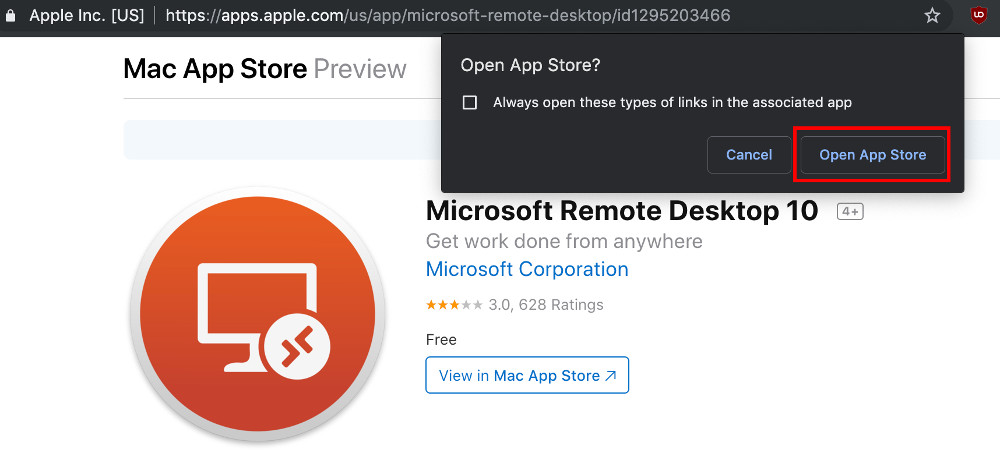
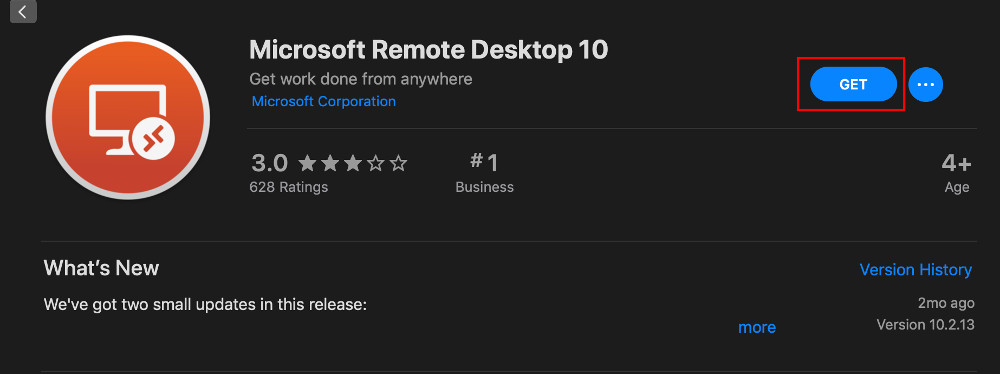
Choose "Open APP Store" in the popup.
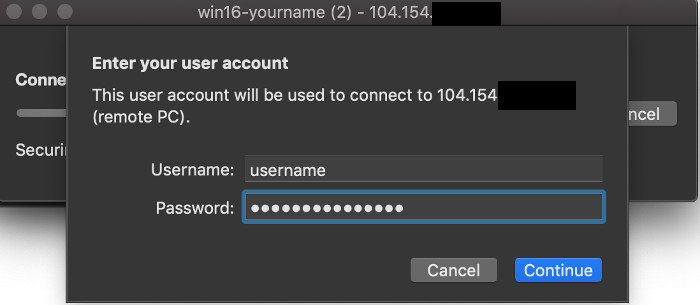
After getting RDP setup on your Windows or MAC computer,
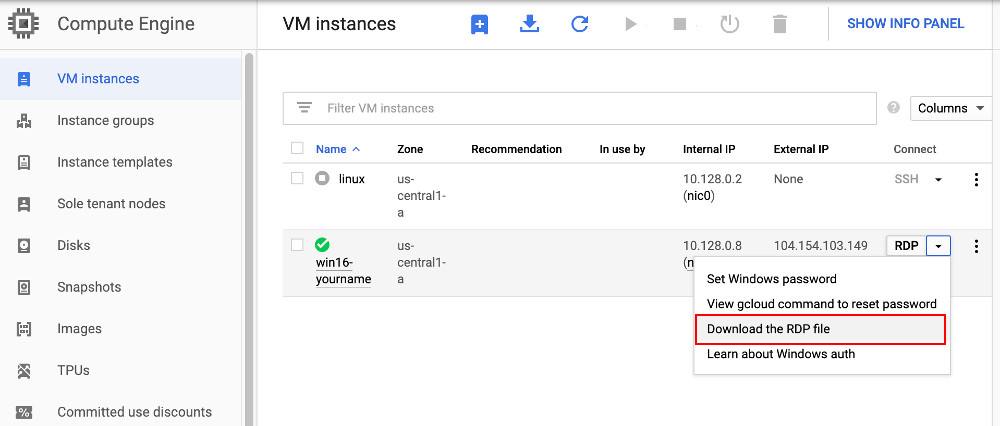
locate the RDP file you downloaded earlier and open it (double clicking it should load RDP automatically).
If you get the error
"We couldn't connect to the remote PC.
Make sure the PC is turned on and connected to the network,
and that remote access is enabled." the machine could still be setting up.
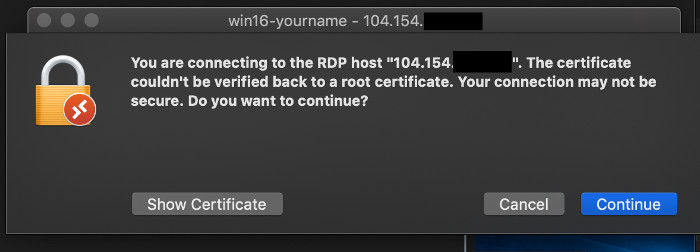
Click "Continue" if you encounter
"The certificate could not be verified to a root certificate".
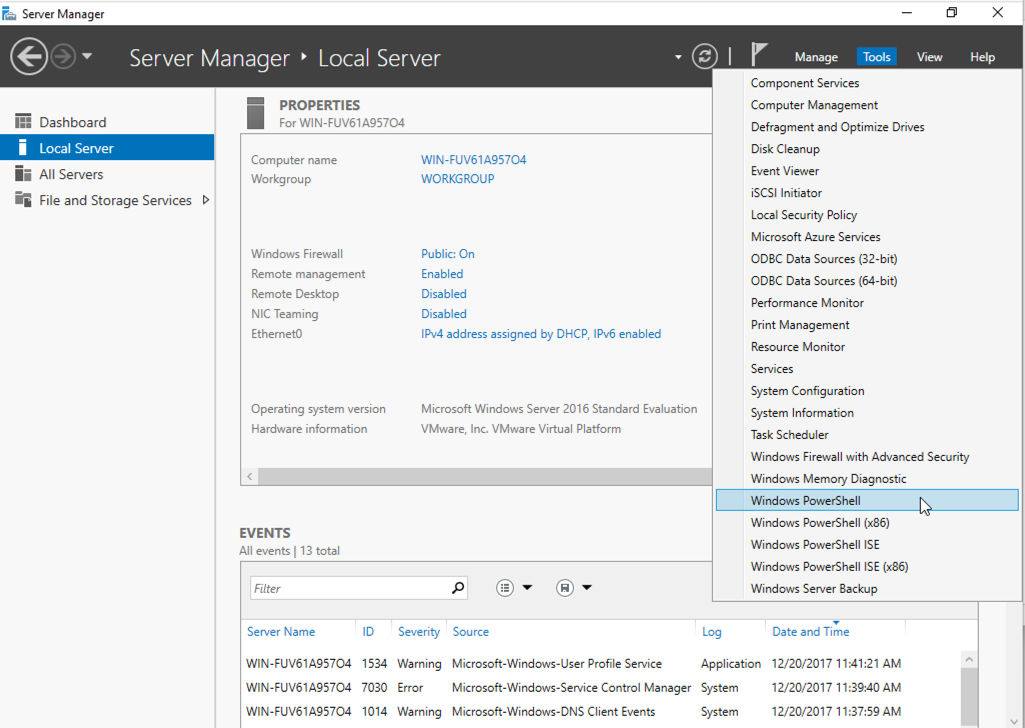
On your Windows Server 2016 desktop, in Server Manager, on the top right, click Tools, "Windows PowerShell", as shown below.
In PowerShell, execute this command:
sconfig
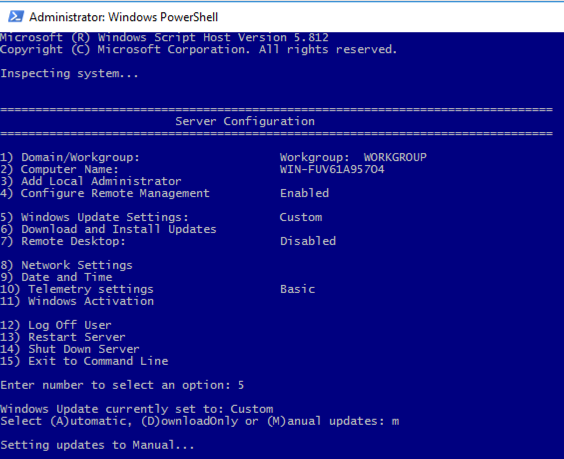
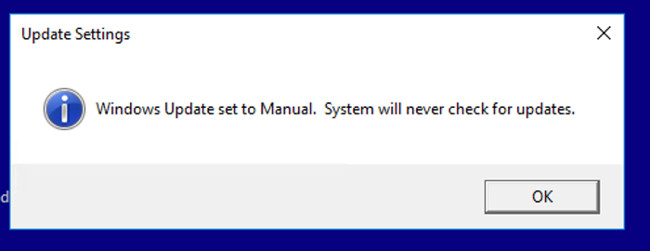
The Command line opens and after a minute or two an "Update Settings" box pops up should pop up.
Click OK
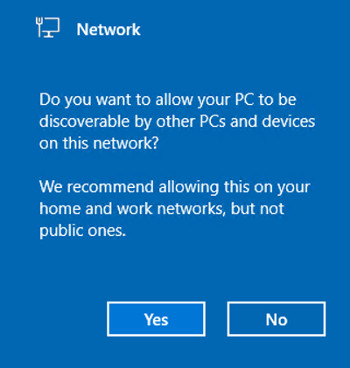
We want to allow that, so do these steps:
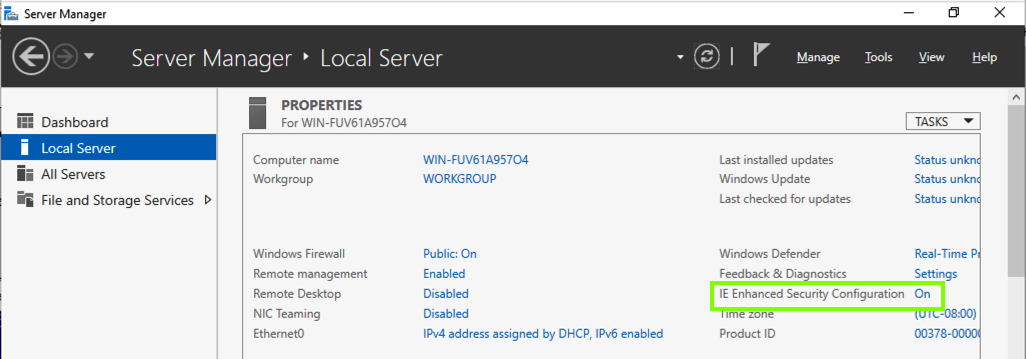
In Server Manager, on the left side, click "Local Server". On right side, find "IE Enhanced Security Configuration". Click the word On next to it, as shown below.
In the "Internet Explorer Enhanced Security Configuration" box, click both Off buttons, as shown below.
Click OK.

Troubleshooting
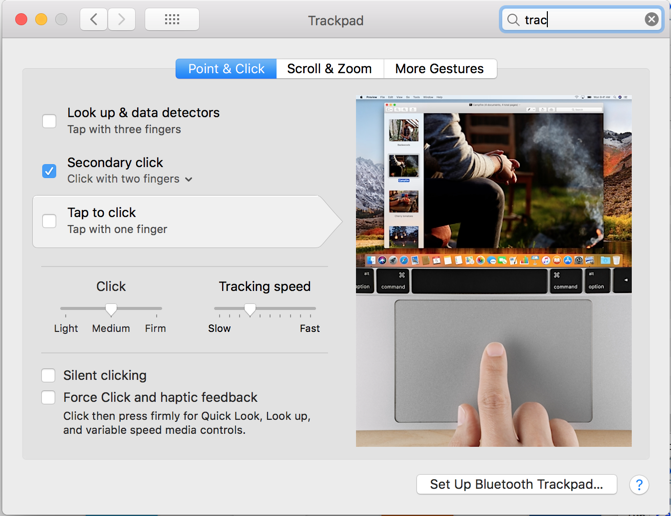
Right-Click on a Mac
To right-click in the Windows session from a Mac, you need to enable "Secondary click" in Trackpad preferences, as shown below.
Name the folder Malware.
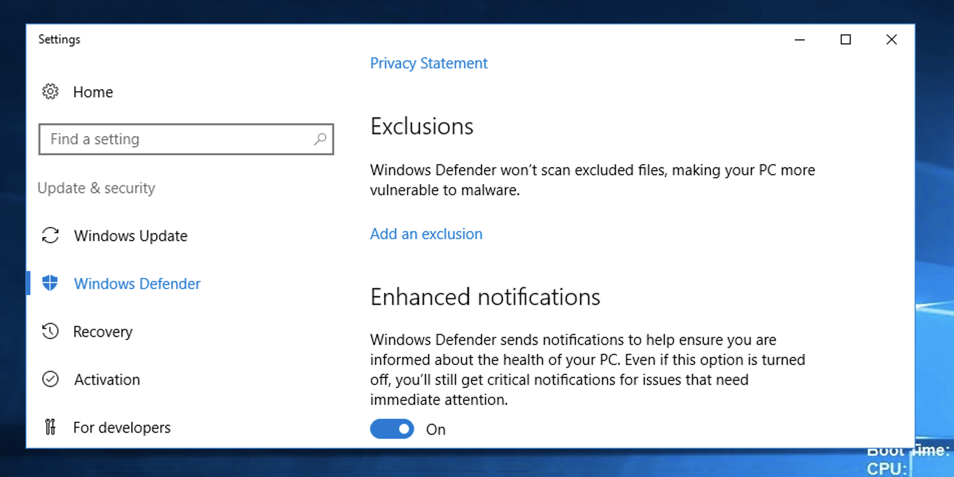
In Windows Defender, click Settings.
In Windows Defender, in the "Exclusions" section, click "Add an exclusion", as shown below.
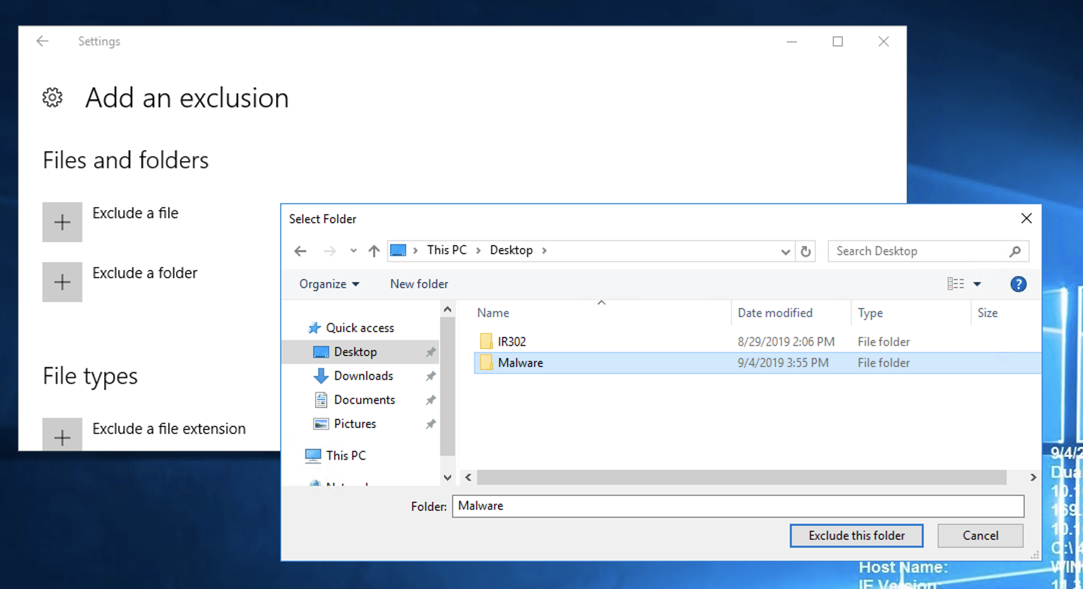
In the "Add an exclusion" window, click "Exclude a folder".
Navigate to the Malware folder, as shown below.
Click "Exclude this folder". Close the Settings window.
Download and install Firefox.
Download and install the 64-bit version of 7-Zip.
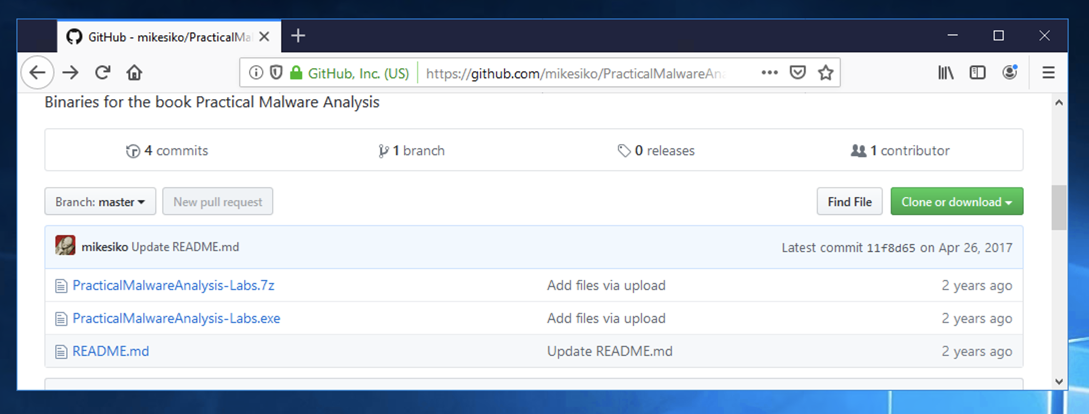
https://github.com/mikesiko/PracticalMalwareAnalysis-Labs
Click PracticalMalwareAnalysis-Labs.7z, as shown below.
On the next page, right-click Download and click "Save Link As...", as shown below.
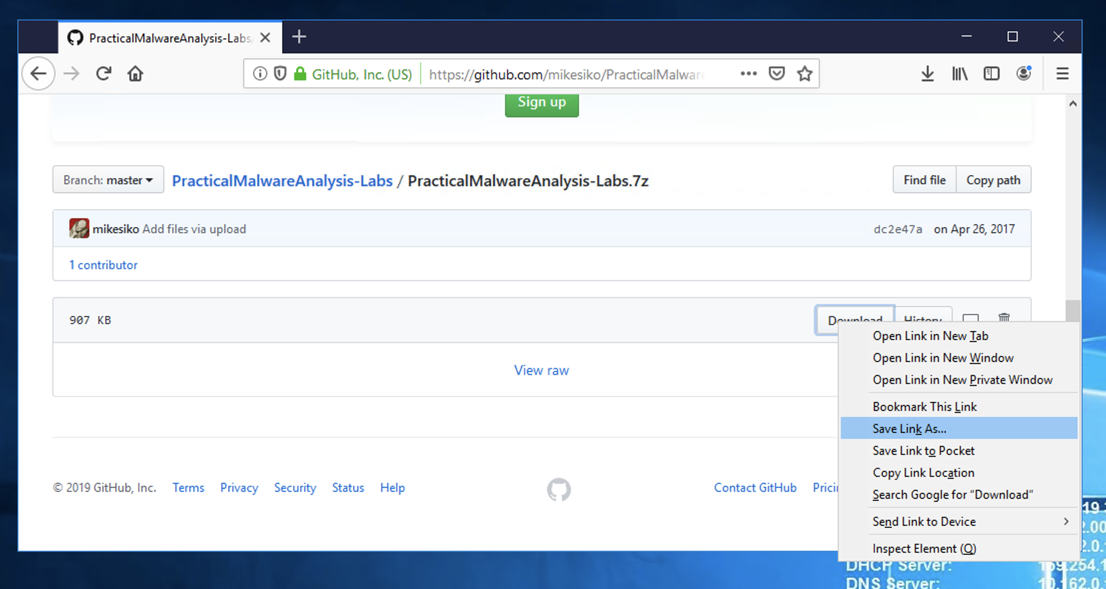
Navigate to your Malware folder and save the file there.
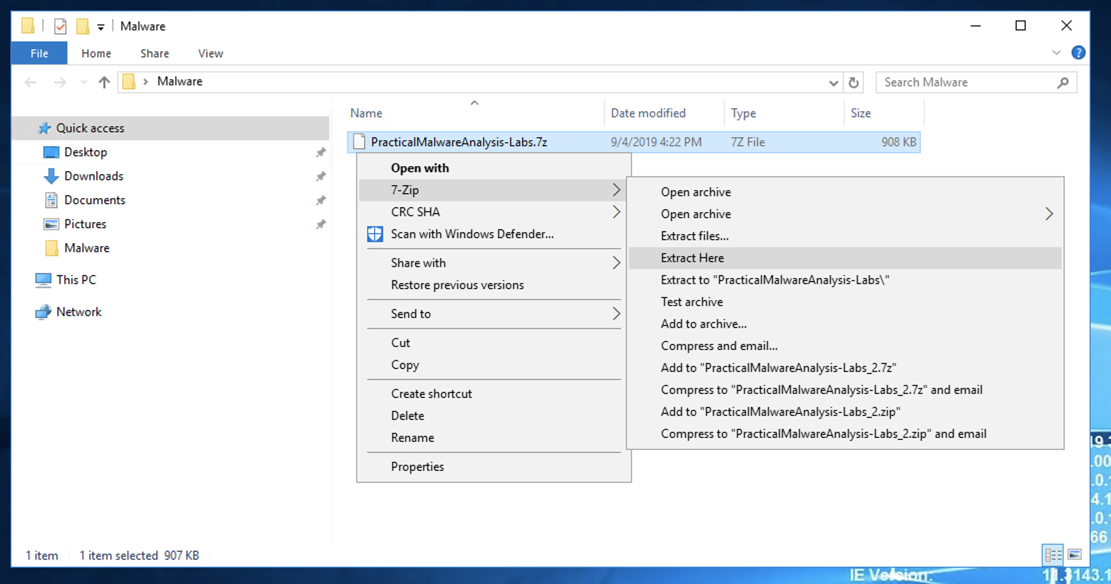
Right-click the PracticalMalwareAnalysis-Labs.7z file and click 7-Zip, "Extract Here", as shown below.
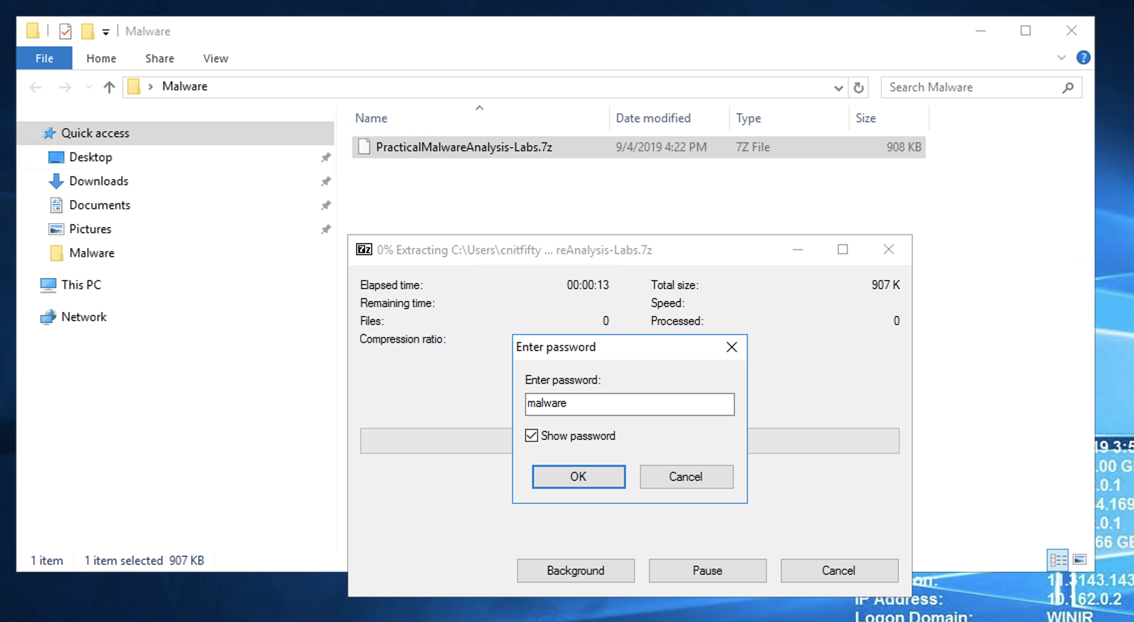
A box pops up asking for a password. Enter
malware
as shown below.
A new file appears, with a red icon, named PracticalMalwareAnalysis-Labs, as shown below.
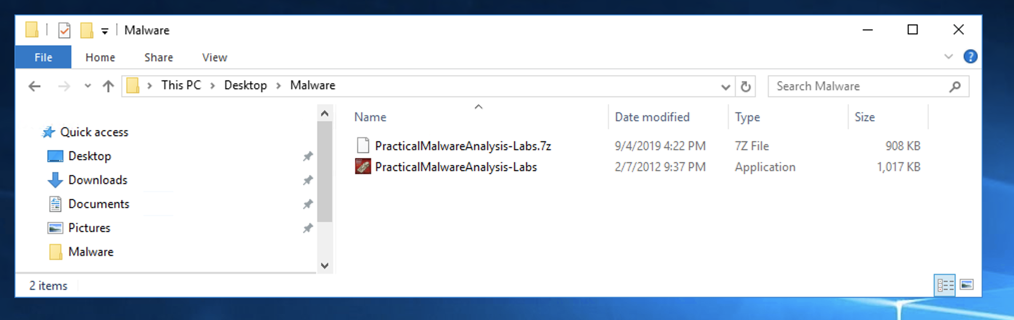
Double-click the PracticalMalwareAnalysis-Labs file.
Click Accept. Click Extract.
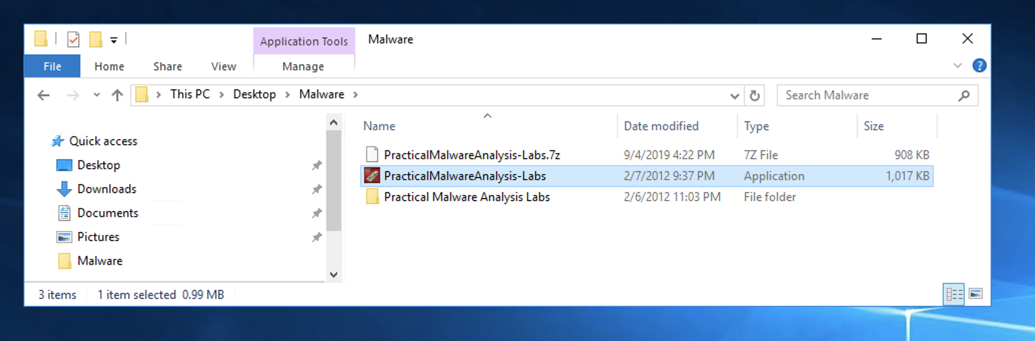
A folder appears with the malware samples, as shown below.
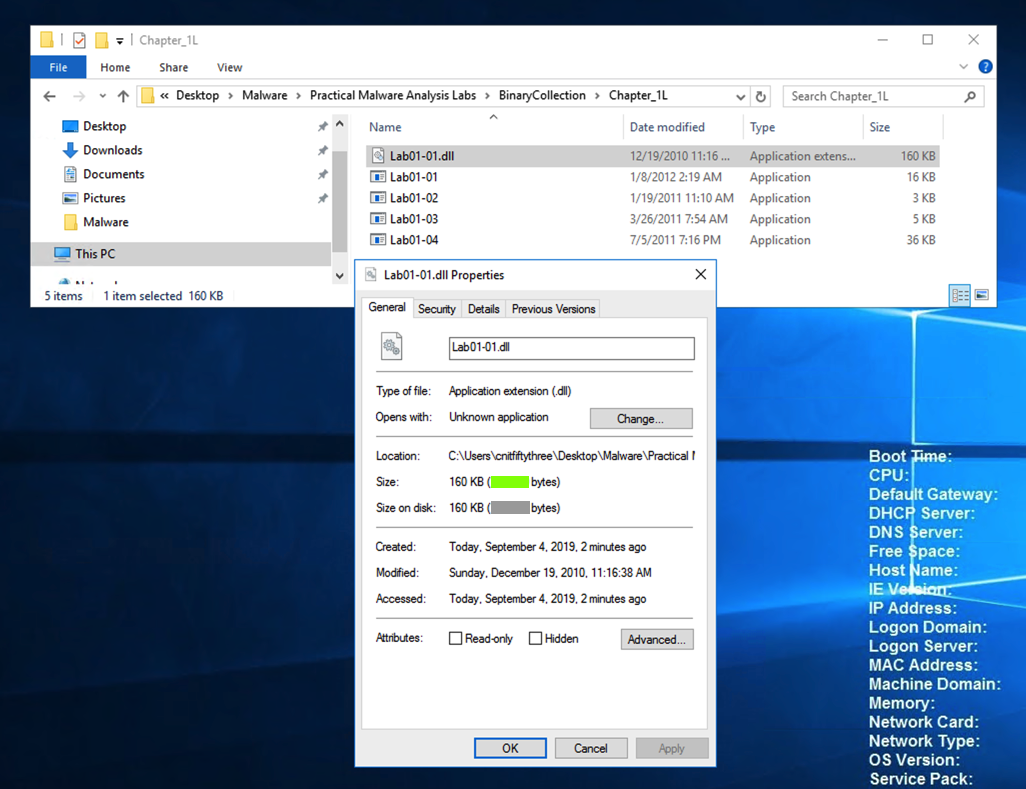
PMA 30.1 Recording Your Success (15 pts)
In the "Malware" window, open these folders:Right-click Lab01-01.dll and click Properties.
- PracticalMalwareAnalysis-Labs
- BinaryCollection
- Chapter_1L
The flag is the file size, covered by a green box in the image below.
Billing tip added 9-8-2020
Warning
This server uses a lot of Google resources, so it burns through your $300 free trial rapidly. I strongly recommend shutting this server down when not in use.