You don't need to connect to the Domain Controller via RDP--all the steps below should be performed on your Member Server's desktop.
Connect to it via RDP and log in with the credentials Google Cloud provides.
In the "Network Connections" window, right-click Ethernet and click Properties.
In the Ethernet Properties box, double-click "Internet Protocol Version 4 (TCP/IPv4)".
In the Internet Protocol Version 4 (TCP/IPv4) Properties window, in the lower section, click the "Use the following DNS server addresses" button.
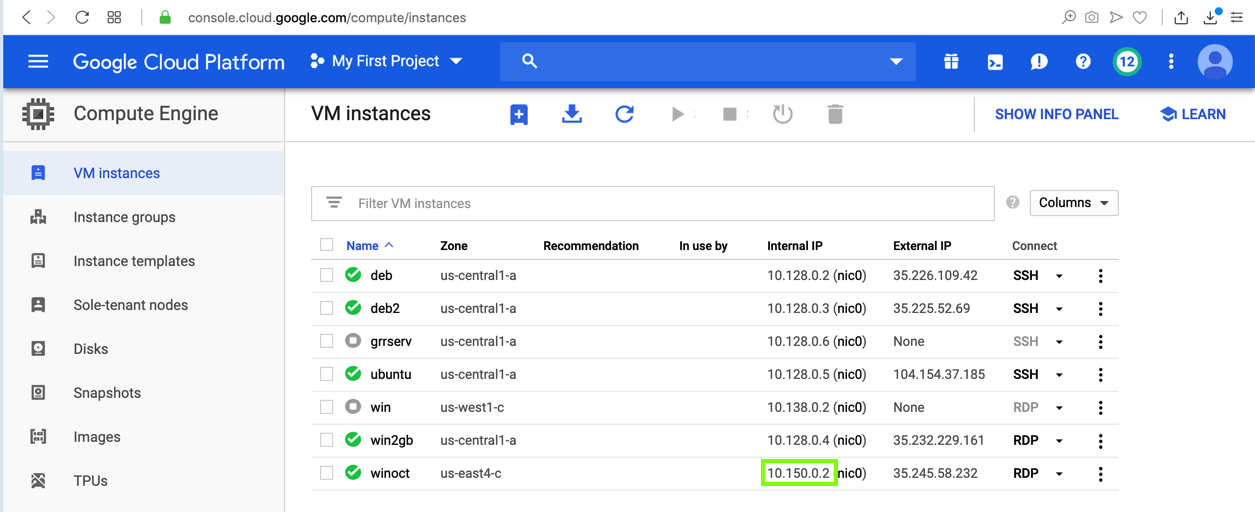
Enter the IP address of your domain controller, as shown below.
Note: your IP address will be different from my example

Click OK.
Click OK.
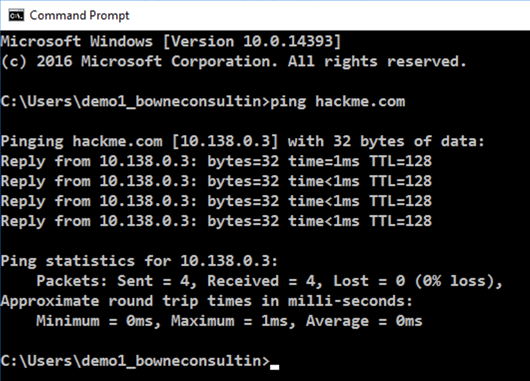
Open a Command Prompt and execute this command:
ping hackme.com
In the System window, on the left side, click "Advanced system settings".
A System Properties box opens.
In System Properties, click the "Computer Name" tab.
Click the Change... button.
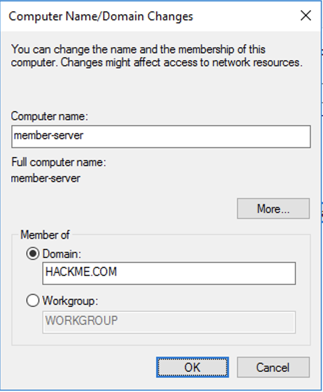
In the "Computer Name/Domain Changes" box, click the Domain button and enter a Domain of HACKME.COM as shown below.
Click OK
A Windows Security box pops up. Enter these credentials:
A box pops up saying "You must restart your computer...". Click OK.
Close all windows and restart your Member Server.
Connect again to the Member Server via RDP.
Log in with these credentials:
In the System window, on the left side, click "Advanced system settings".
A System Properties box opens.
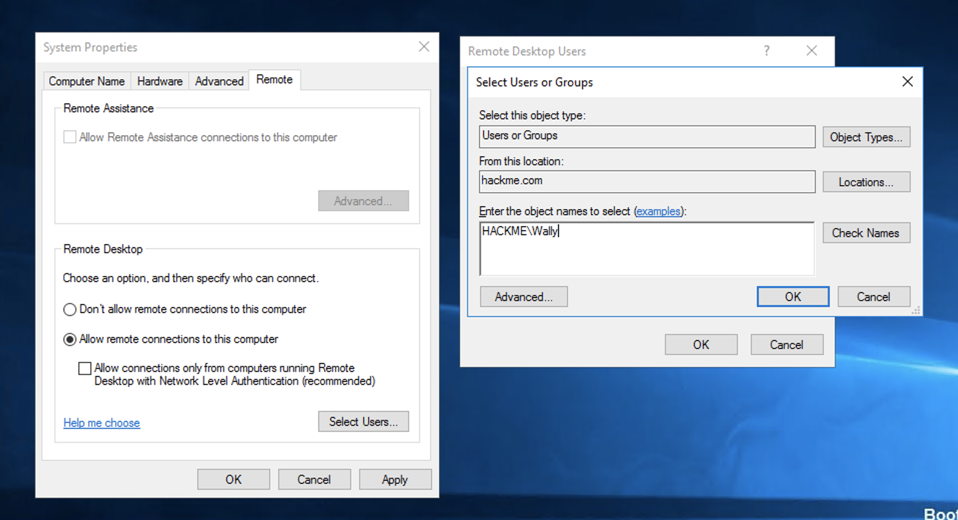
In System Properties, click the Remote tab.
In the "Remote Desktop" section, clear the "Allow connections only from computers running Remote Desktop with Network Level Authentication (Recommended)" box.
Click the "Select Users..." button.
In the "Remote Desktop Users" box, click the Add... button.
In the "Select Users or Groups" box, in the bottom pane, enter
HACKME\Wally
as shown below.
Click OK. Click OK. Click OK.
Close the RDP session.
Log in with these credentials:
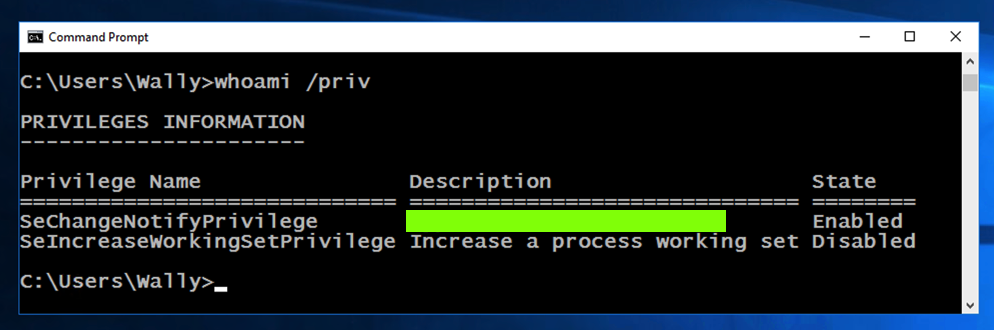
Click "Command Prompt".
Execute this command:
whoami /priv