Log in to Kali with:
"Command Prompt" is found, as shown below.
Click "Command Prompt".
In the Command Prompt window, execute this command, as shown below.
ping google.com
Troubleshooting VM Networking
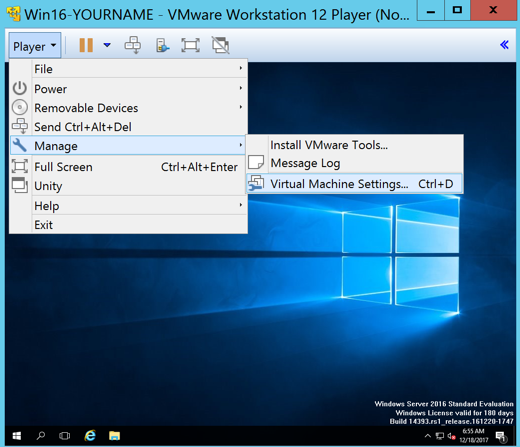
In VMware Workstation Player, at the top left, click Player, Manage, "Virtual Machine Settings", as shown below.
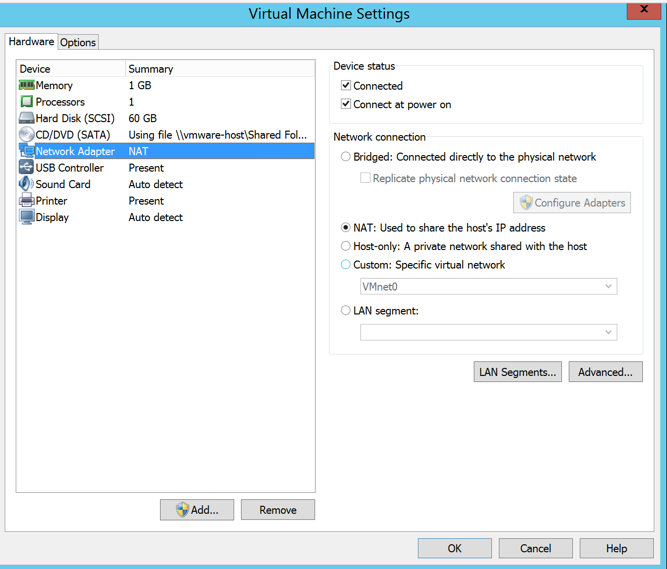
In the "Virtual Machine Settings" window, on the left side, click "Network Adapter", as shown below.
On the right side, check that these settings are correct:
- Connected box checked
- "Connect at power on" box checked
- NAT selected
Turning Off Windows Firewall
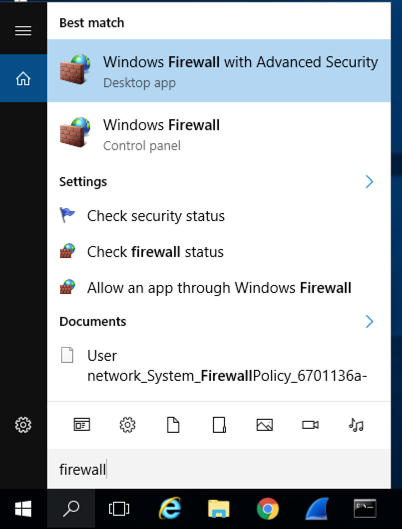
At the lower left of the Windows desktop, click the magnifying glass icon.Type FIREWALL.
In the Search results, click "Windows Firewall", the second result in the image below.
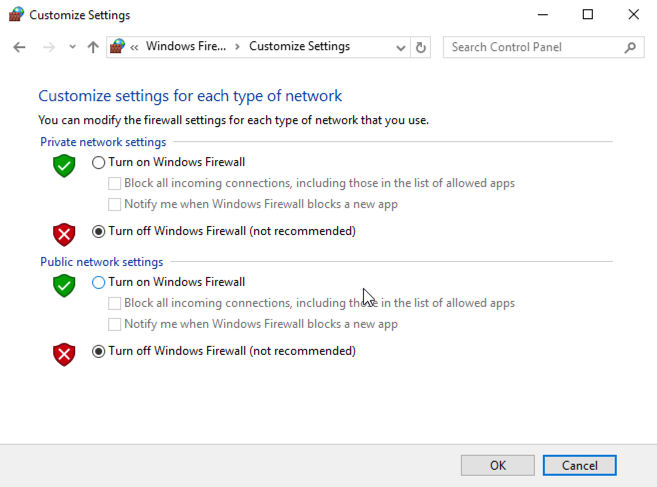
In the Windows Firewall box, on the left side, click "Turn Windows Firewall on or off".
Check both of the boxes labelled "Turn off Windows Firewall (not recommended)", as shown below.
Click OK.

In the Terminal window, execute this command, as shown below.
ping google.com
You should see replies, as shown below. If you do not, perform the "Troubleshooting" steps in the box above.
ipconfig
On your Kali Linux machine, in the Terminal window, execute this command, as shown below, replacing the IP address with the IP address of your Windows Server 2016 machine.
ping 172.16.1.247
You should see replies, as shown below. If you do not, perform the "Troubleshooting" steps in the box above. You should also make sure the Windows firewall is off, as explained in an earlier project.

On your host system, click the link below to download EasyFtp Server 1.7.0.11
easyftp-server-1.7.0.11-en.zipDrag the downloaded file onto your Windows Server 2016 desktop and drop it there.
On your Windows Server 2016 desktop, right-click easyftp-server-1.7.0.11-en.zip. Click "Extract All...". Click Extract.
In the "easyftp-server-1.7.0.11-en" window, double-click the folder.
There are two items in the folder, as shown below.
Double-click ftpconsole.
A blue window opens, as shown below.
At the top left of this window, click the gear icon.
A box pops up. At the top, check the "Bind IP" box and select your IP address, as shown below.
At the bottom, click Ok.
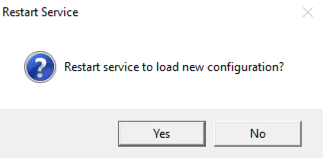
A "Restart Service" box pops up, as shown below. Click Yes.
Troubleshooting
If the service won't start, a broken version may be already installed. Execute this command to delete the broken service:sc delete easyftpbasicsvr
nc 172.16.1.247 21

Troubleshooting
In the ftpconsole window, click Service, Stop, as shown below. Then click the green arrow to restart the service.
If you still cannot connect, make sure the Windows firewall is off and both machines are in NAT networking mode. Then use PING as explained above to see if the machines are nwtworked together.
If problems persist, try restarting both virtual machines.
In the "Connect..." box, accept the default values and click the Connect button.
In the "Start Metasploit?" box, click the Yes button.
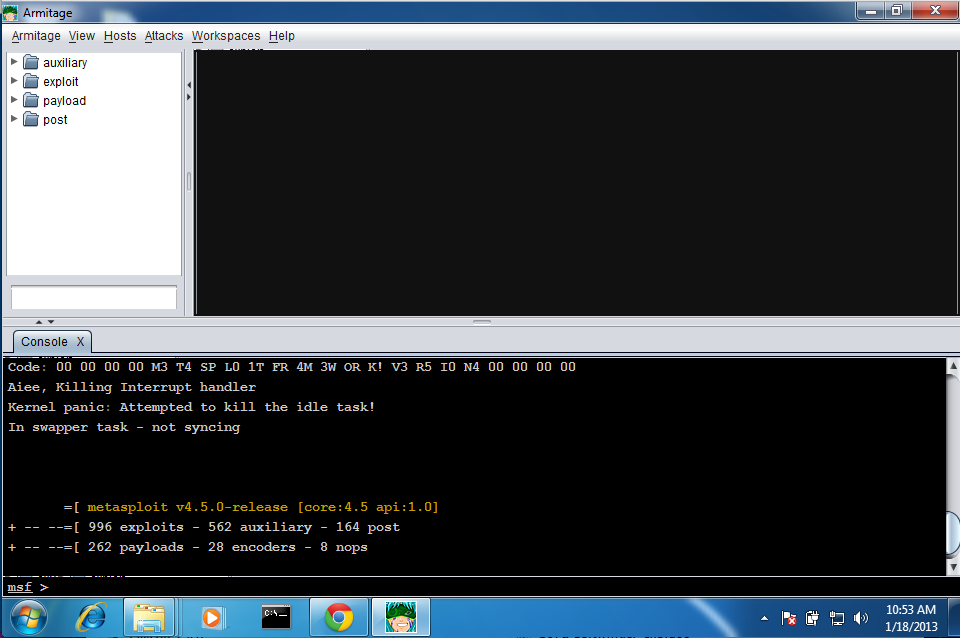
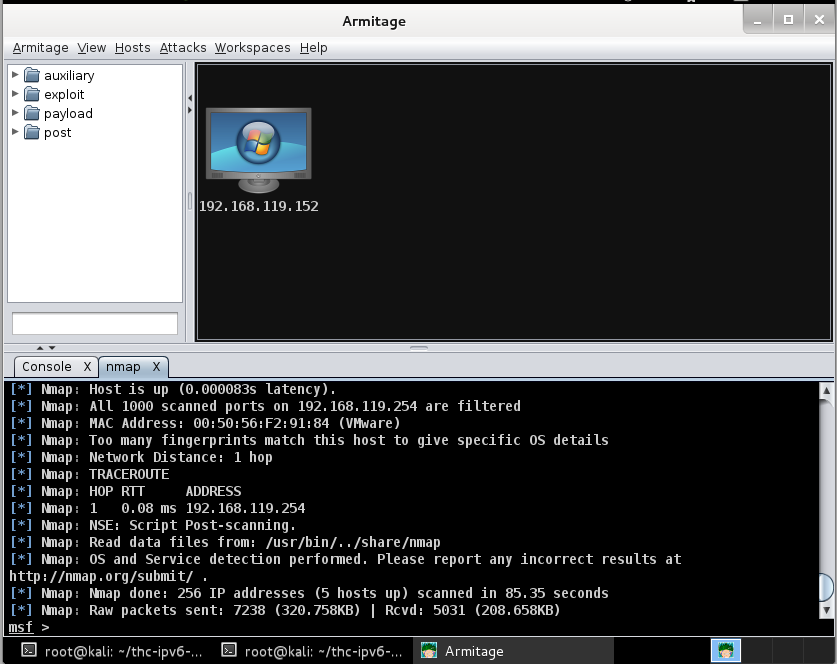
Armitage opens, as shown below.
Troubleshooting
If Armitage won't start from the GUI, or the "Progress" box times out and cannot connect, execute these commands in a Terminal window to reinstall Armitage.If you get this error: The Parallel GC can not be combined with -XX:ParallelGCThreads=0, edit the armitage file with nano and change this line:
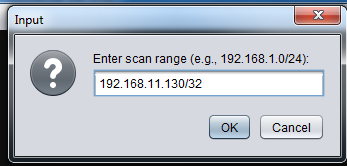
A box pops up saying "Enter scan range (e.g., 192.168.1.0/24):". Type in your Windows Server 2016 target machine's IP address with a /32 added to the end of it, as shown below. Click the OK button.
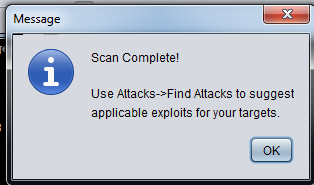
The scan will take a few minutes. When the scan is done, a box pops up saying "Scan Complete!", as shown below. Click OK.
The target machine appears in the upper center part of the Armitage window, with a Windows logo on it:
Troubleshooting
If your Windows machine is not detected, test your network with these steps:
- On your Windows machine, in a Command Prompt, execute the IPCONFIG command to find its IP address.
- On your Kali machine, in a Terminal window, ping the Windows machine. If you don't get replies, that indicates a problem with networking.
- On the Windows machine, turn off the firewall.
- In VMware Player Settings, verify your network modes. The Windows and Kali machines must be on the same network: either both Bridged, or both NAT.
Several exploits appear, as shown below.
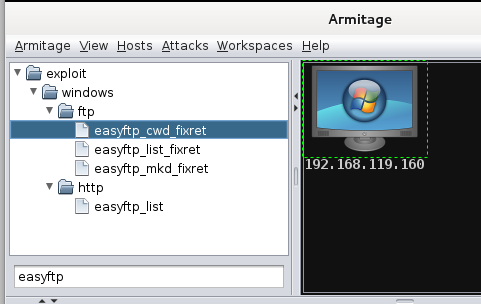
Click easyftp_cwd_fixret, hold down the left mouse button, drag it onto the computer icon showing your target's IP address, and drop it there.
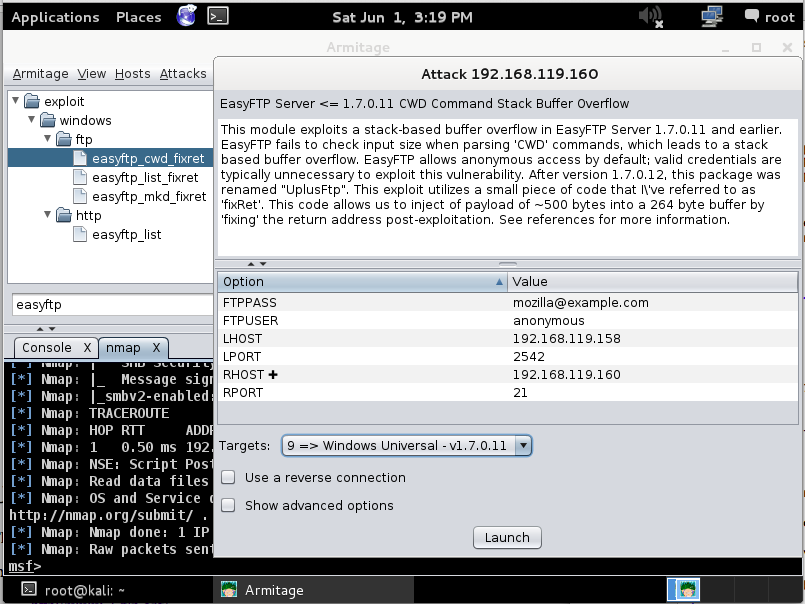
An Attack box pops up with details about the attack.
At the bottom of this box, in the "Targets:" drop-down list box, select "9 => Windows Universal - v1.7.0.11", as shown below.
Click Launch.
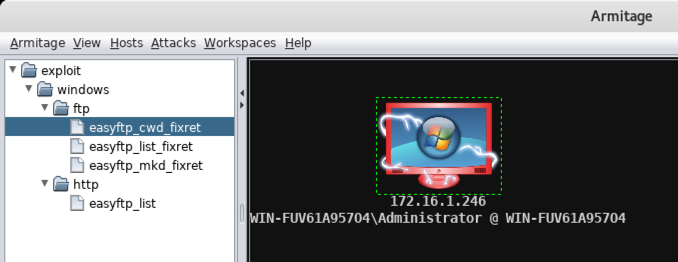
When the attack succeeds, the target machine shows electric arc graphics on it, as shown below, indicating this box is owned!
Troubleshooting
If you see an error message saying "connection refused", that usually means the EasyFTP service crashed. It does that a lot. To fix it, restart the EasyFTP service, as shown in an earlier Troubleshooting box on this page, or just restart the Windows target machine entirely.
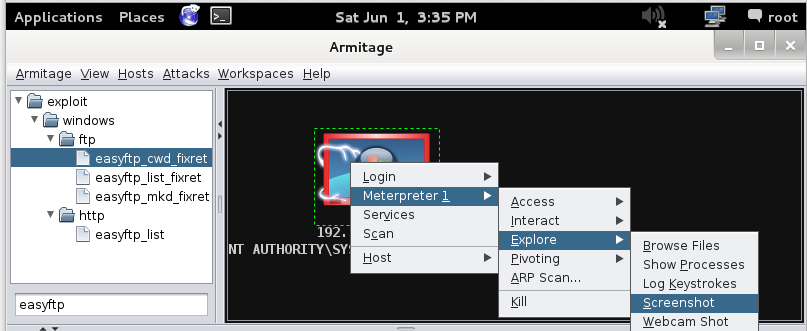
In Armitage, right-click the target computer icon, and click Meterpreter, Explore, Screenshot, as shown below.
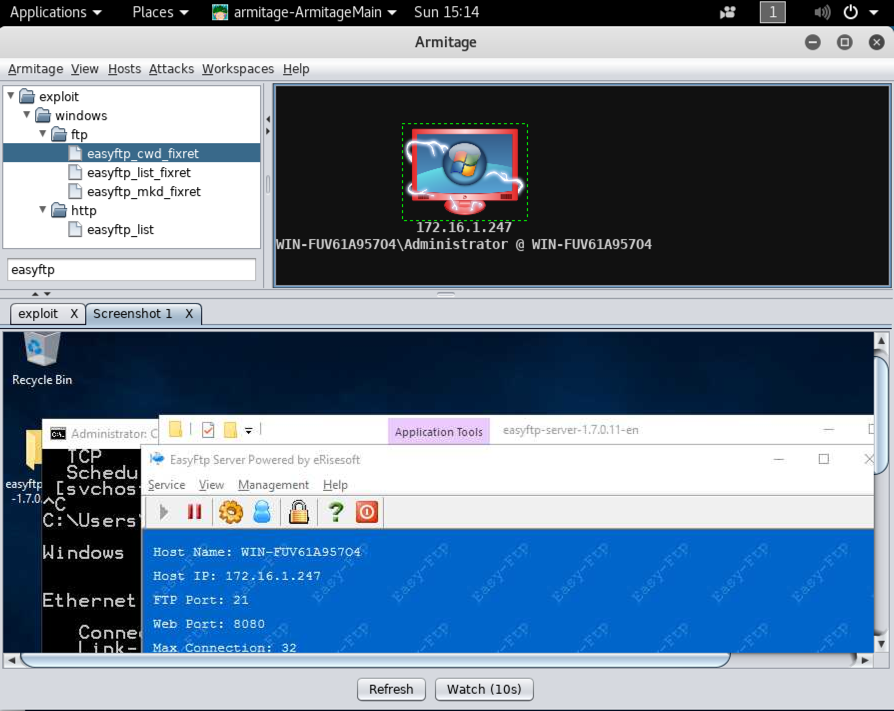
The Target machine's desktop appears in the lower pane of Armitage, as shown below.
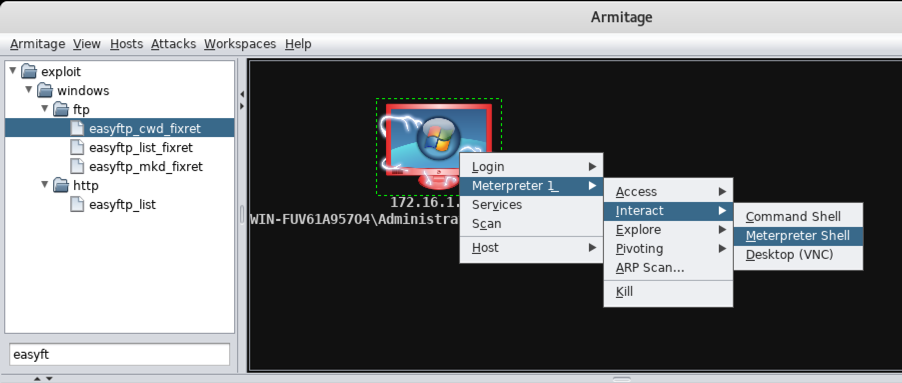
In Armitage, in the bottom pane, execute this command:
sysinfo

On your Windows Server 2016 desktop, at the lower left, right-click the Start button and click System, as shown below.

In the "System" box, on the left side, click "Advanced System Settings".
In the "System Properties" box, click the Advanced tab. In the Performance section, click the Settings... button, as shown below.
In the "Performance Options" box, click the "Data Execution Prevention" tab. Click the "Turn on DEP for all programs and services except those I select:" button, as shown below.
Click OK.
A "System Properties" box pops up. Click OK.
In the "System Properties" box, click OK.
Close all windows. At the lower left, right-click the Start button. Point to "Shut down or sign out" and click Restart, as shown below.
A box pops up asking you to "Choose a reason". Click Continue.
If a screen appears saying there are background tasks running, click "Restart Anyway".
Log in as normal when the server restarts, with the password P@ssw0rd
An Attack box pops up with details about the attack.
At the bottom of this box, in the "Targets:" drop-down list box, select "9 => Windows Universal - v1.7.0.11".
Click Launch.
On the Windows Server 2016 machine, a box pops up saying "ftpbasicsvr.exe has stopped working", as shown below.
DEP has saved your server by stopping the attack!
Moved to local server 3-21-19