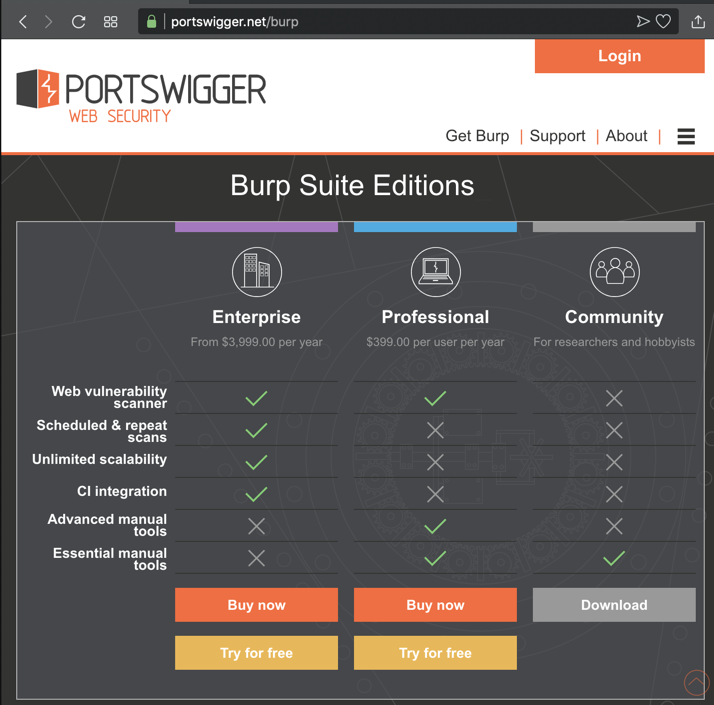
In a Web browser, go to https://portswigger.net/burp
In the "Community Edition" column, click Download", as shown below.
Install the software with the default options.
Ubuntu Users
If you are using Ubuntu, execute these commands:You should see the name of the downloaded file, which should be something like burpsuite_free_v1.6.01.jar. Use that name in the commands below:
Warning
If you run Burp in Kali, it seems not to properly export the certificate and Chrome on Android refuses to accept it. It can be imported but Chrome gives an error when opening secure pages anyway.We succeeded by running Burp directly on the host system instead (Mac OS).
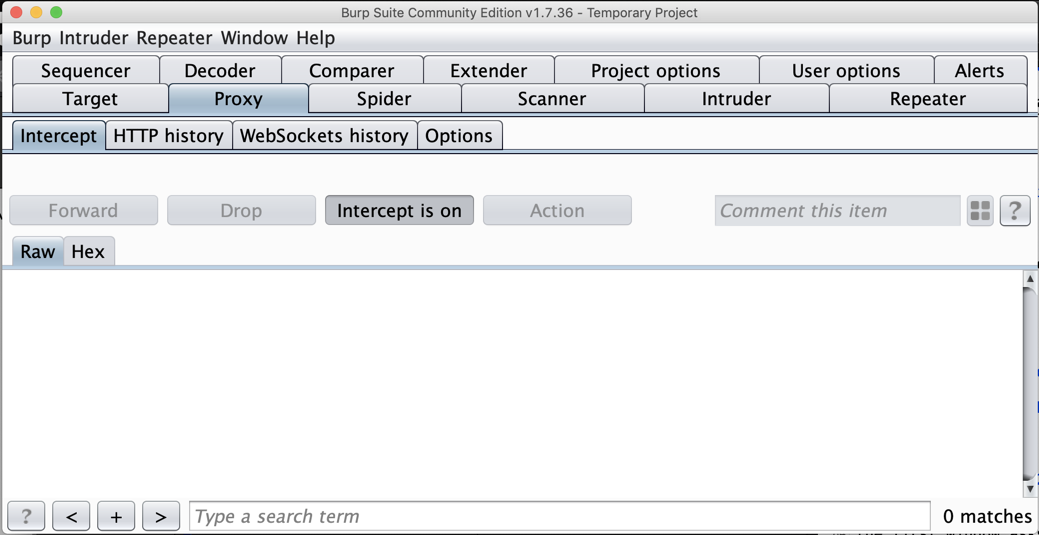
In the next page, click the Start Burp button.
The main Burp window opens, as shown below.
Click the Proxy tab. Click the Intercept sub-tab.
The third button says "Intercept is on", as shown below.
On the Proxy tab, click the Options sub-tab.
In the central box, click the Interface address to highlight it, as shown below.
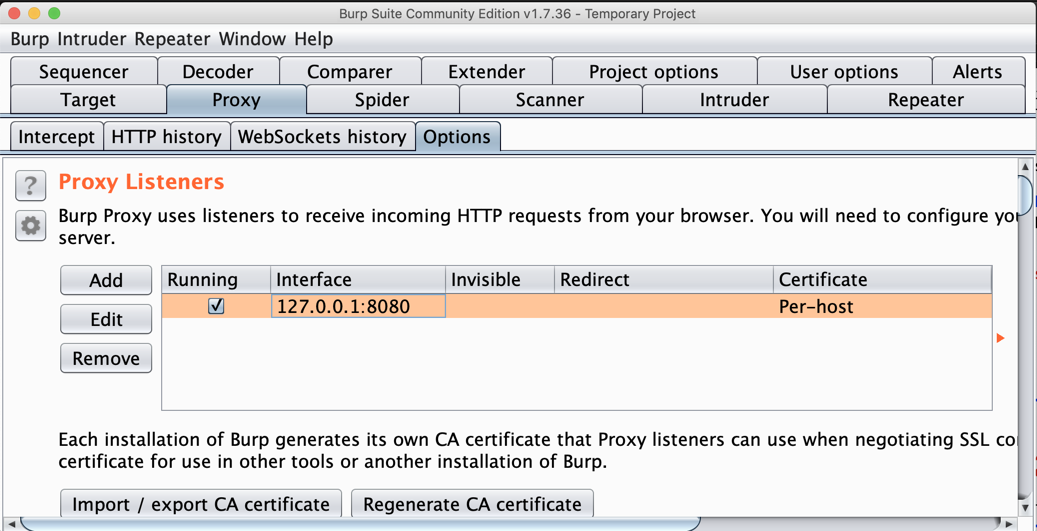
On the left side, click the Edit button.
In the "Edit proxy listener" box, click the "Specific address" button, and select your computer's IP address that is used to connect to the Internet, as shown below.
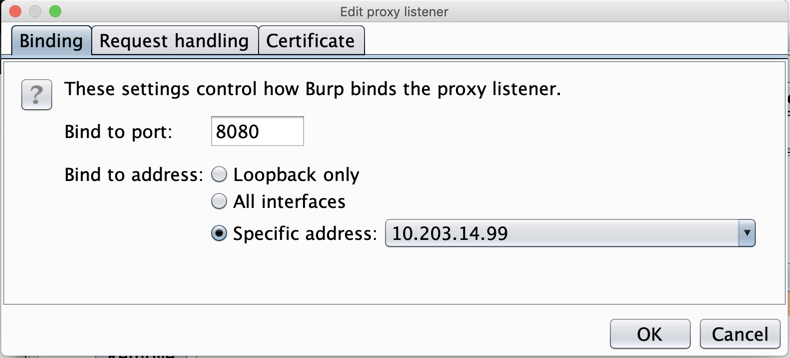
Click OK.
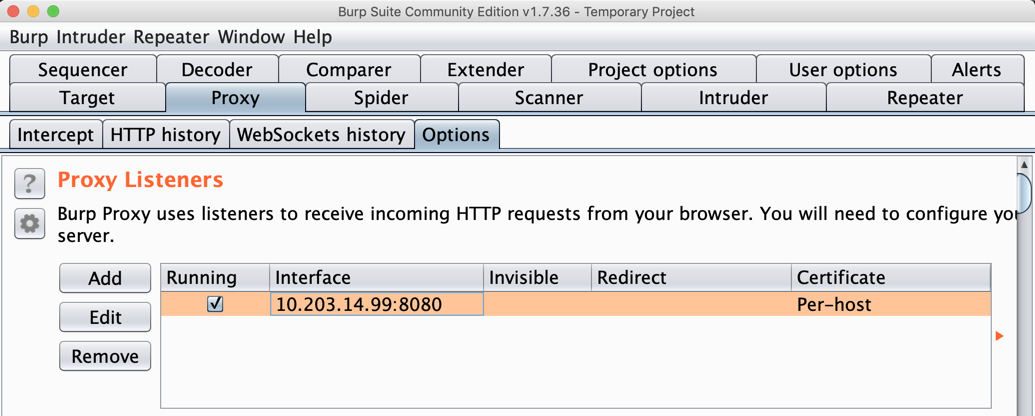
Burp shows a proxy listener on your IP address and port 8080, as shown below.
Make a note of this address--you will need it below.
Open Google Play. Install the Google Chrome browser, or Firefox.
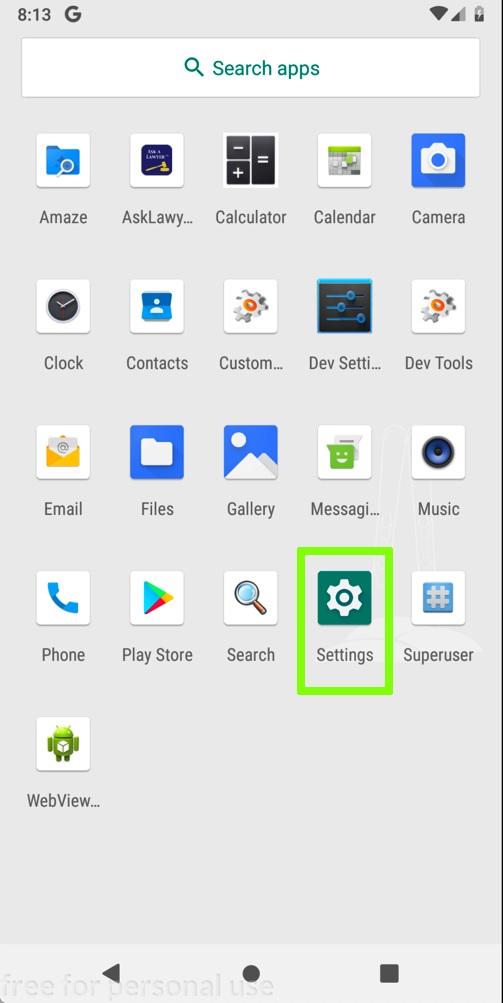
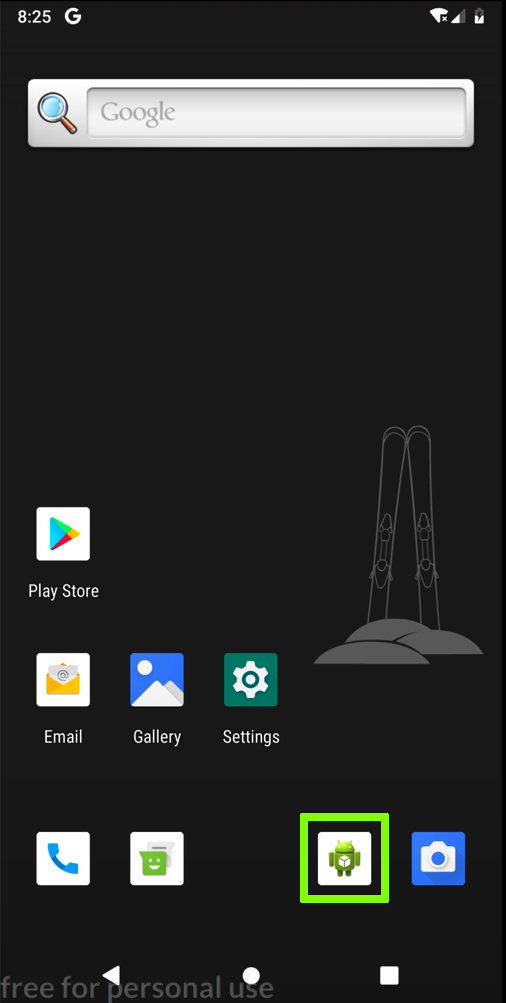
Click Settings, which is outlined in green in the image below.
In Settings, click "Network & internet".
Click Wi-Fi.
Click AndroidWiFi.
Click Advanced.
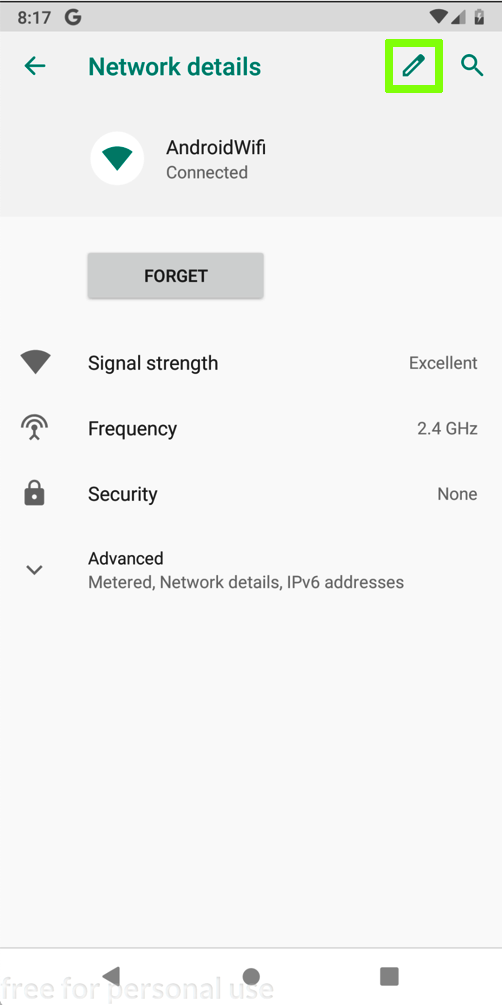
In the "Network details" screen, at the top right, click the Pencil icon, outlined in green in the image below.
In the "AndroidWifi" box, in the "Advanced options" row, click the down-arrow.
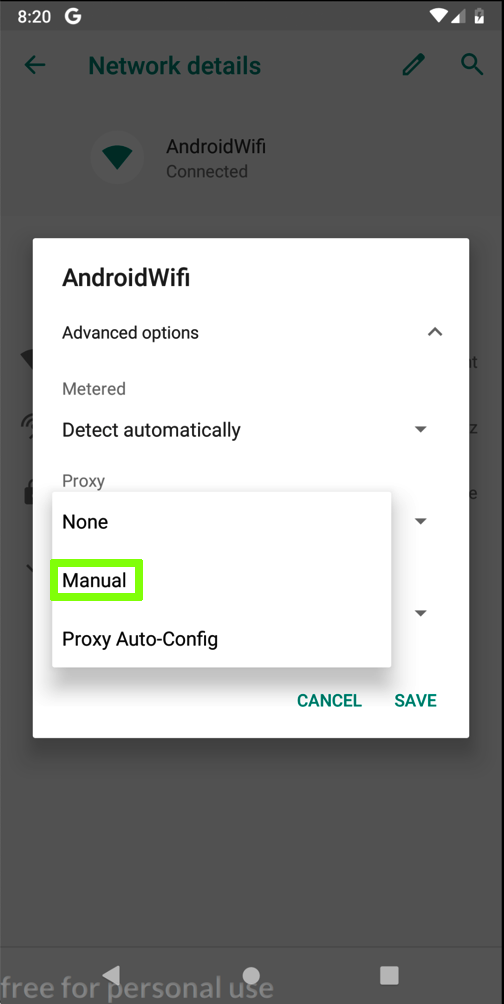
In the "Proxy" field, click the down-arrow.
Click Manual, which is outlined in green in the image below.
Enter the IP address and port number of the Burp proxy listener, as shown below.

On your Android device, click SAVE.
At the bottom center of the device, click the round Home button.
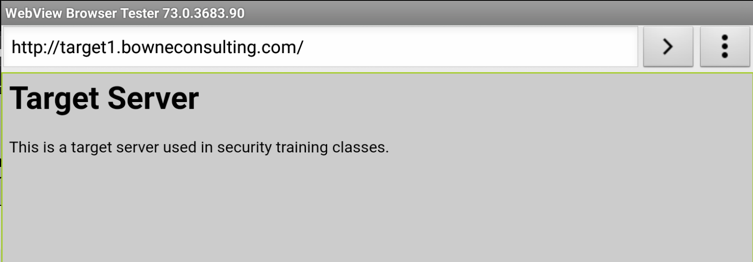
In the Browser, and go to
A simple HTTP page opens, as shown below.
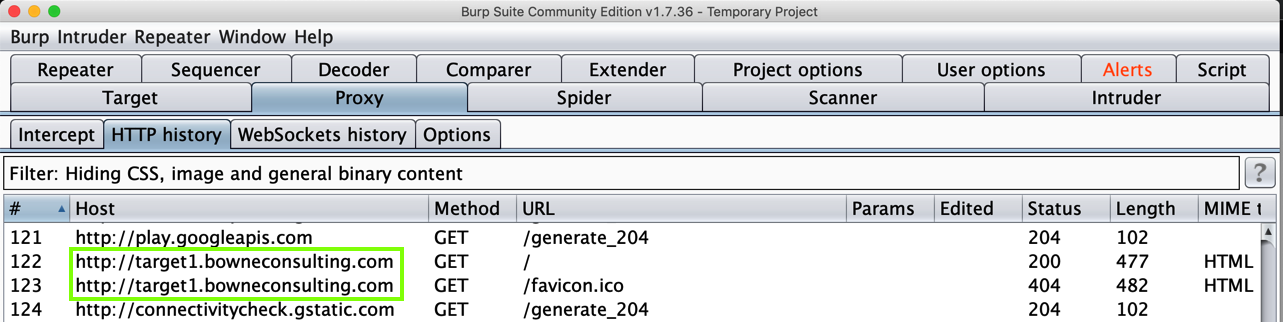
You should see traffic to target1.bowneconsulting.com as shown below.
The browser does nothing, as shown below. It's a lousy browser, which is why we installed Chrome.
When you see the "Sign in to Chrome" page, click "NO THANKS".
In Chrome, go to
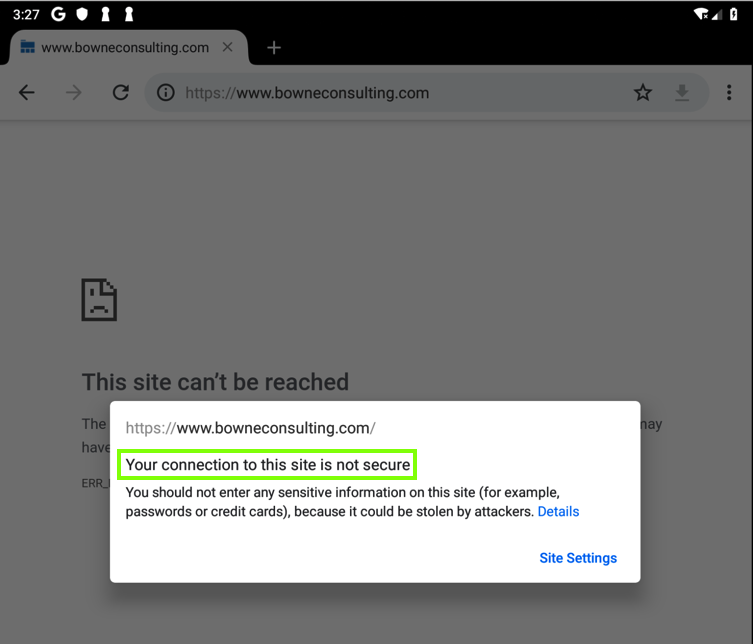
An error message appears. Click the ⓘ icon to the left of the URL to see an information box.
The box says "Your connection to this site is not secure", as shown below.
This happens because Burp is performing a man-in-the-middle attack with a self-signed certificate, and Chrome correctly validates certificates.
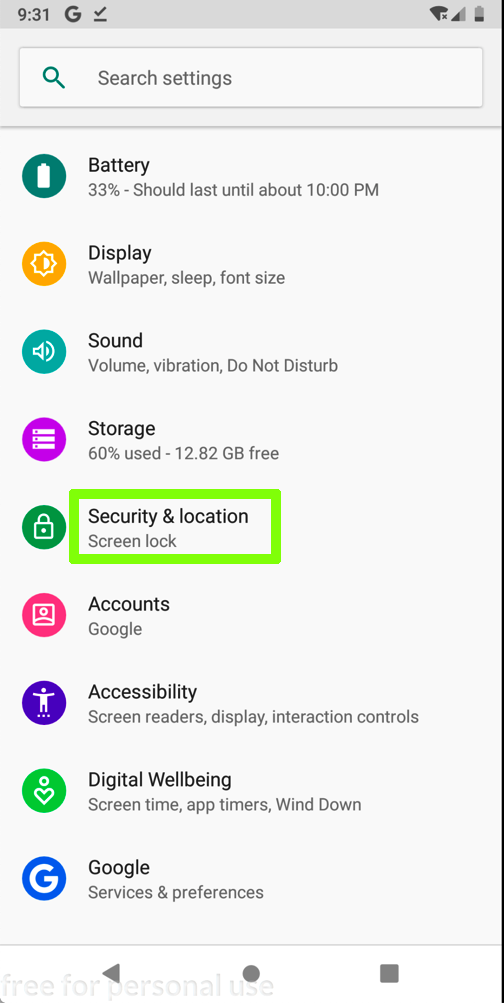
At the bottom center of the device, click the Home button. Open Settings.
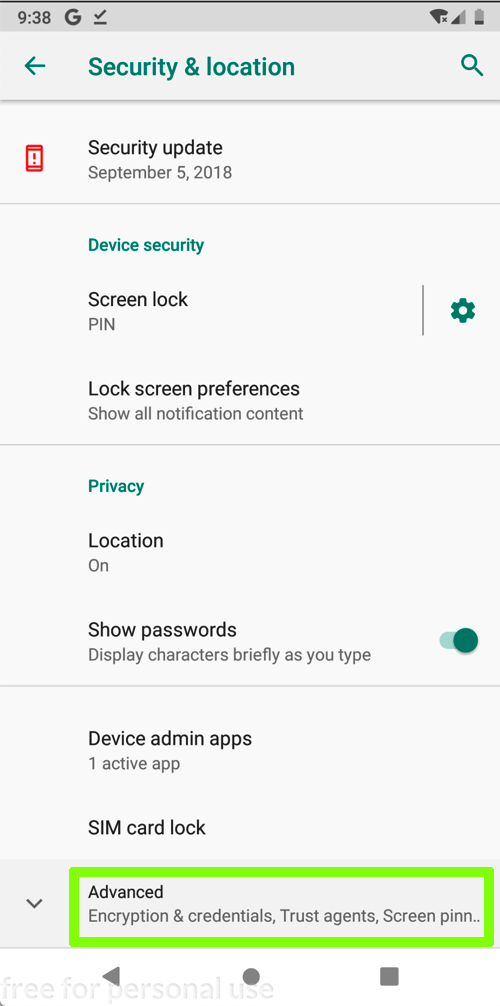
Scroll down and click "Security & location", as shown below.
In the "Security & location" screen, click "Screen lock", as shown below.
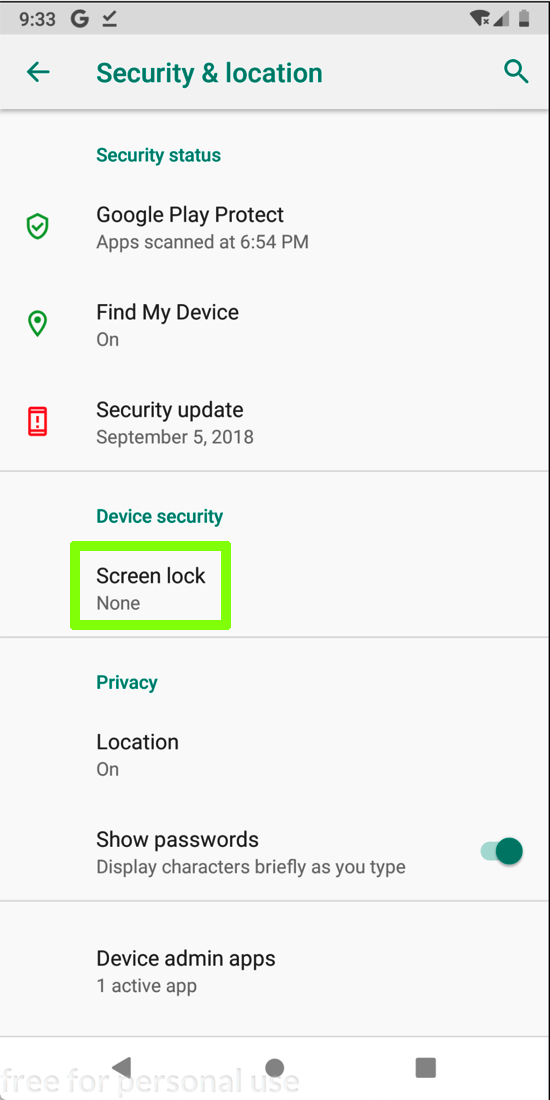
In the "Choose screen lock" screen, click PIN.
Enter a simple PIN you can remember, such as 1234, twice. Click DONE.
We want to add PortSwigger as a trusted certificate authority to get rid of these messages.
In Burp, click the Proxy tab.
Click the Options sub-tab.
Click the "Import /export CA certificate..." button.
In the "CA Certificate" box, in the Export setion, click the "Certificate in DER format" button, as shown below.
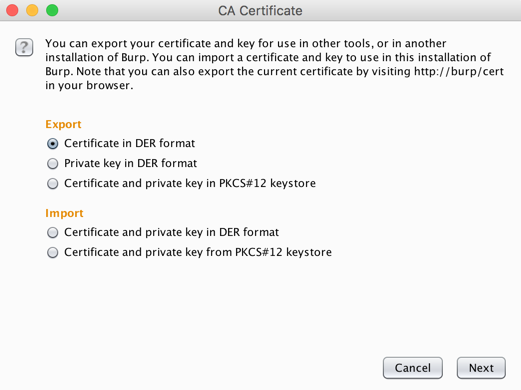
Click Next.
On the next page, click the "Select file..." button. Navigate to a folder you can find, such as your Desktop.
Give the file a name of portswigger.cer, as shown below.
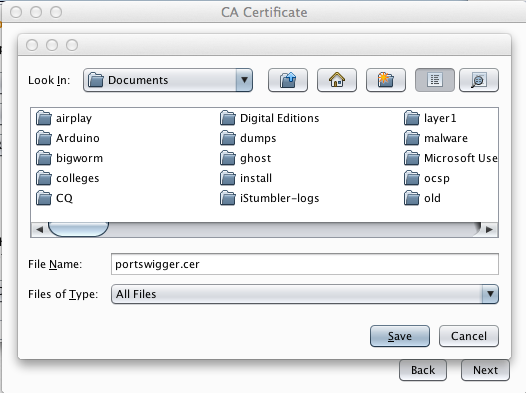
Click Save.
Click Next. Click Close.
A message appears, saying "Files successfully copied to sdcard/Download", as shown below.
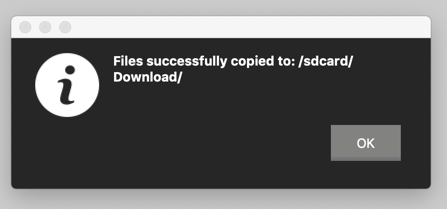
Click OK.
On your Android device, in Settings,
Click "Encryption & credentials".
Click "Install from SD card", as shown below.

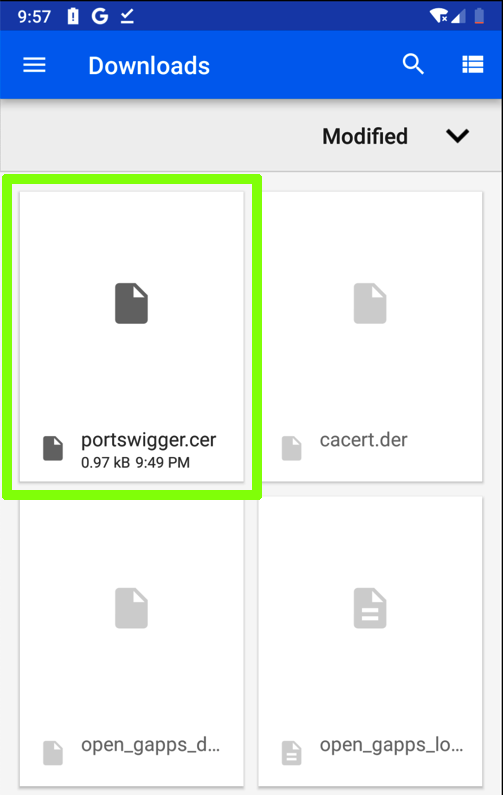
In the next screen, at the top left, click the three-bar icon. Click Downloads.
In the Downloads window, click portswigger.cer, as shown below.
Enter your PIN.
Enter a name of portswigger, as shown below, and click OK.

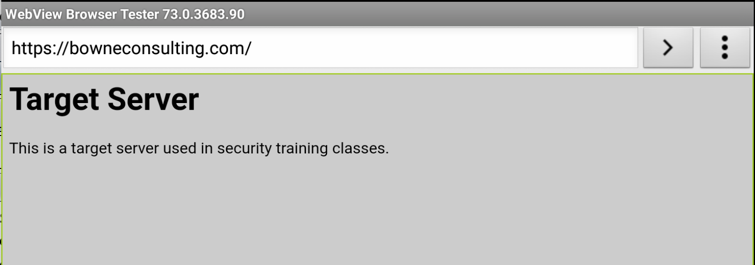
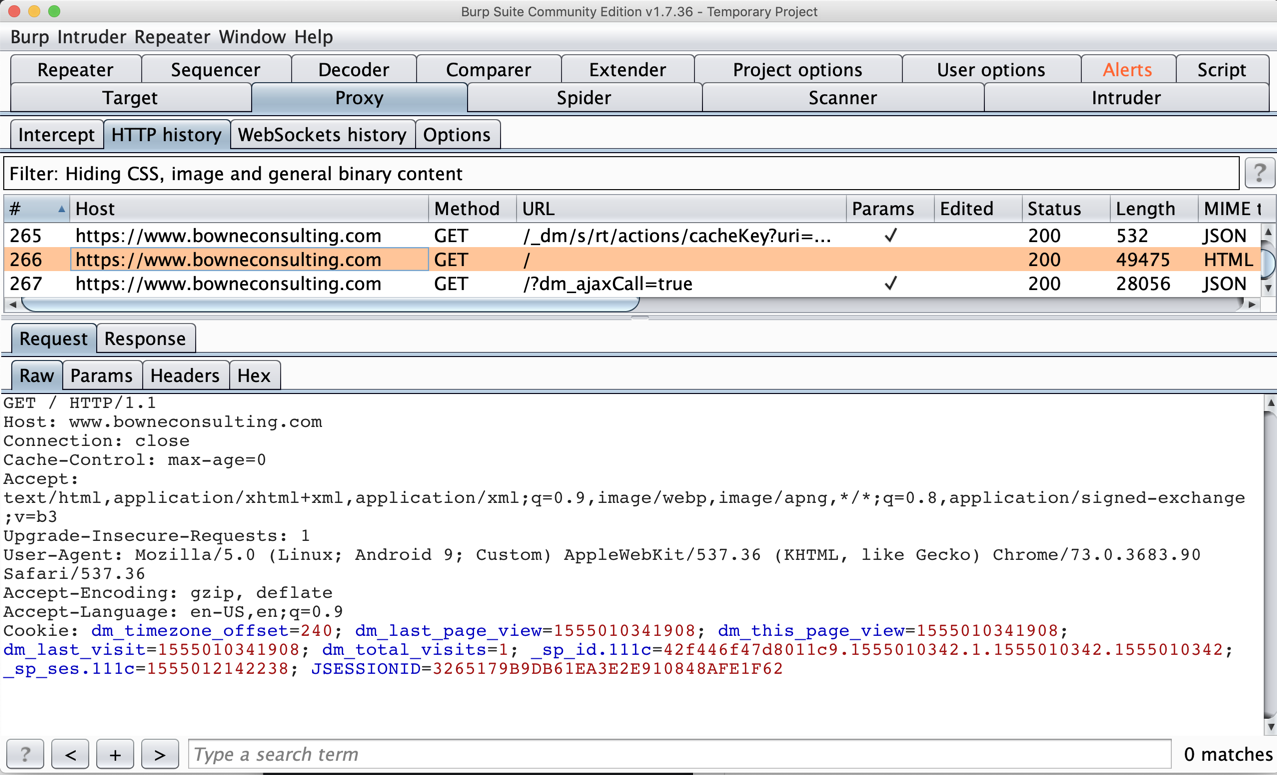
The page opens, as shown below.

You can see the requests that loaded the https://bowneconsulting.com page, as shown below.
From the Android home screen, click the circle at the bottom center.
Open Settings.
In Settings, click "Network & internet".
Click Wi-Fi.
Click AndroidWiFi.
Click Advanced.
In the "Network details" screen, at the top right, click the Pencil icon.
In the "Proxy" field, click the down-arrow.
Click None.
Then click Save.