Genymotion is a very nice, luxurious Android virtual machine, more convenient and efficient than the emulator Google Studio provides.
https://www.genymotion.com/fun-zone/
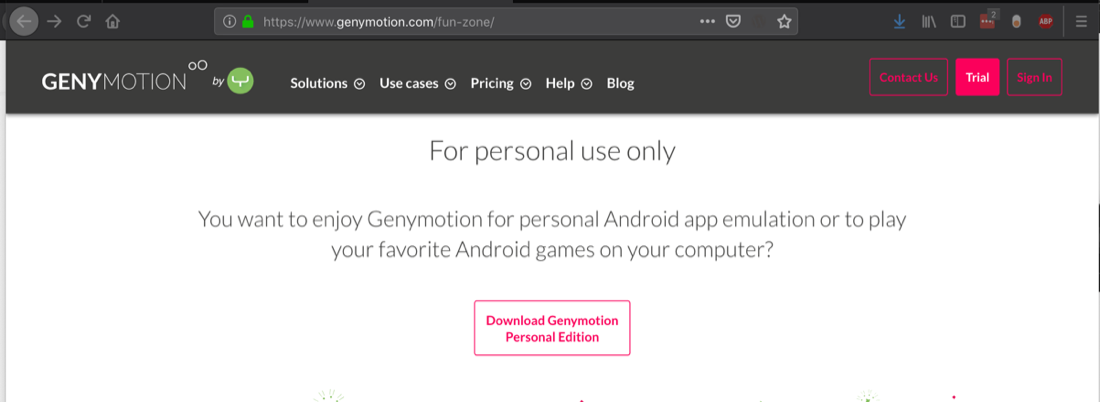
Click "Download Genymotion Personal Edition", as shown below.
In the next screen, click "Create an account". Fill in the form with your email address and other details, as shown below.
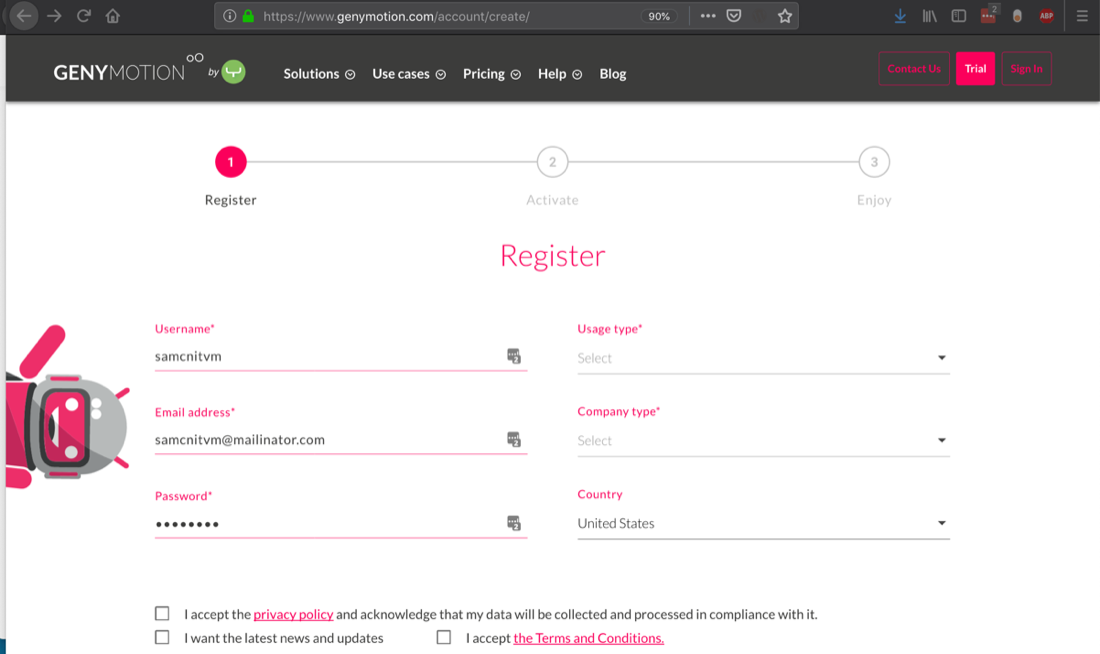
Accept the terms and click "Create account".
Download links appear. Download the correct version for your OS. There are four choices:
While the download proceeds, check your email and activate your Genymotion account.
Ubuntu Users
If you are using Ubuntu, execute these commands:You should see the name of the downloaded file, which should be something like genymotion-2.7.2-linux_x64.bin. Use that name in the next two commands:
Sign in with your Genymotion account to see available devices.
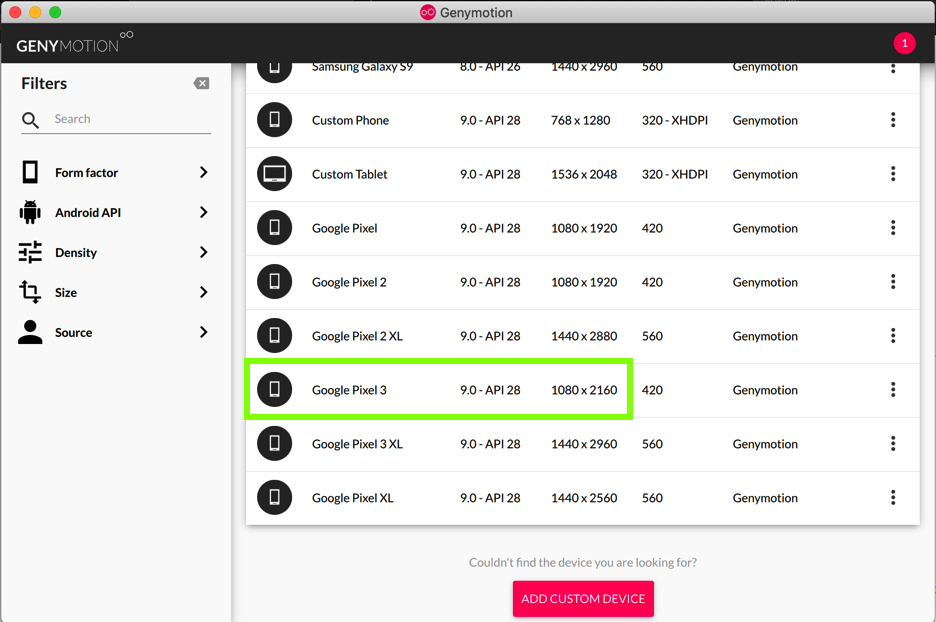
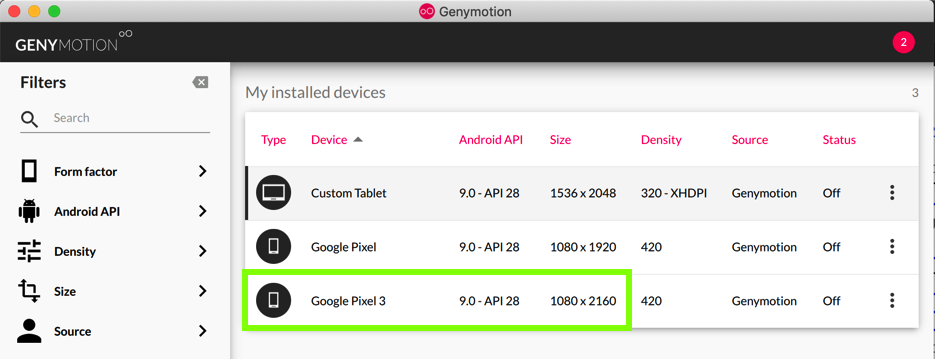
Scroll to the bottom of the list and double-click
Google Pixel 3 - 9.0 - API 28 - 1080x 2160
outlined in green in the image below.
In the "Install virtual device" box, click INSTALL.
Click Next twice.
The virtual device downloads.
Click Finish.
In Genymotion, your device appears in the top section, under the heading "My installed devices", as shown below.
Google Pixel 3 - 9.0 - API 28 - 1080x 2160
The Android device starts up, showing the Home Screen, as shown below.
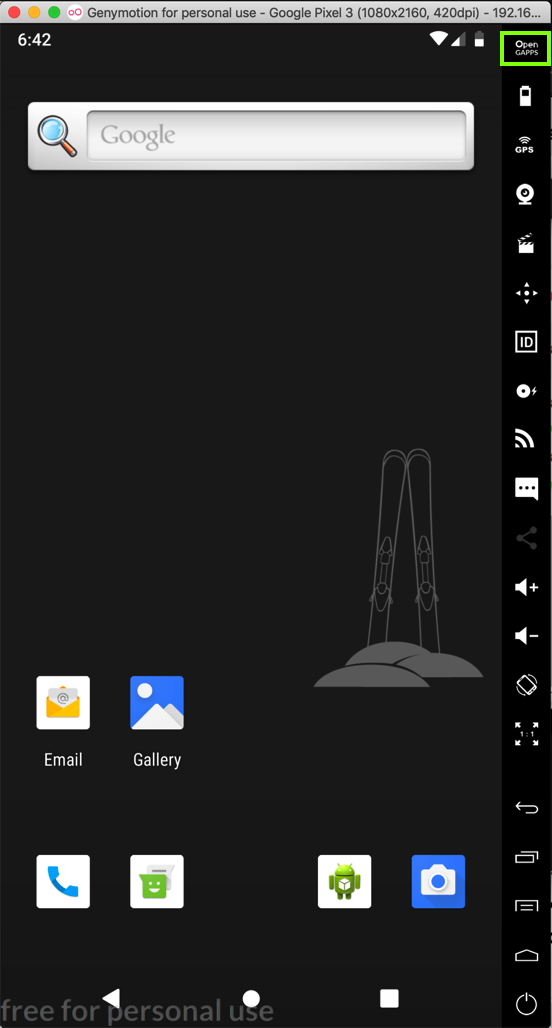
In your Genymotion machine, at the top right, click the "OPEN GAPPS" button, outlined in green in the image above.
A box opens, titled "OPEN GAPPS". Click the Accept button.
When you are prompted to, click "Restart now".
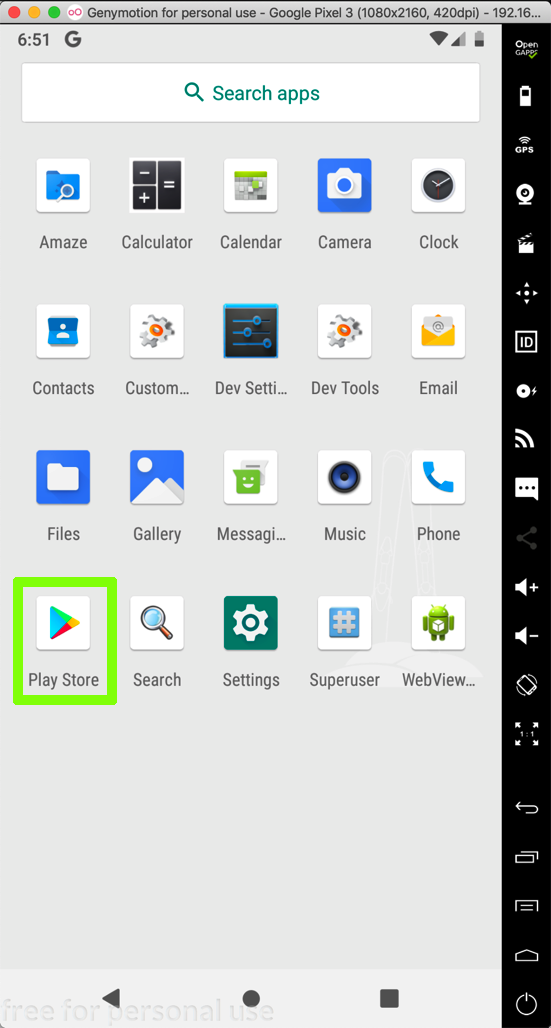
When your device restarts, click on the hone screen, hold down the mouse button, and swipe up to see all apps.
You should see "Play Store", outlined in green in the image below.
When you are prompted to, log in with a Gmail account.
Agree to the terms.
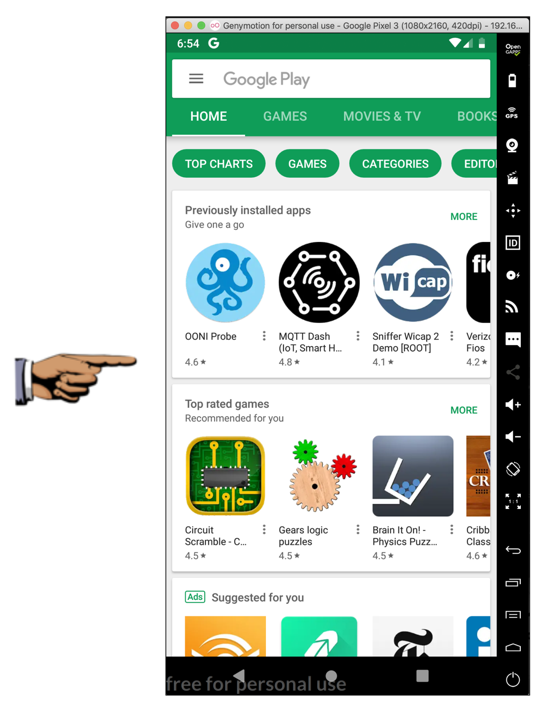
The Play Store opens, as shown below.

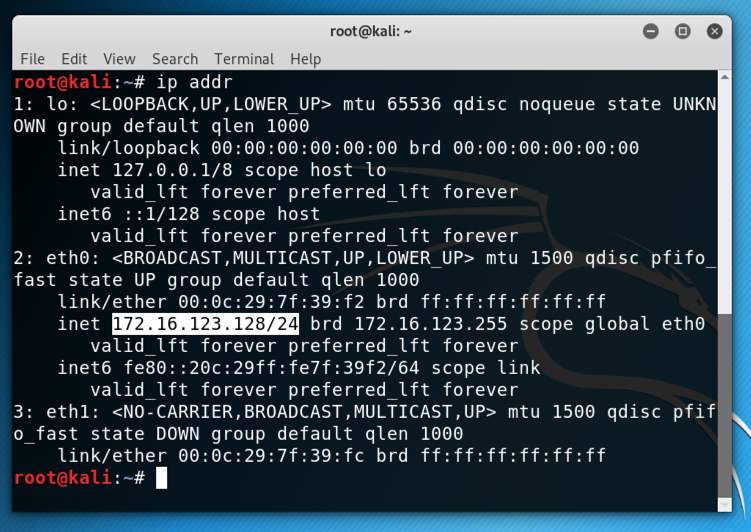
On Kali, in a Terminal, execute this command:
ip addr
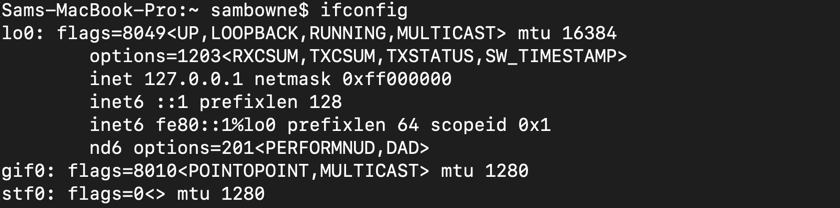
If you are using Mac OS, execute this command:
ifconfig
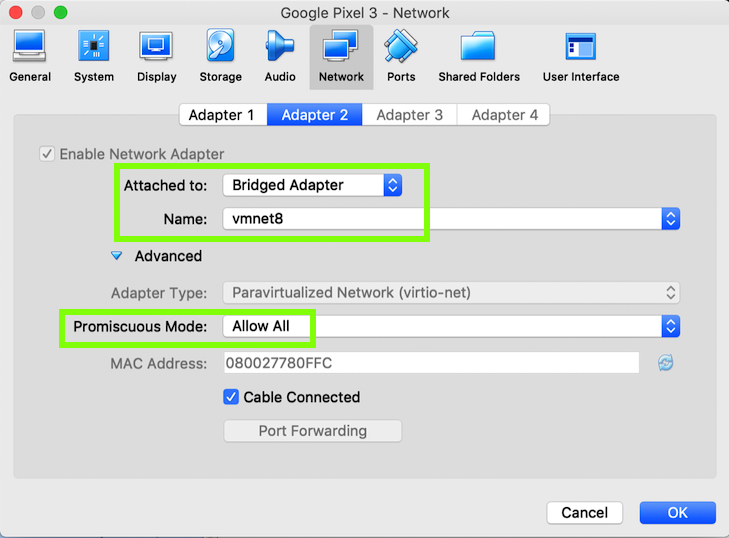
On my system, it was vmnet8, as highlighted in the image below.

Launch VirtualBox. If you are using a Mac, you may have to install VirtualBox first from:
https://www.virtualbox.org/wiki/Downloads
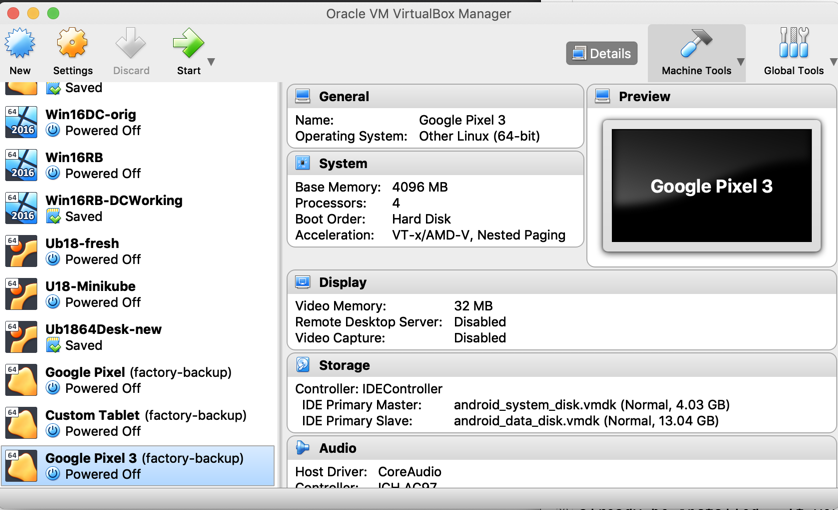
In VirtualBox, click to select your "Google Pixel 3" device, as shown below. Click Settings.
On the Network tab, the first Adapter is set to "Host-only", as shown below. Don't change anything here--this adapter is reuired for Genymotion.

Click the "Adapter 2" tab. Set this adapter to Bridged and connect it to the host adapter Kali is using, as shown below.
Click Advanced and allow "Promiscuous Mode", as shown below.
Click OK.
Troubleshooting
After this networking adjustment, you must always start VMware before Genymotion. Otherwise Genymotion will give an error and tell you to open Virtualbox to adjust the networking.
Scroll to the bottom and click System.
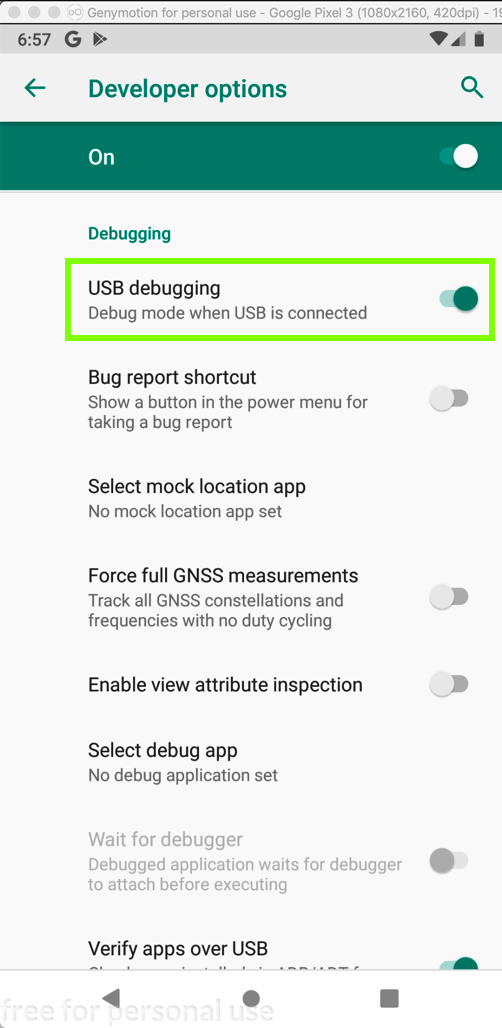
Click Advanced, "Developer Options"
Scroll down slowly to find the "USB Debugging" option, as shown below.
Click the "USB Debugging" and click OK. The slider should turn green, as shown below.
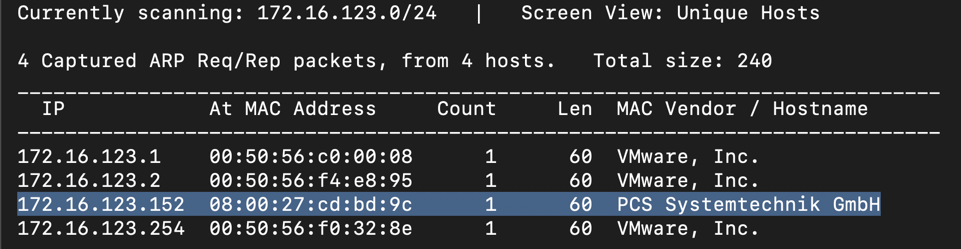
On Kali, in a Terminal, execute this command, replacing the IP address with the IP address of your Kali machine:
netdiscover -r 172.16.123.154/24
The different one is your Genymotion Android device.
apt update
apt install android-tools-adb -y
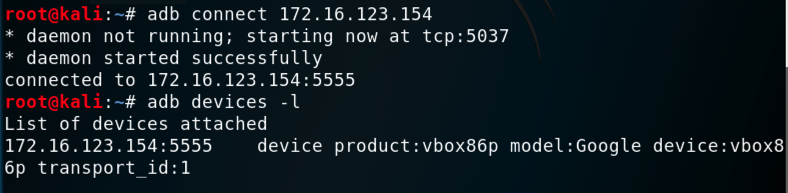
adb connect 172.16.123.154
adb devices -l
You should see your Genymotion device in the "List of devices attached", as shown below.
Troubleshooting
If you see an error message saying "E: Could not get lock /var/lib/dpkg/lock-frontend - open (11: Resource temporarily unavailable)", restart your Kali machine.