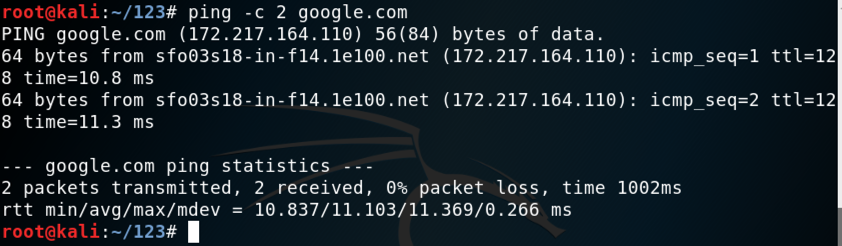
ping -c 2 8.8.8.8
To install Scapy on a Debian cloud server, execute this command:
sudo apt install python-scapy
sudo scapy

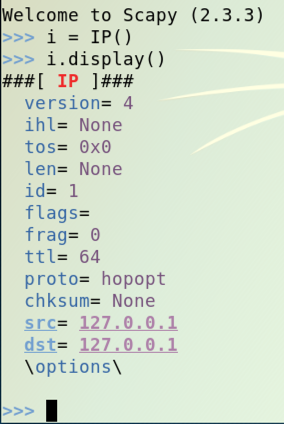
i = IP()
i.display()
If the colors are difficult to see, adjust them by clicking Edit, "Profile Preferences", Colors. I used "Black on light yellow".
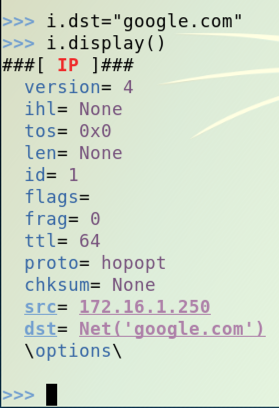
Use these commands to set the destination IP address and display the properties of the i object again. Replace the IP address in the first command with the IP address of your Target machine:
i.dst="google.com"
i.display()
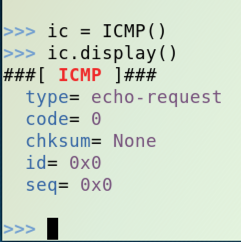
Use these commands to create an object named ic of type ICMP and display its properties:
ic = ICMP()
ic.display()
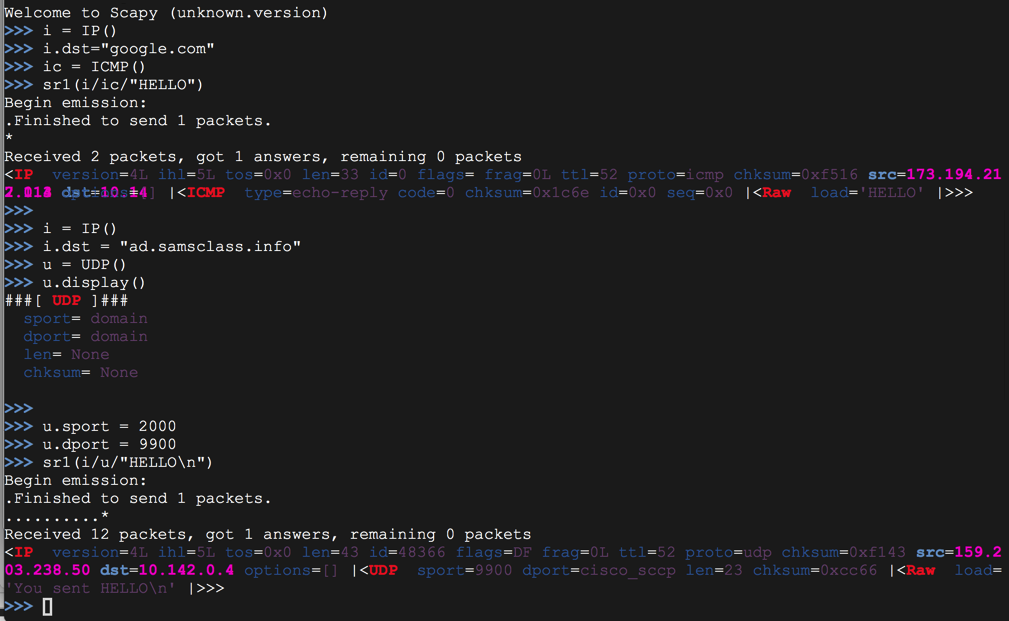
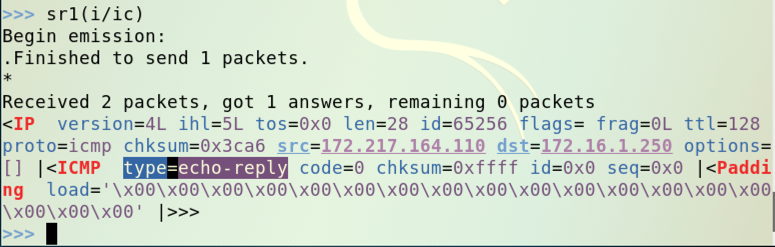
Use this command to send the packet onto the network and listen to a single packet in response. Note that the third character is the numeral 1, not a lowercase L:
sr1(i/ic)
Use this command to send a packet that is IP at layer 3, ICMP at layer 4, and that contains data with your name in it (replace YOUR NAME with your own name):
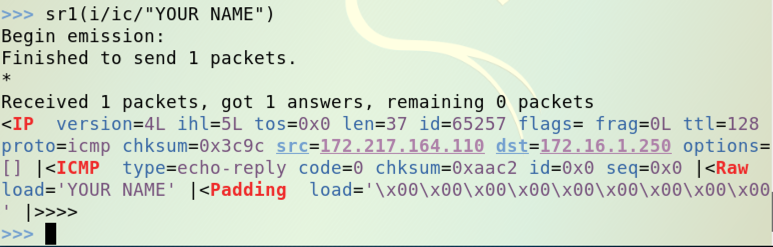
sr1(i/ic/"YOUR NAME")
Troubleshooting
If you don't get a response to your ICMP request, it may be that it is being discarded as a duplicate. Add these two commands to set the sequence and id numbers, using any random number instead of "10".Another solution is to use a Google cloud machine, as shown below.
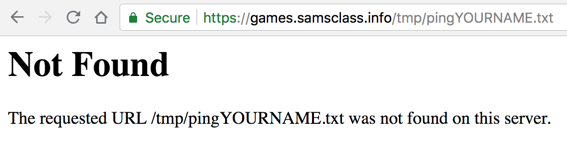
https://games.samsclass.info/tmp/pingYOURNAME.txtThe page is not found, as shown below on this page.
Use Scapy to send an ICMP request with these properties:

i = IP()
i.dst = "ad.samsclass.info"
u = UDP()
u.display()

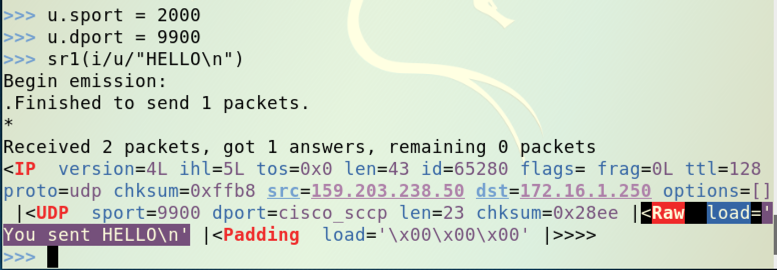
Execute these commands to change the source port to 2000, the destination port to 9900 and send a message to my server:
u.sport = 2000
u.dport = 9900
sr1(i/u/"HELLO\n")