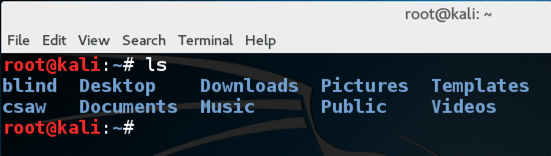
Execute this command (lowercase LS):
ls
"ls" by itself isn't very useful, because it doesn't tell you much about the items. The next command is far more helpful.
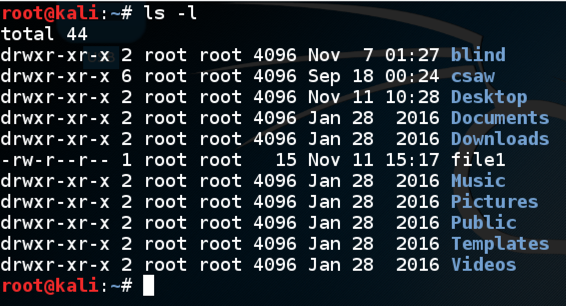
Execute this command (lowercase LS -L):
ls -l
The first character in each line is "d" for directories, or "-" for files. Towards the right, it shows the size of the file or directory in bytes and the date it was last modified, with the name at the far right.
My working directory contains only directories, no files.

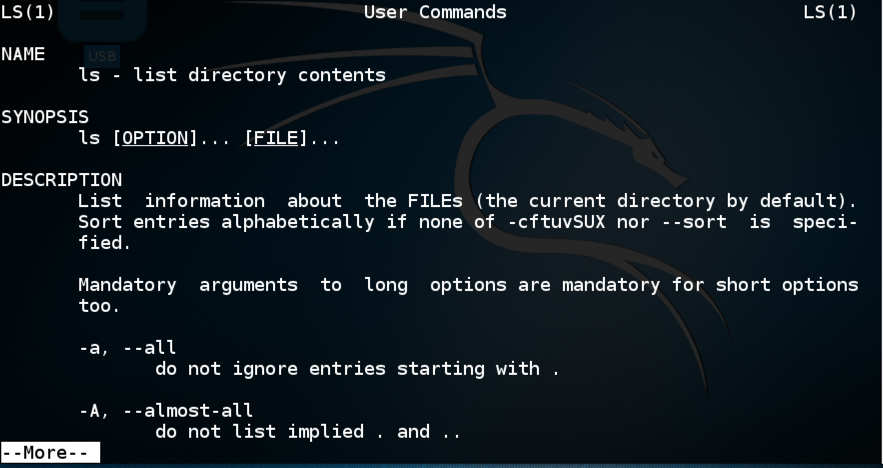
If you want a brief summary of command options, execute the command followed by "--help". Execute this command:
ls --help
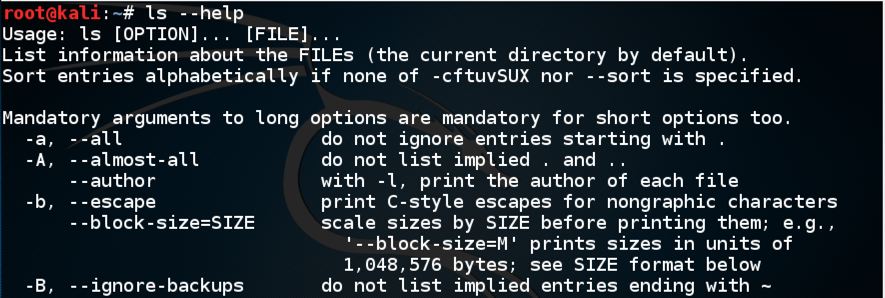
Even that "brief" page contains far more information than I usually want to see. Most of those arguments are obscure and I never use them. My main source of help is actually Google.
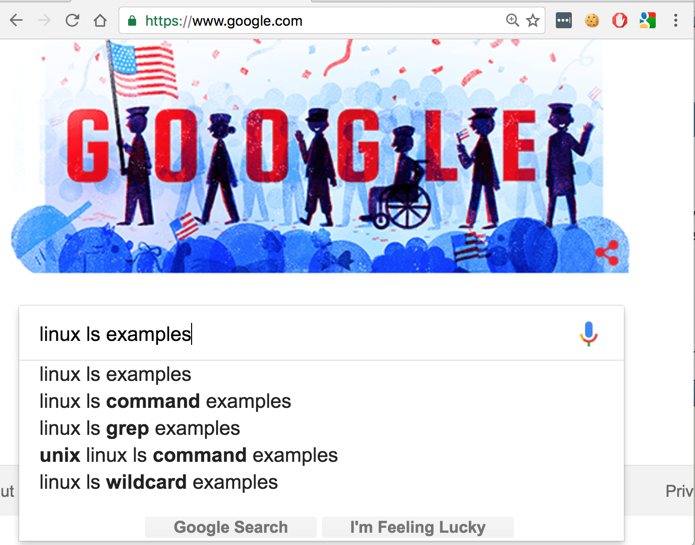
Ooen a Web browser and go to google.com. Then search for
linux ls examples
You get a lot of really useful information, as shown below.
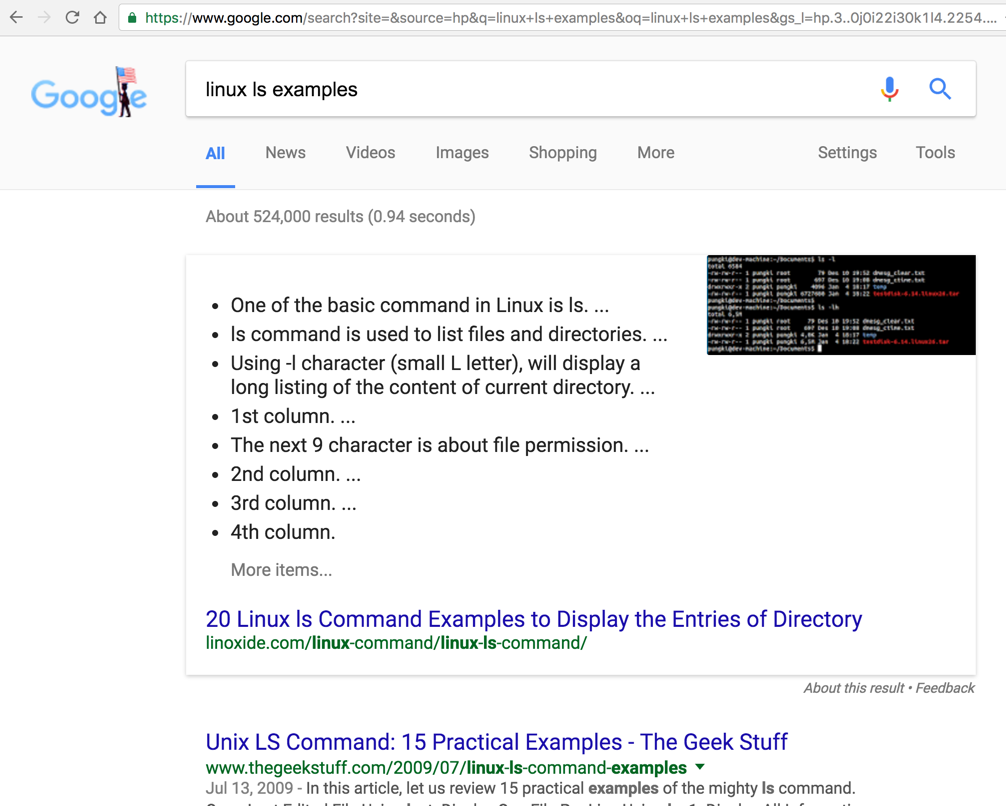
Go to this page and skim through the options to see some more ways to use "ls".
http://linoxide.com/linux-command/linux-ls-command/
Execute this command:
man ls
Press q to exit man.
nano file1
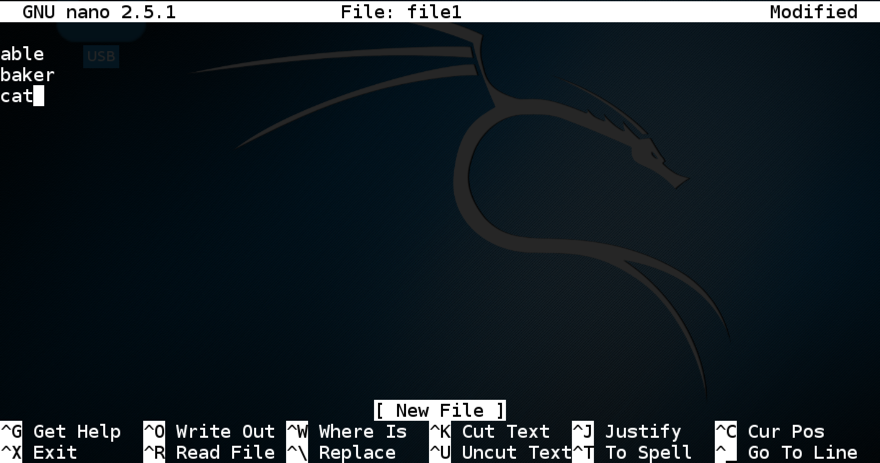
Notice the bottom of the nano screen--the available commands are shown here in a shorthand form.
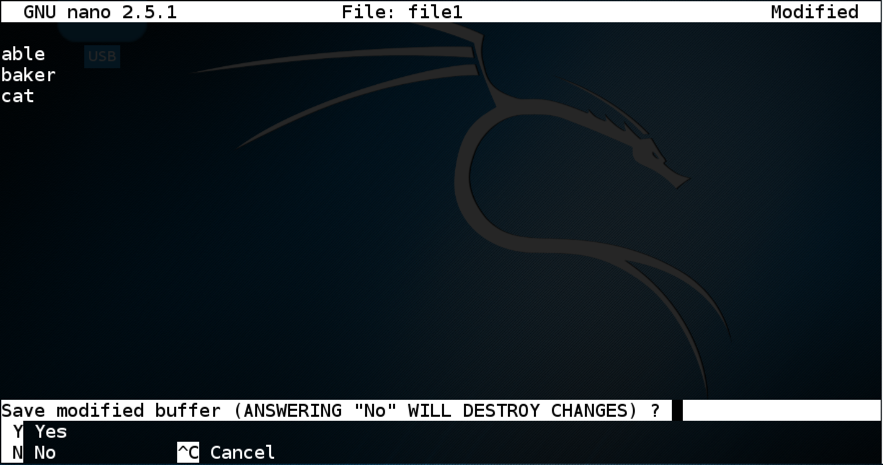
Notice the lower left entry "^X Exit". This means that you can exit nano by pressing Ctrl+X. Press it now.
The next screen asks if you want to save the file. The bottom shows your options: Y, N, or Ctrl+C. Type Y.
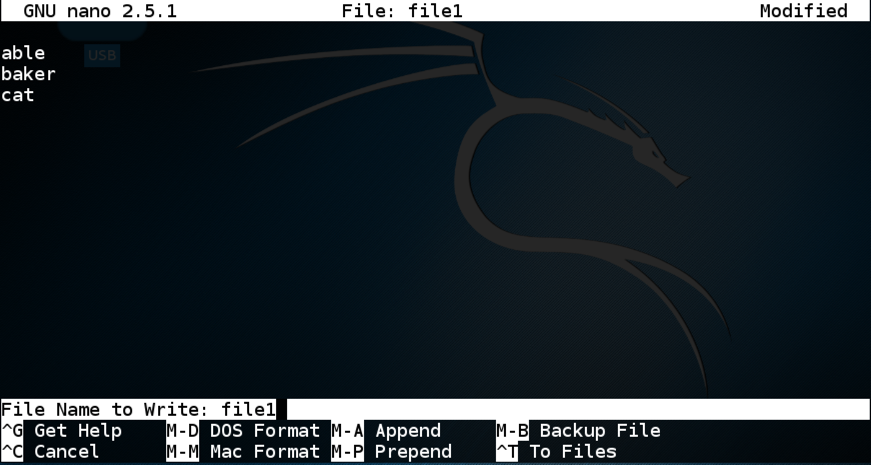
At this screen, you can press Enter to save the file, or edit the name before saving it. Unfortunately, the list of commands at the bottom don't tell you either of those facts.
Press Enter.
To see what you've done, execute this command:
ls -l
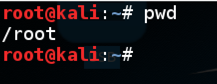
pwd
Execute these commands. The first one makes a new directory, and the second one lists out the contents of the current working directory.
mkdir proj0
ls -l

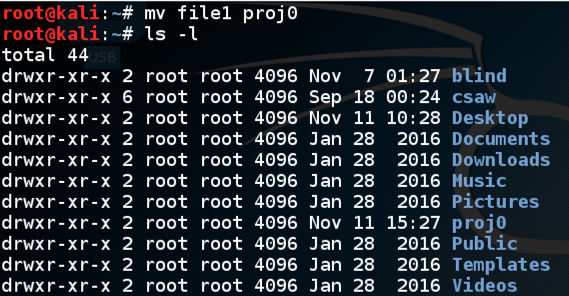
Execute these commands. The first one moves file1 into the "proj0" directory, and the second one lists out the contents of the current working directory.
mv file1 proj0
ls -l
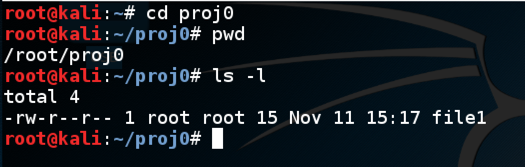
Execute these commands. The first one moves into the "proj0" directory, the second one shows the new working directory, and and the third one lists out the contents of the new current working directory.
cd proj0
pwd
ls -l
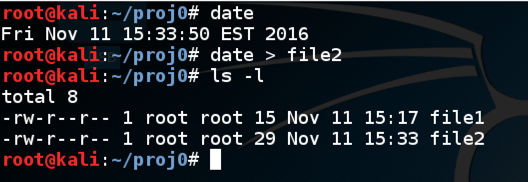
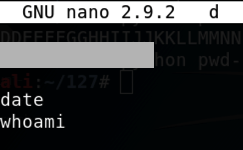
date
date > file2
ls -l
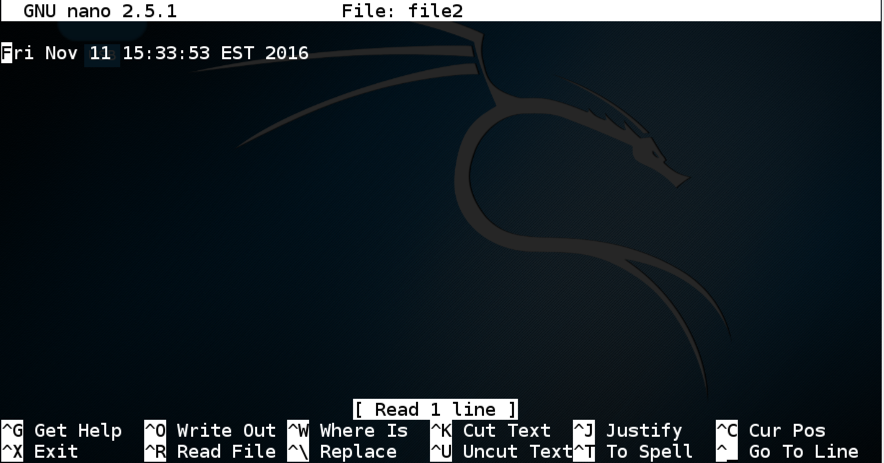
Execute this command to open "file2" in nano.
nano file2
Press Ctrl+X to exit nano.
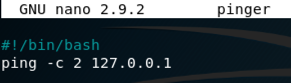
nano count
#!/bin/bash

for i in 1 2 3
do
echo $i
done
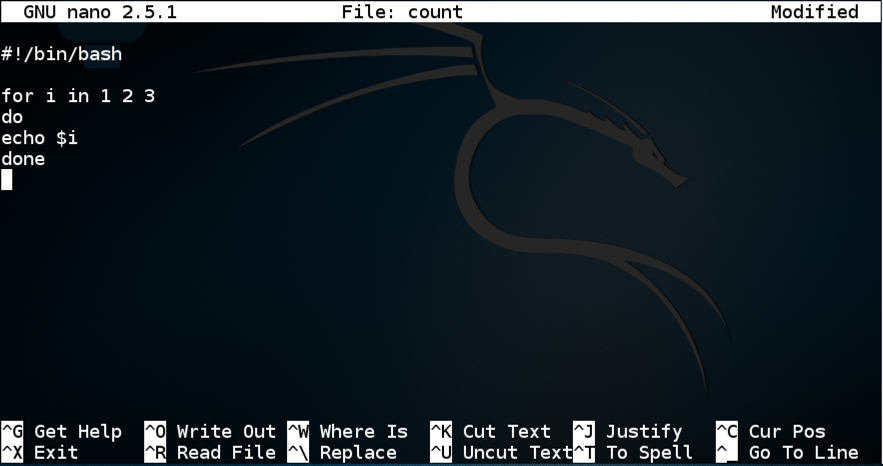
Press Ctrl+X, Y, Enter to save the file.
This script should count from one to three. Execute this command to run the script:
./count

To see why this happened, execute this command:
ls -l
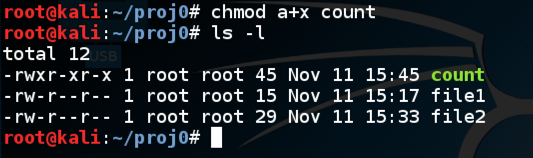
This line starts with "-", indicating that this is a file, not a directory. The next 9 letters are the permission string, using these letters:
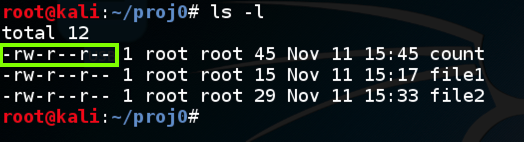
The current permission string doesn't contain any "x" characters, so no one has permission to execute it.
Execute these commands to give execute permission to the "count" file for all users, and to see the new permissions:
chmod a+x count
ls -l
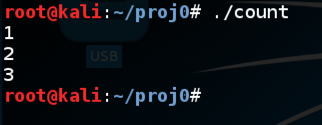
Execute this command to run the "count" script:
./count
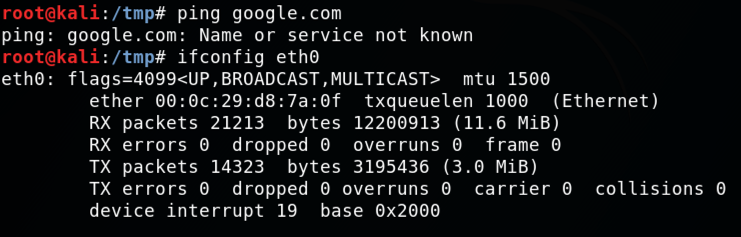
ifconfig
eth0 has an IP address (labelled "inet") and goes to the Internet.
lo is the loopback address and doesn't go anywhere. Your computer uses that address to talk to itself, which is useless for normal Web browsing.

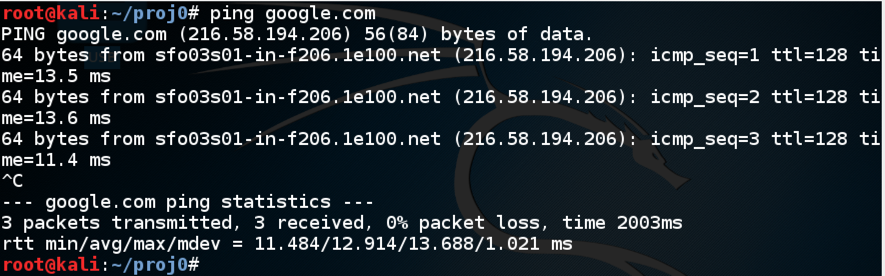
Execute this command test your Internet connection:
ping google.com
Press Ctrl+C to stop the pings.
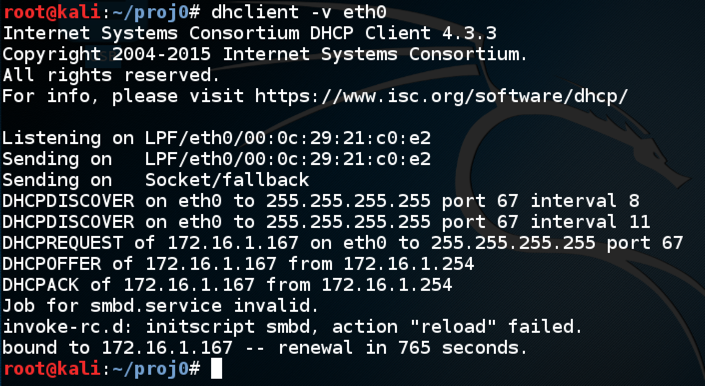
If you move your computer to a new network, it might lose connectivity because it's still using an old IP address.
To fix that problem, execute this command:
dhclient -v eth0
cd /tmp
mkdir apple
mkdir baker
cd baker
mkdir charlie
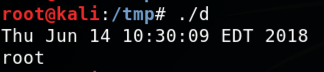
However, the script will not run:

What command will fix this problem?
The script works, as shown below.
What's the redacted line? Enter it into the form below.
What command should be executed to fix the problem?