https://cloud.google.com/free/
Click "TRY IT FREE".
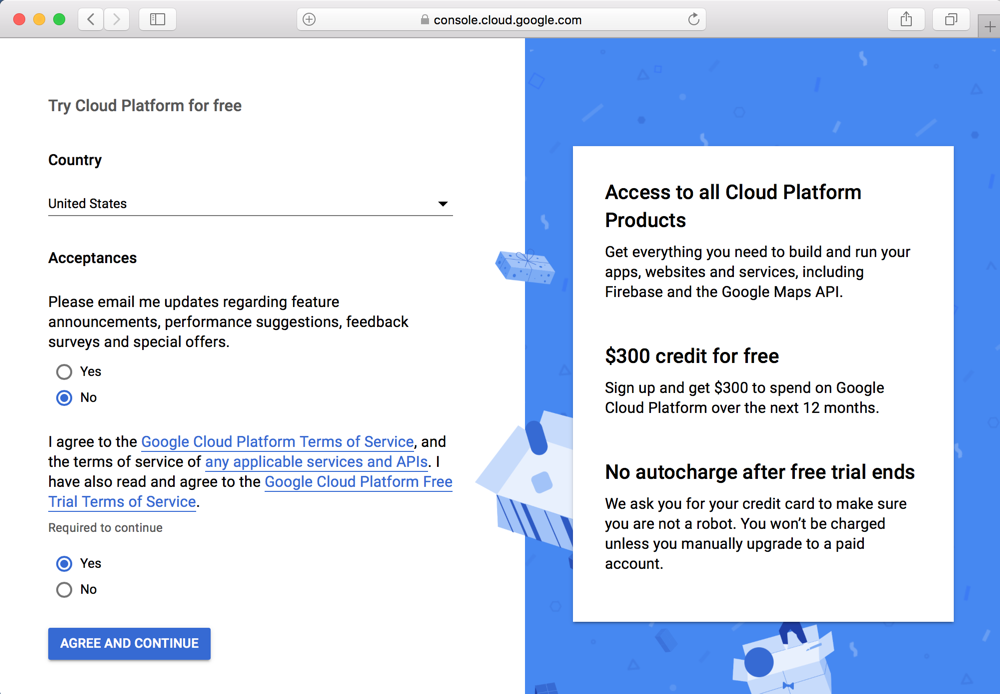
On the next page, fill out the form, as shown below, and click "AGREE AND CONTINUE".
Fill in the next page. You must enter a credit card number, but it says you won't be charged without agreeing to that later.
Click "START MY FREE TRIAL"
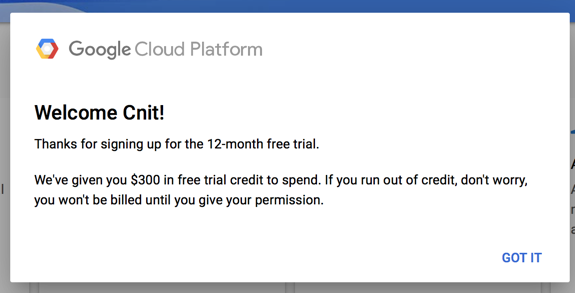
A box says you have $300 in free trial credit, as shown below.
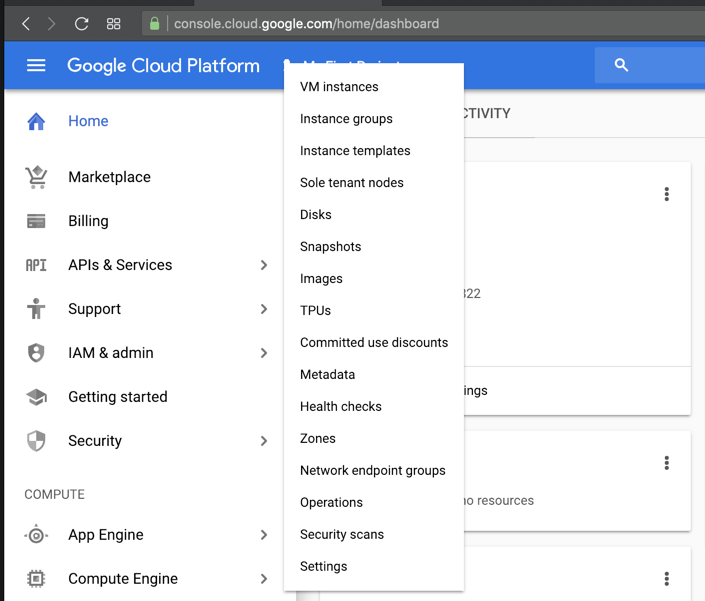
On the next page, click "Compute Engine", "VM instances", as shown below.
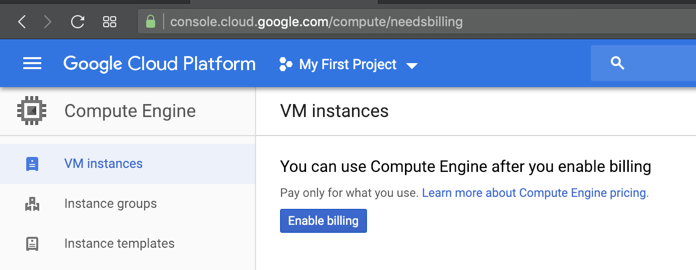
The "VM instances" page appears, as shown below. Click the "Enable Billing" button.
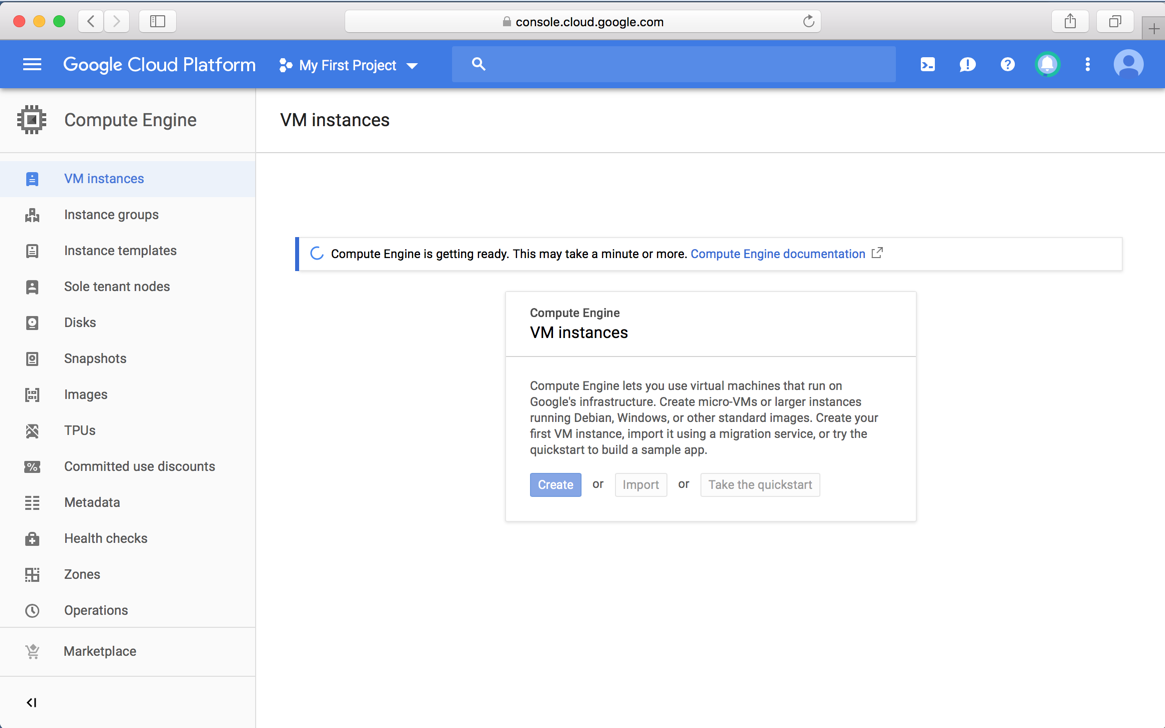
Wait while it gets ready.
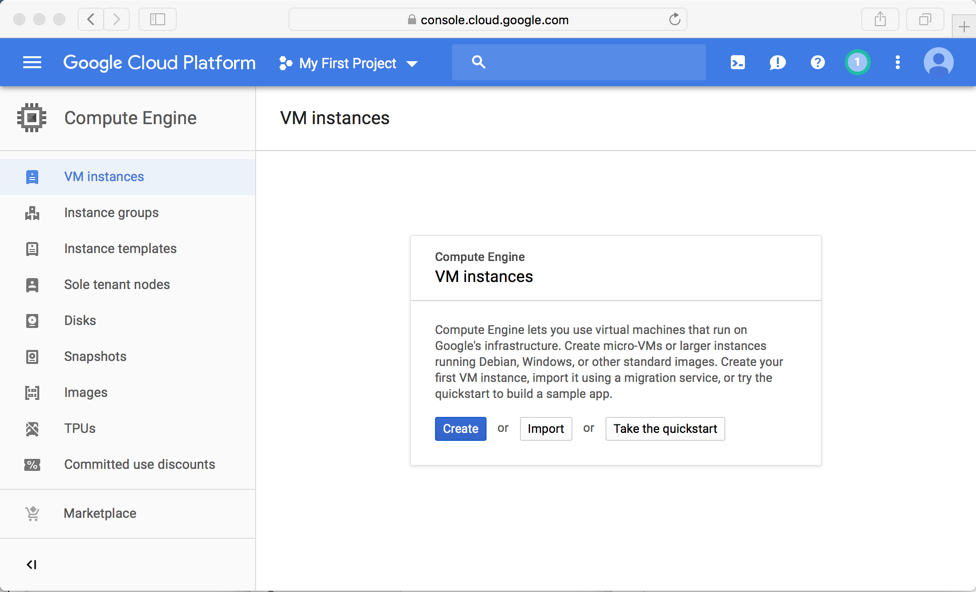
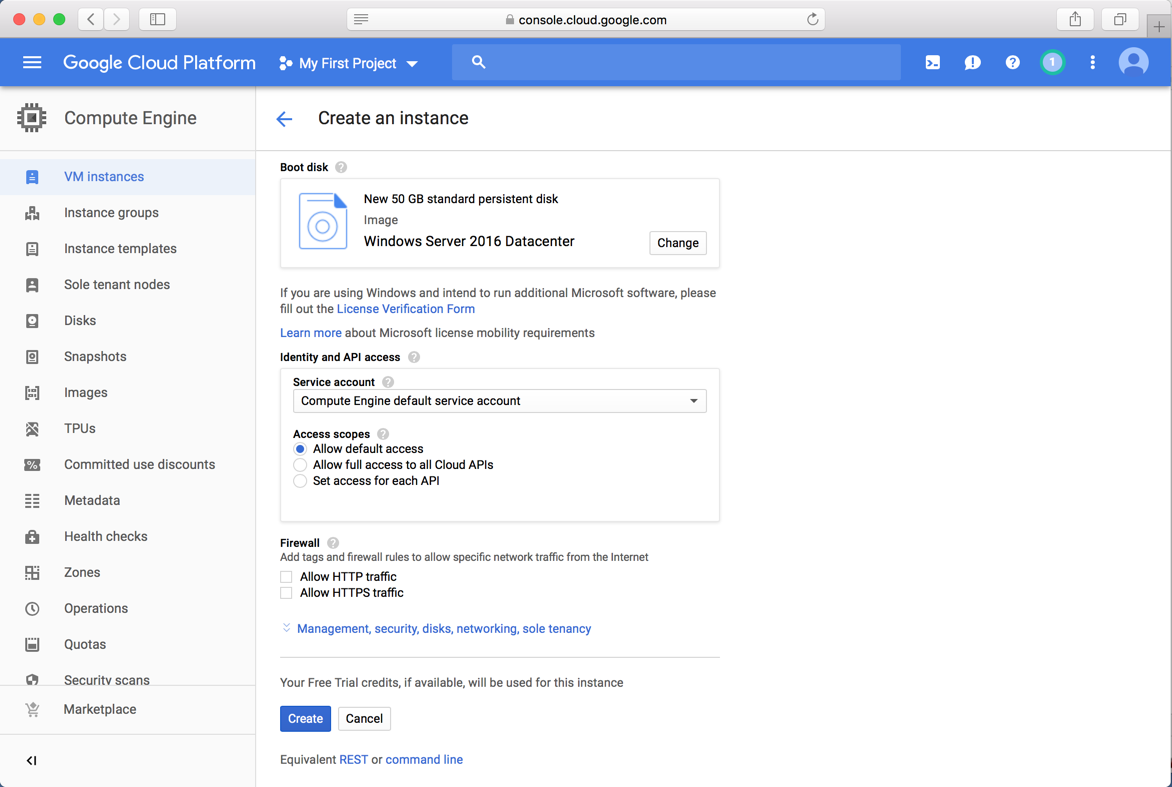
When it's ready, you see the screen shown below. Click Create.
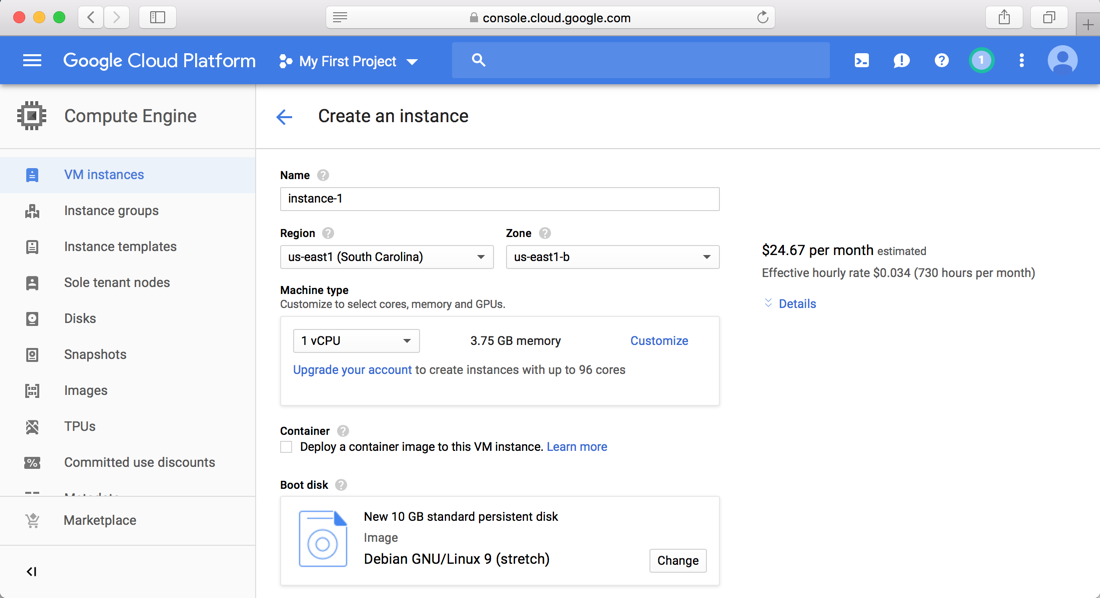
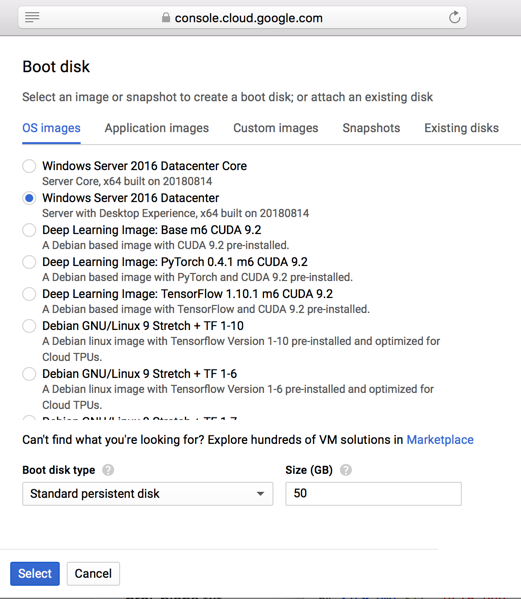
In the "Create an instance" page, in the "Boot disk" section, click the Change button.
In the next screen, click "Windows Server 2016 Datacenter", as shown below, and click Select.
At the bottom of the page, click the Create button, as shown below.
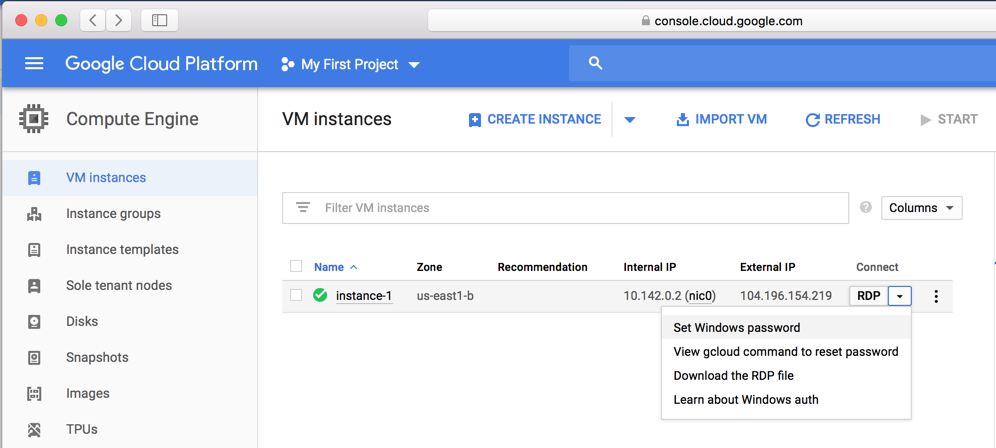
A machine appears, named "instance-1", as shown below.
In the "Connect" column, click the drop-down arrow and click "Set Windows password", as shown below.
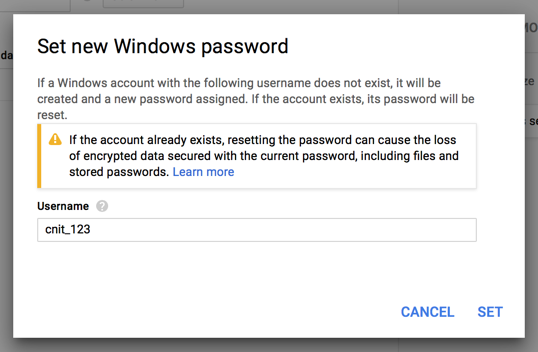
In the next screen, choose a username, as shown below. Click Set....
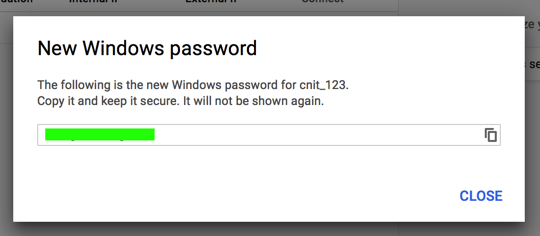
A box appears with your Windows password, as shown below. Copy it and save it somewhere, then click CLOSE.
In the "Connect" column, click the drop-down arrow and click "Download the RDP file", as shown below.
If you are using a Windows machine, the RDP client is already included.
If you are using a Mac, you might have an RDP client, or you might need to install Microsoft Remote Desktop 10.
Double-click the instance-1.rdp file to connect to the server via RDP.
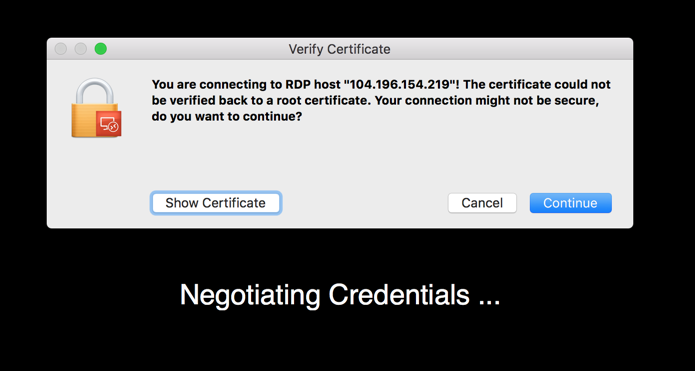
A "Verify Certificate" box pops up, as shown below. Click Continue.
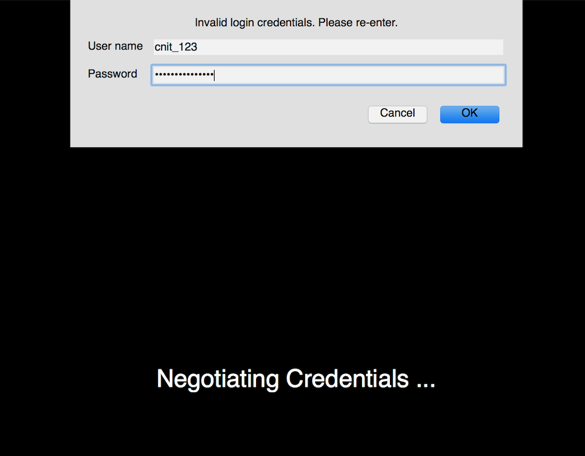
Enter your password and click OK, as shown below.
A Windows desktop appears, as shown below.
On the right side, in the Networks box, click Yes.
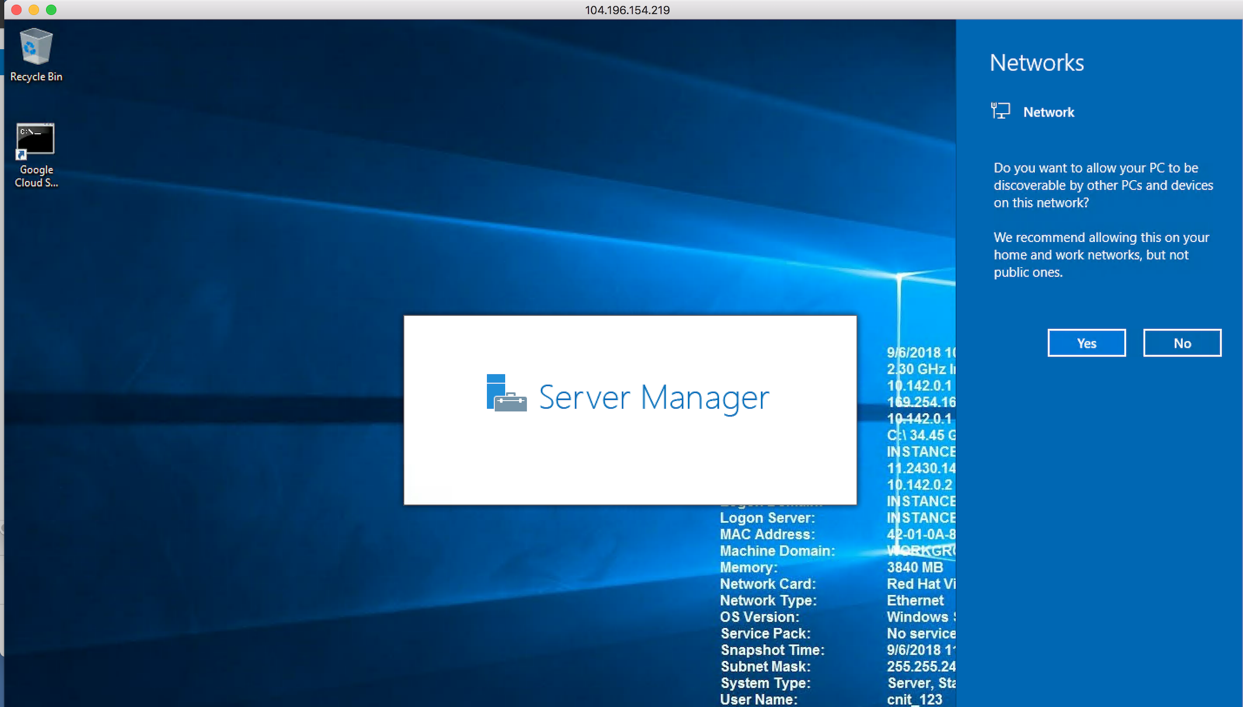
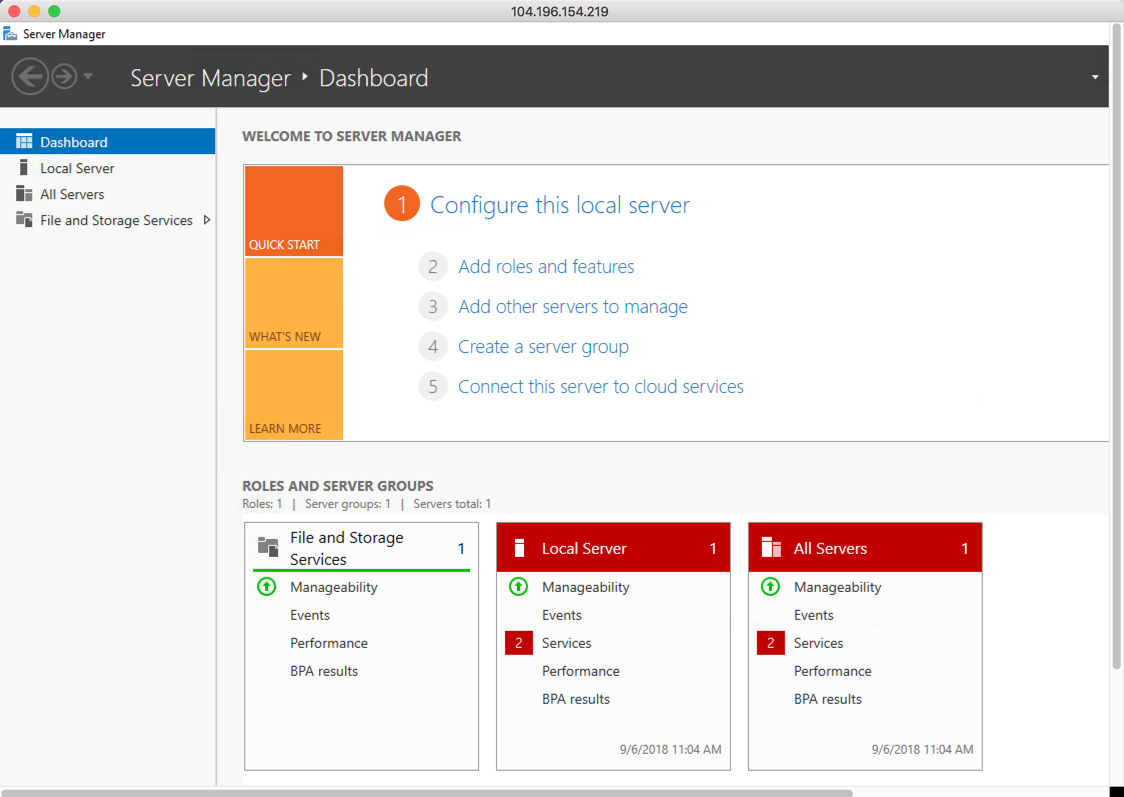
Windows Server Manager opens, as shown below.
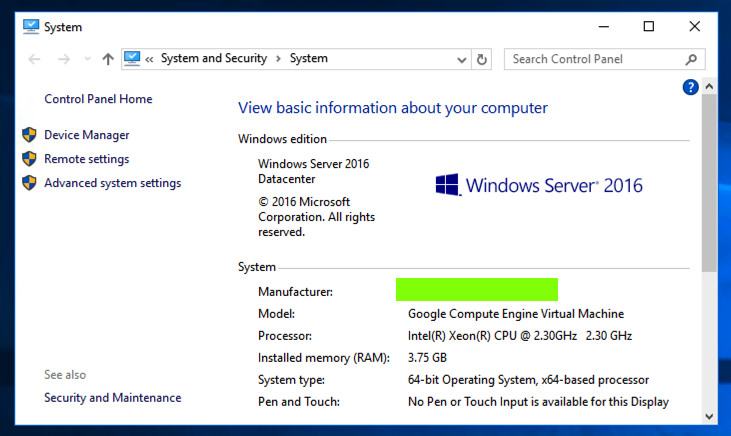
Note the Manufacturer name, which is covered by a green box in the image below. Enter it into the form below.
Troubleshooting
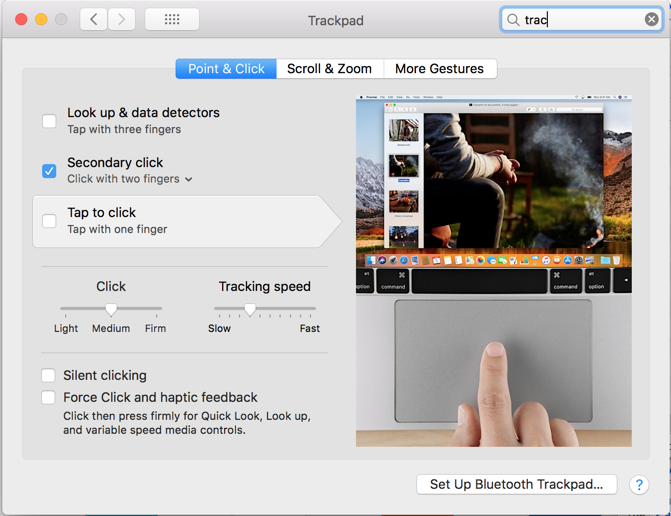
To right-click in the Windows session from a Mac, you need to enable "Secondary click" in Trackpad preferences, as shown below.
On the next page, give your instance an appropriate name, such as "linux", scroll to the bottom of the page, and click Create.
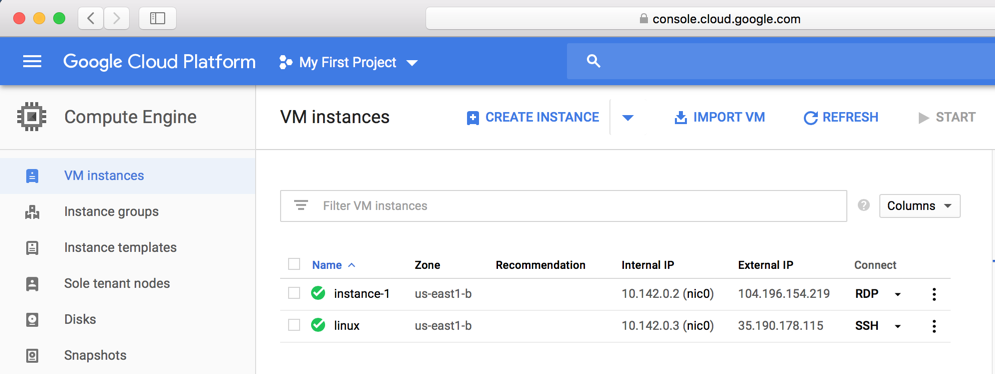
Your Linux machine is now included in the list of instances, as shown below.
In the "linux" line, in the "Connect" column, click the drop-down arrow. Click "Open in browser window", as shown below.

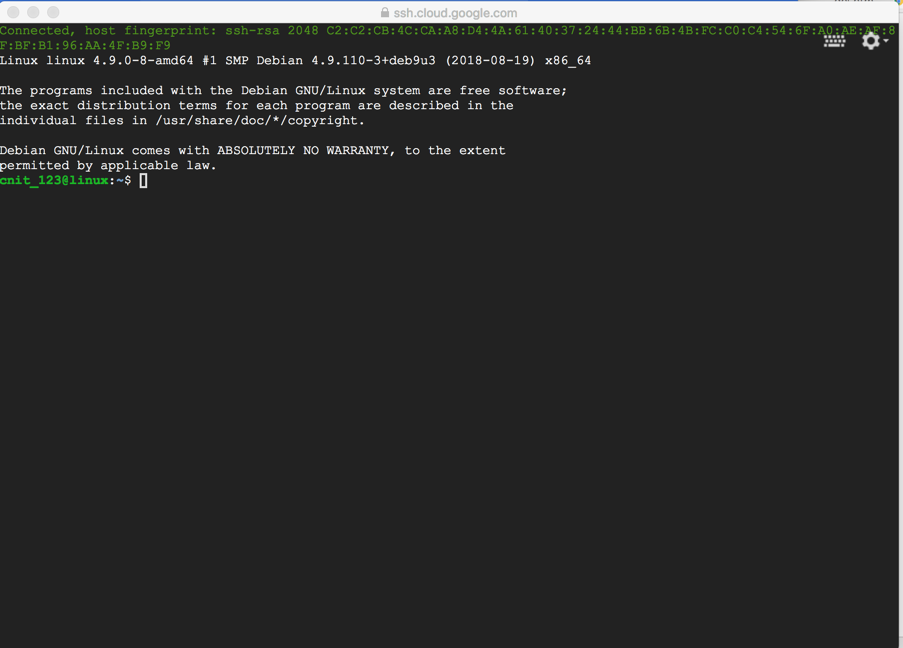
Your Linux server's console appears, as shown below.
In the console, execute these commands, as shown below.
sudo apt install hwinfo -y
sudo hwinfo --disk

Moved to local server 3-21-19